原料
安佳无盐黄油: 75克, 低粉: 150克, 细砂糖: 30克, 鸡蛋: 1个, 安佳无盐黄油: 50克, 低粉: 75克, 水: 125ML, 细砂糖: 3克, 岩盐: 2克, 鸡蛋: 2个, 细砂糖: 150克, 水: 80ML, 柠檬汁: 少量
步骤
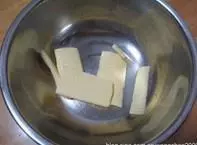
1黄油室温软化
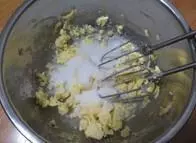
2加糖打发
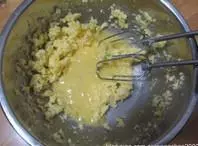
3分次加入蛋液打发
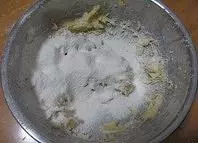
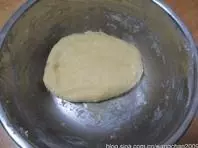
4筛入低粉轻揉成团
5洒上干粉,稍微拍平后冷藏过夜
6第二天取出室温回温
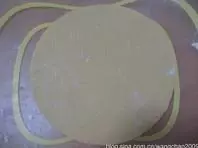
7擀成4MM厚的薄面片
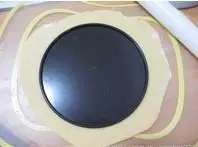
8用8寸圆模划出圆形,冷藏备用
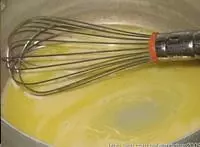
9将水,黄油块,盐,糖倒入锅中,小火加热
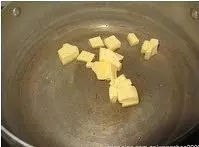
10待黄油融化起泡后离火
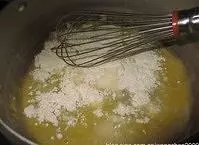
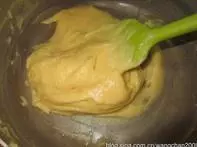
11加入低粉拌匀成团
12回锅小火煮去多余水分
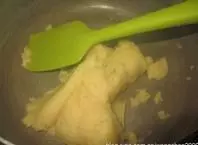
13当面糊成团,在锅底形成一层薄膜,而且不粘在锅底即可
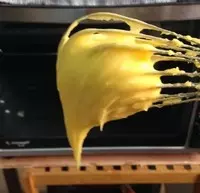
14离火后稍凉,分次加入打散的鸡蛋液
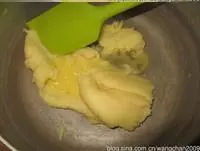
15加蛋液调节面糊的软硬程度,直至用勺子挑起面糊时,能够缓缓落下
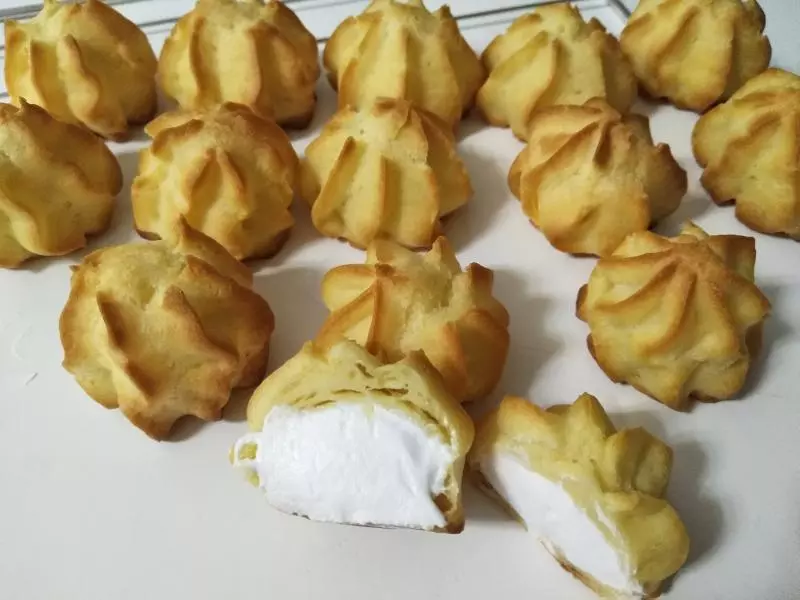
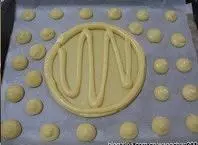
16面糊装入裱花袋

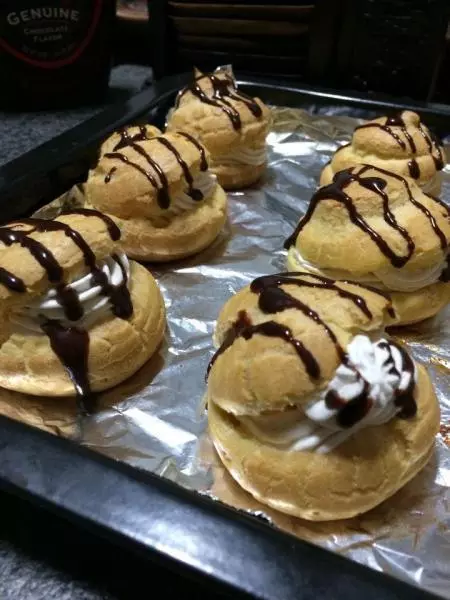
17挤一圈在甜酥面皮上,中间呈Z型挤面糊,剩余的挤小泡芙在烤盘上
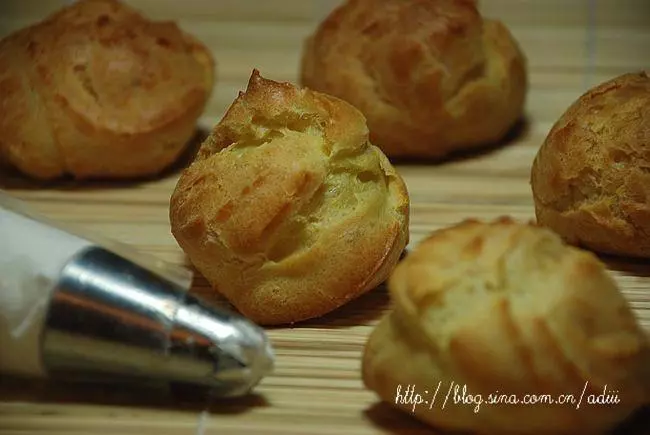
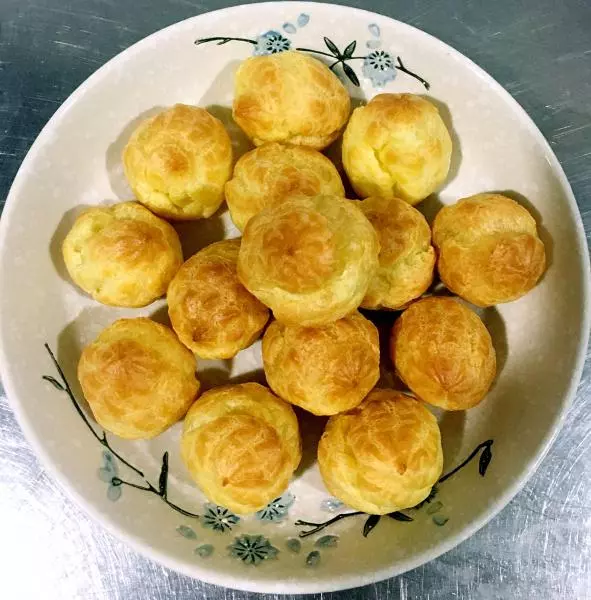
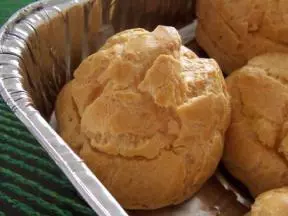
18烤箱预热,上下火,180度25分钟
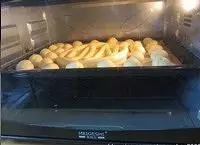
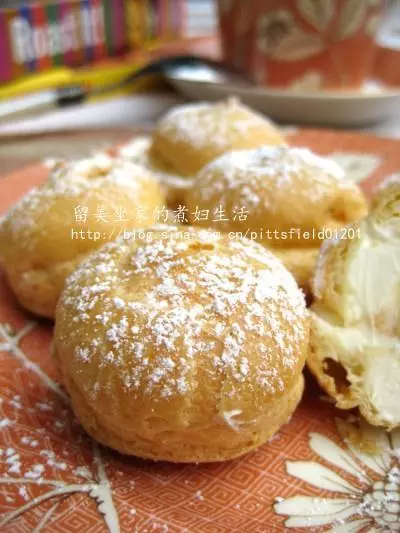
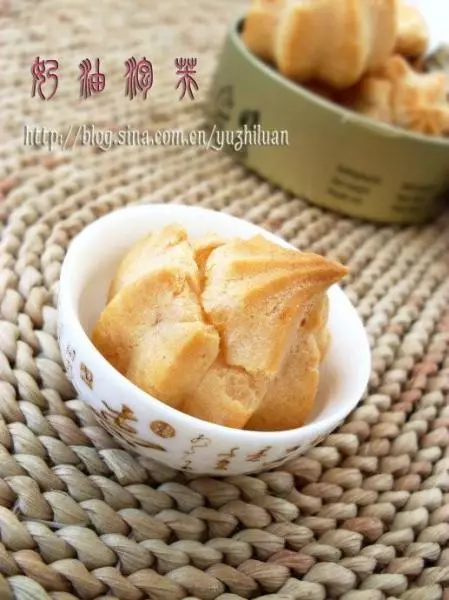
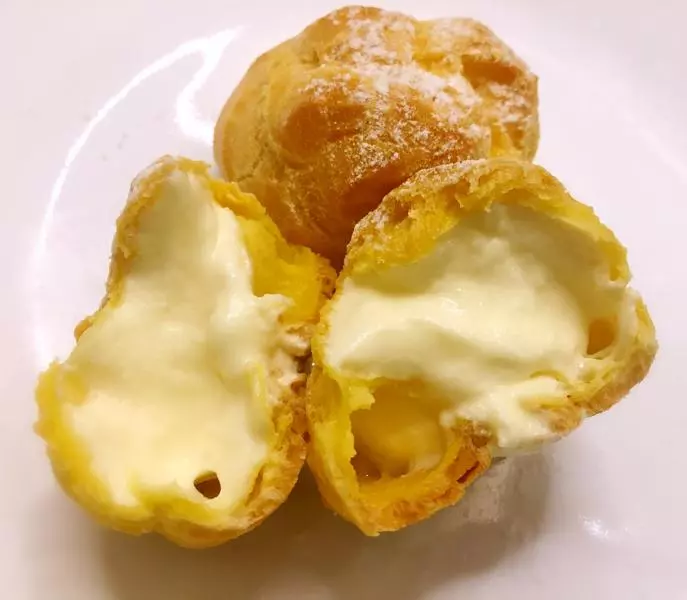
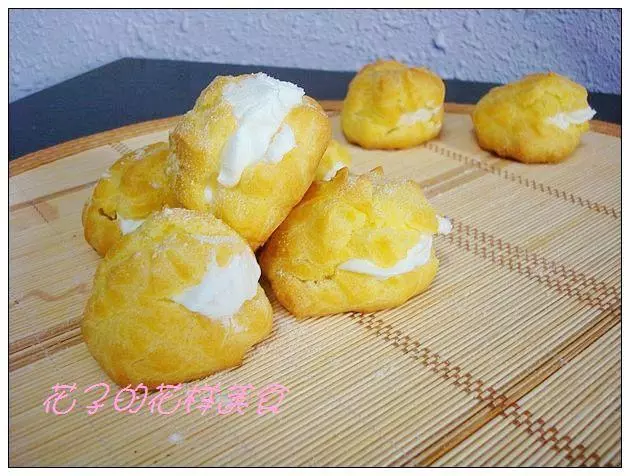
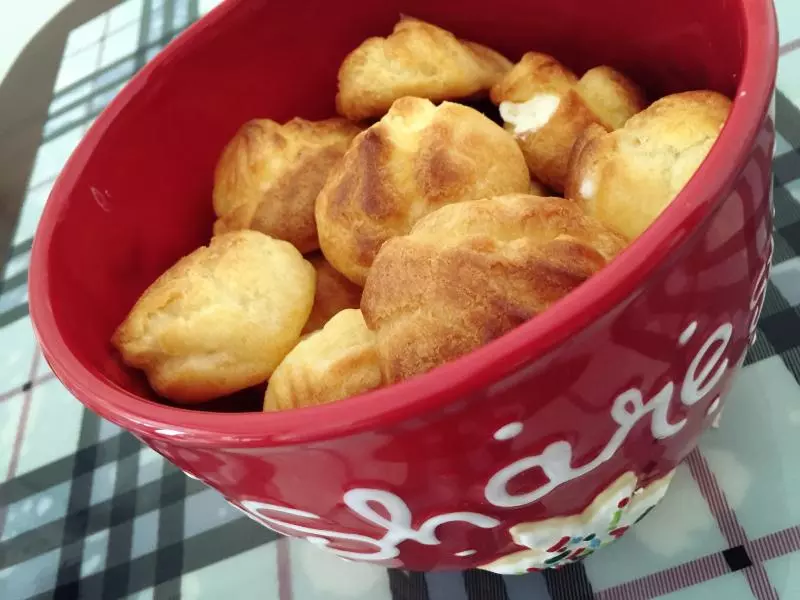
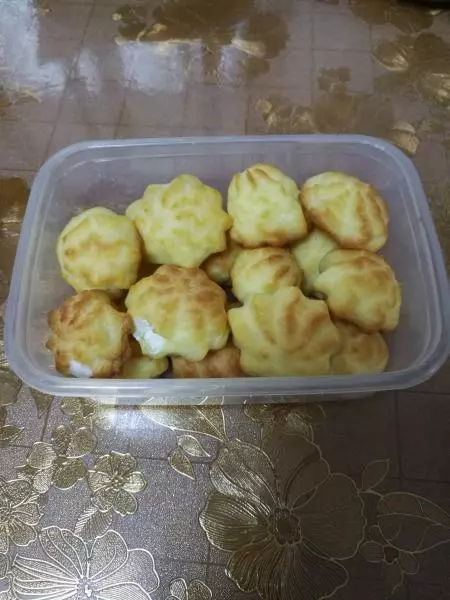
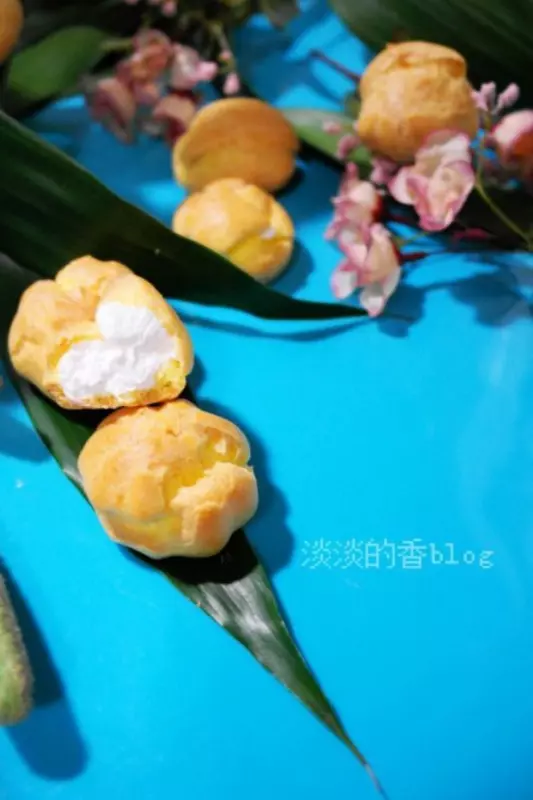
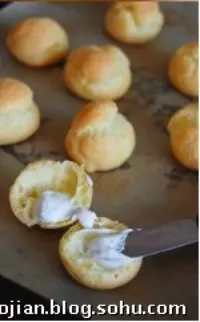
19表面呈金黄色,取出冷却
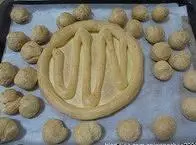
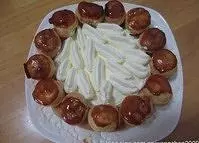
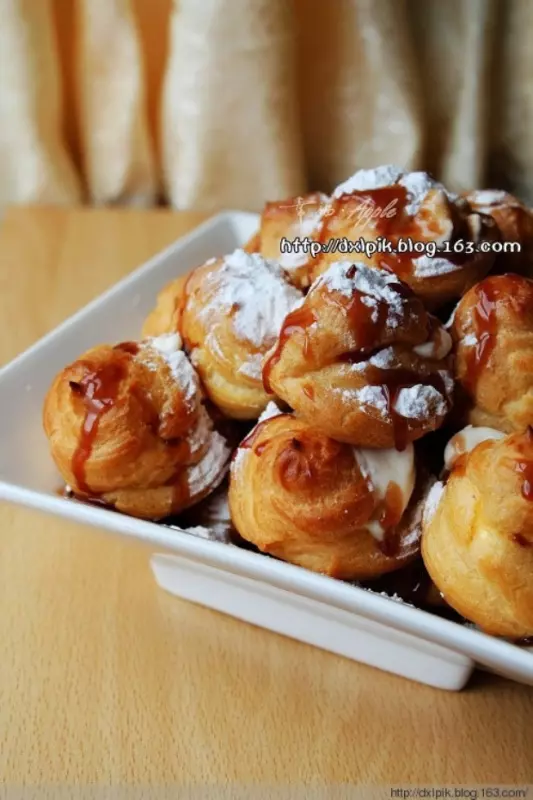
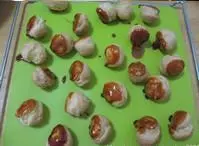
20泡芙底部沾上焦糖,放在硅胶垫上冷却
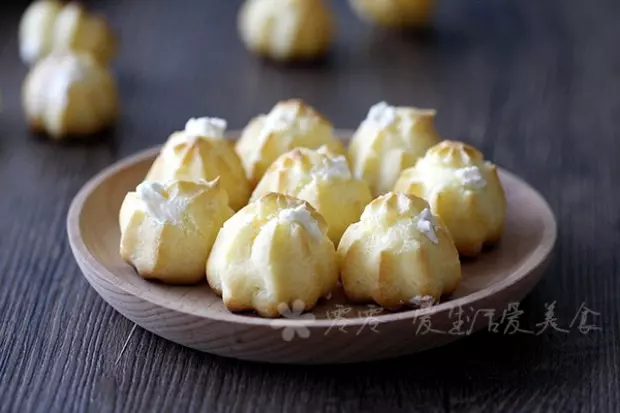
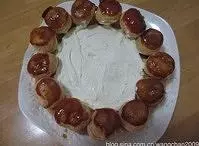
21再将芙顶部粘少许焦糖反粘在甜酥面团四围,轻压一下定型

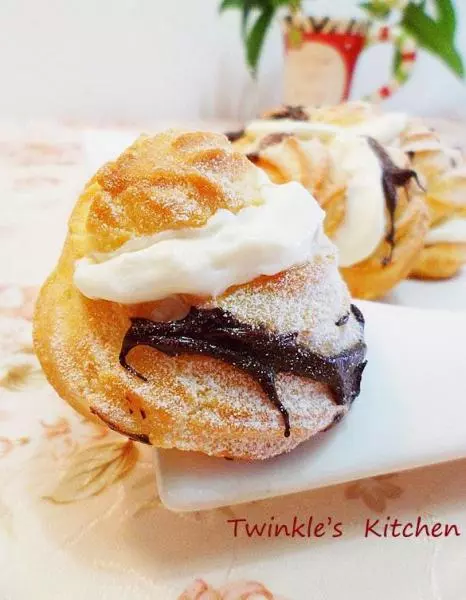
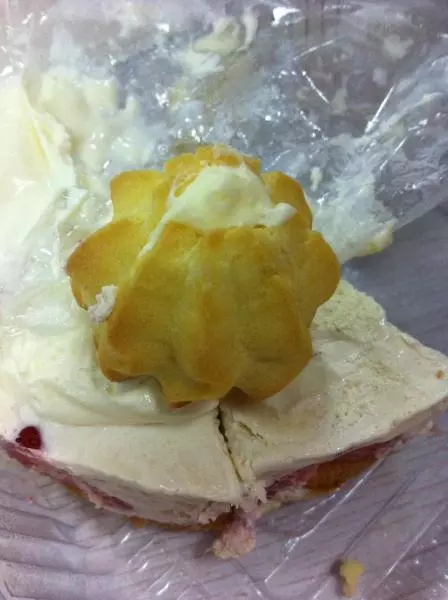
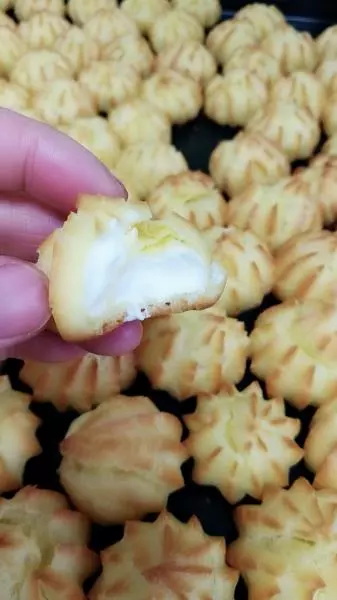
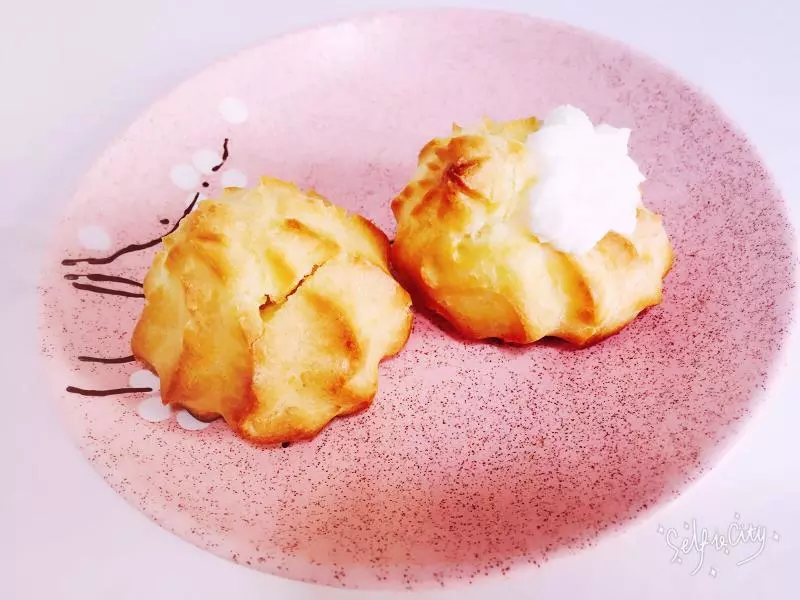
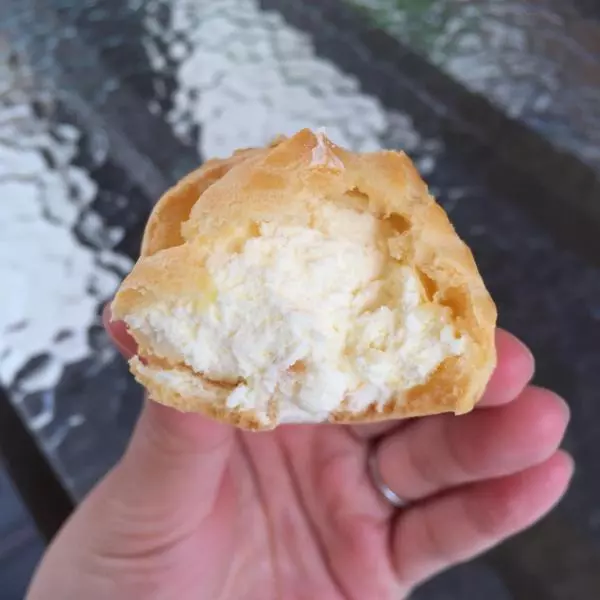
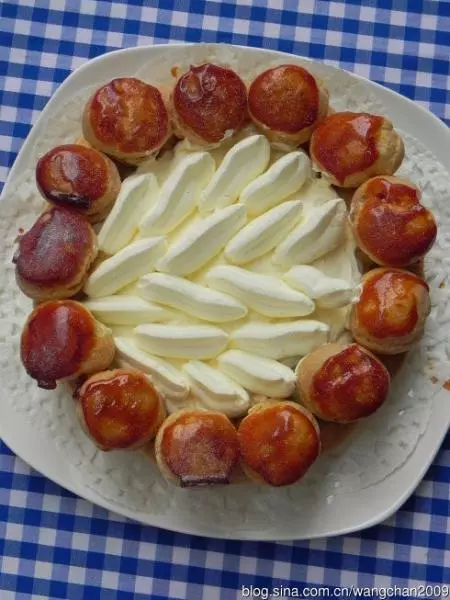
22甜酥面皮下面填上奶酪卡士达馅,再挤一层发泡奶油
23最后用圣安娜裱花嘴挤花在最上面装饰,洒防潮糖粉