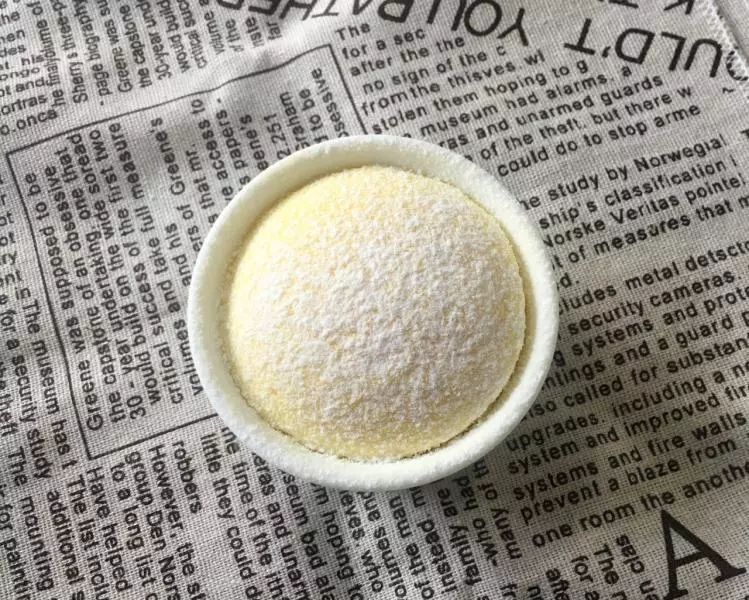
原料
鸡蛋: 1只, 牛奶: 100g, 糖(蛋黄用): 1汤勺, 糖(蛋白用): 1汤勺, 面粉: 1汤勺, 玉米淀粉: 1茶勺, 香蕉: 1根(200g左右)
步骤
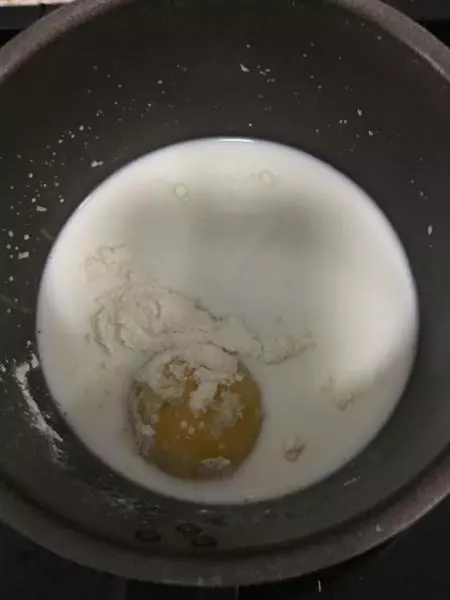
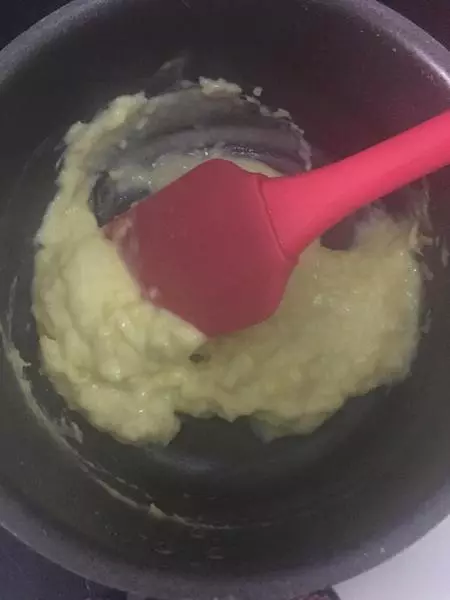
1第一步其实就是做卡士达酱,所以把除了蛋白和蛋白用的白糖和香蕉的所有材料混合,入锅,小火煮,不停搅拌
2直到浓稠即可
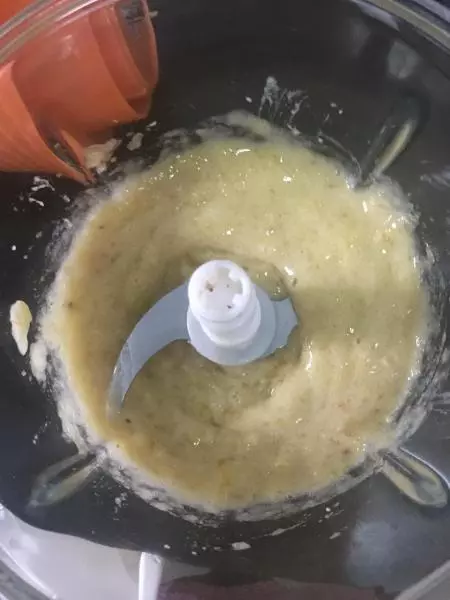
3香蕉切段,打成泥
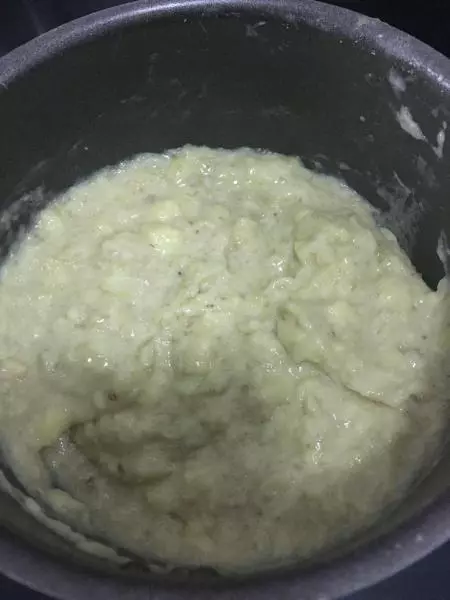
4香蕉泥和卡士达酱混匀,放凉备用(可用保鲜膜贴着酱包起来)
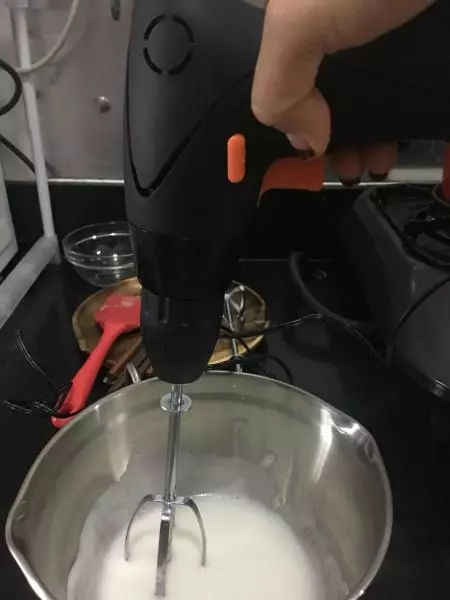
5蛋白分次加入白糖,打至湿性发泡
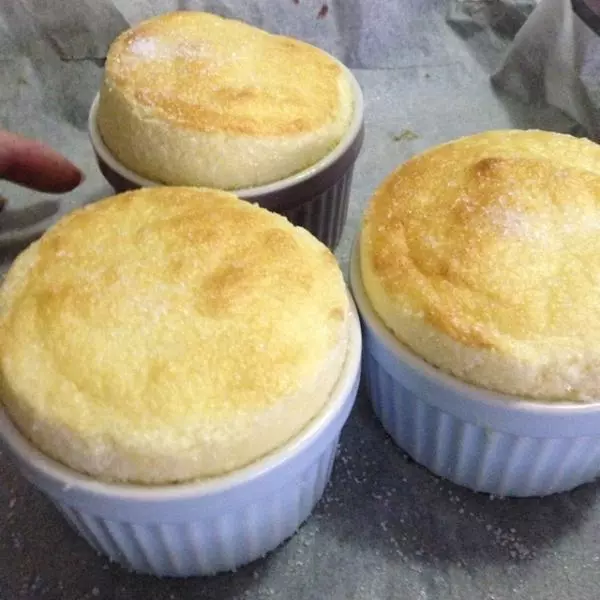
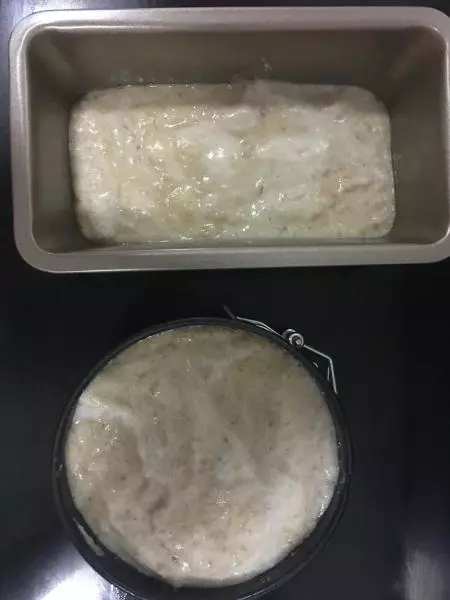
6蛋白打发和之前的糊有采用翻拌方式混匀,然后倒入模具,这里我用的4寸蛋糕模具,还有多就倒入17×5的磅蛋糕模具
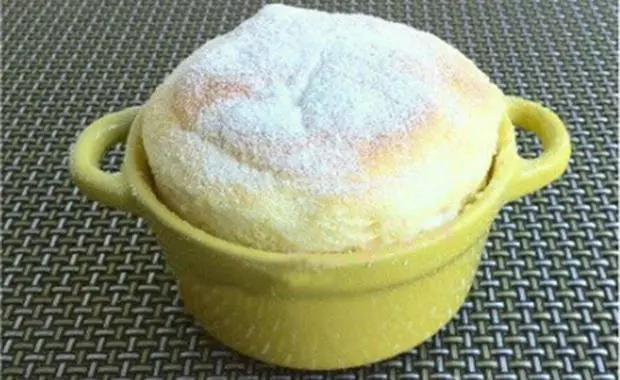
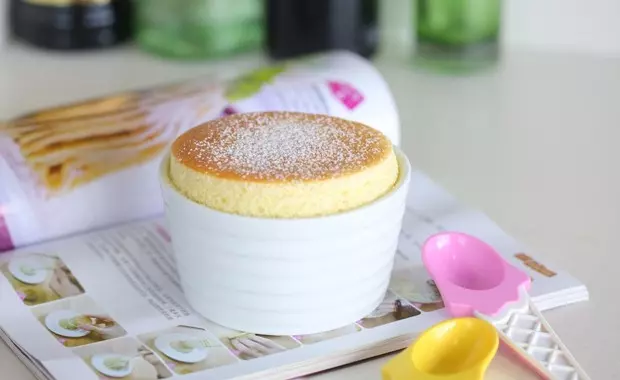
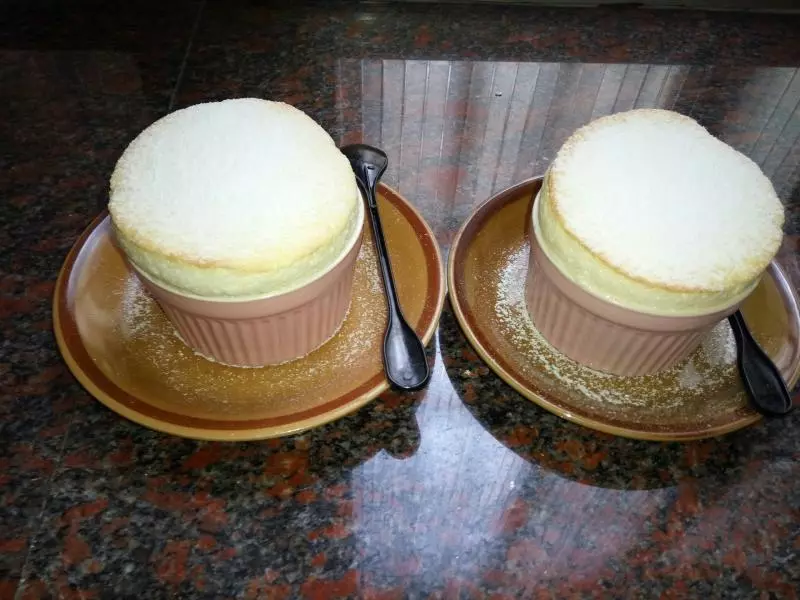
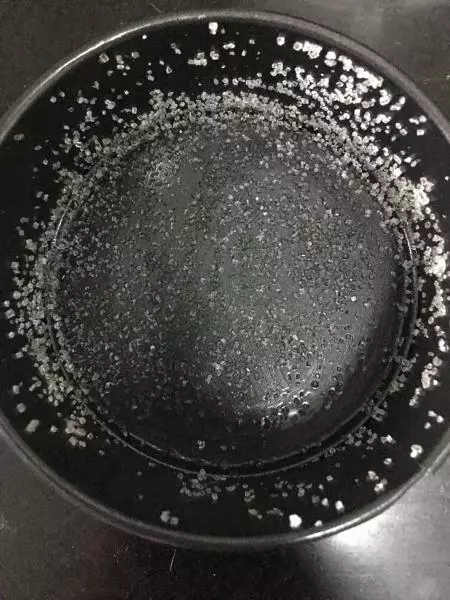
7这里提一下,蛋糕模具需要事先处理下(一般用烤碗,我用了4寸蛋糕模具代替),先刷黄油,再滚上白糖,这个是为了让舒芙蕾能长起来
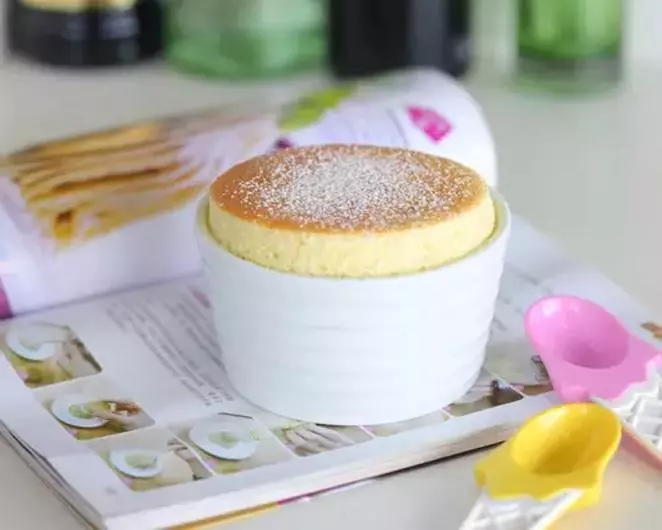
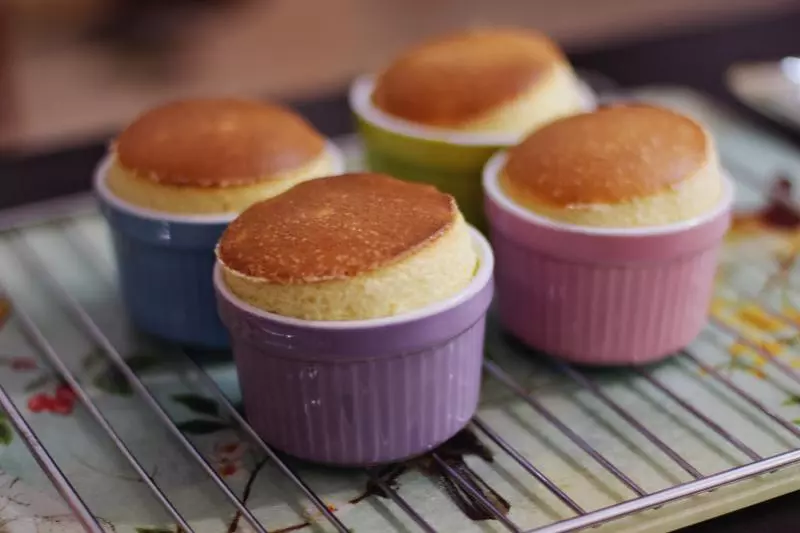
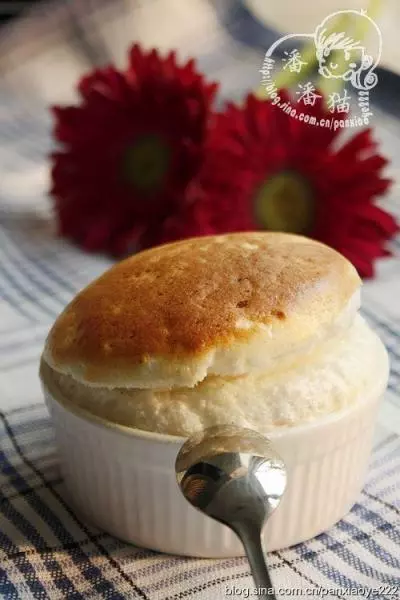
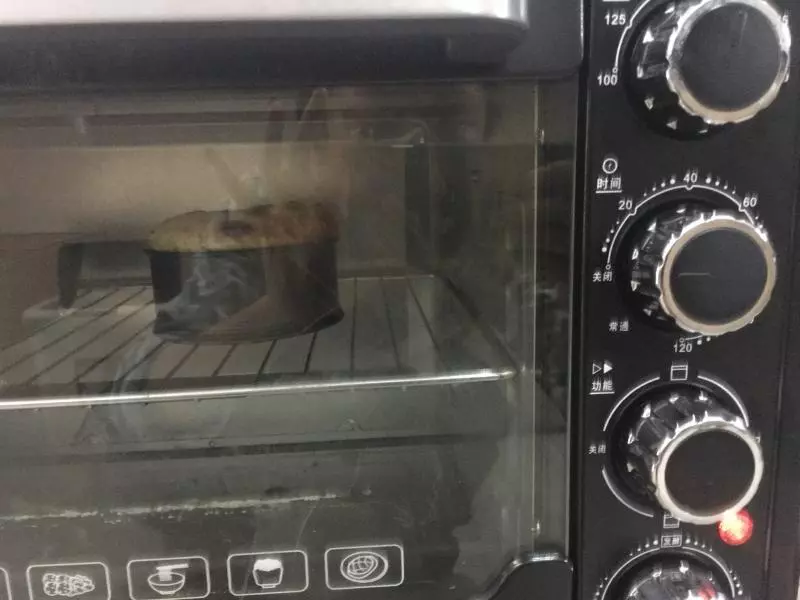
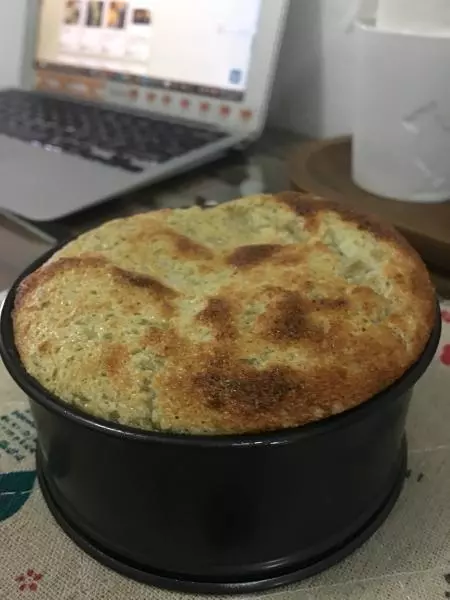
8放入180度预热的烤箱,15分钟,这是快结束前的照片,长起来了!!!
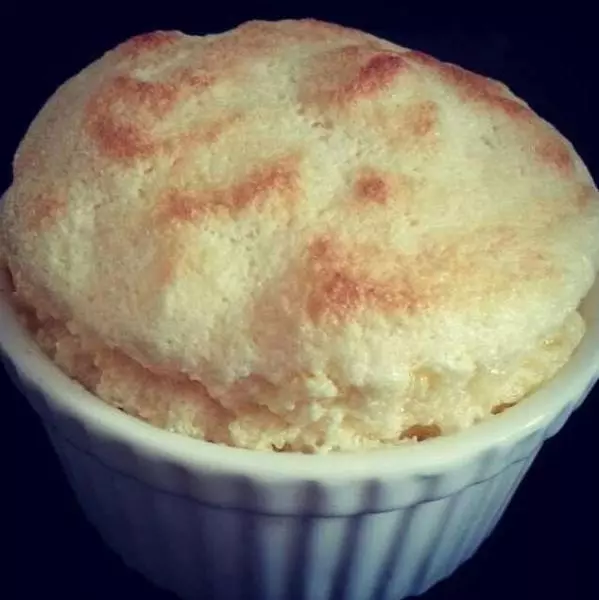
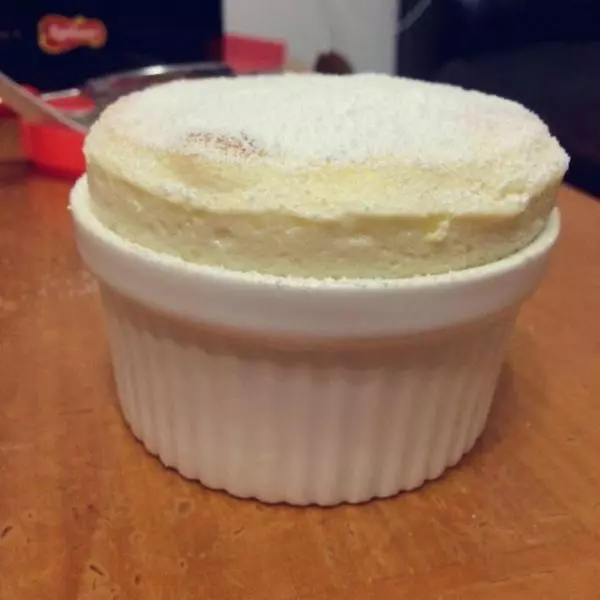
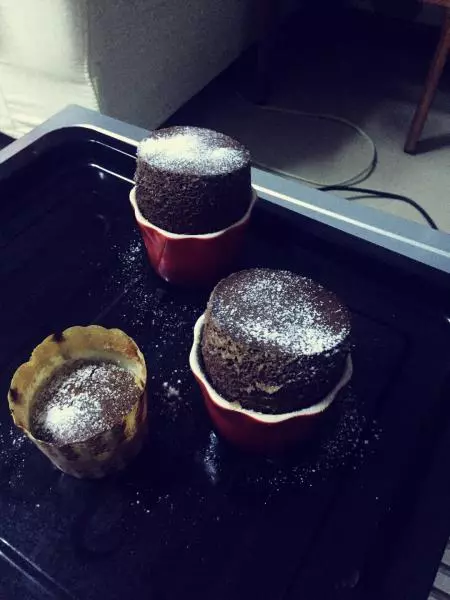
9出炉!拍的时候还是瘪了点
小技巧
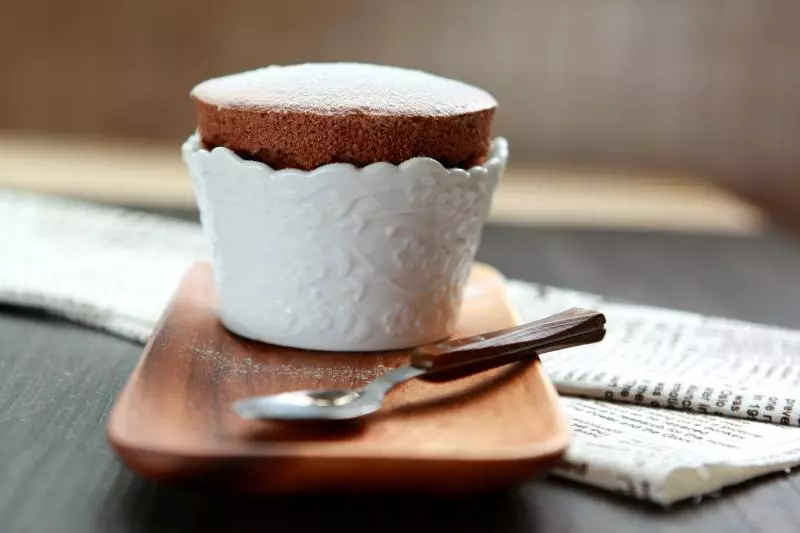
这款不能算很成功(譬如其实长的还不够高),不过第一次尝试还是看到了舒芙蕾特有的膨胀和瘪的过程。