原料
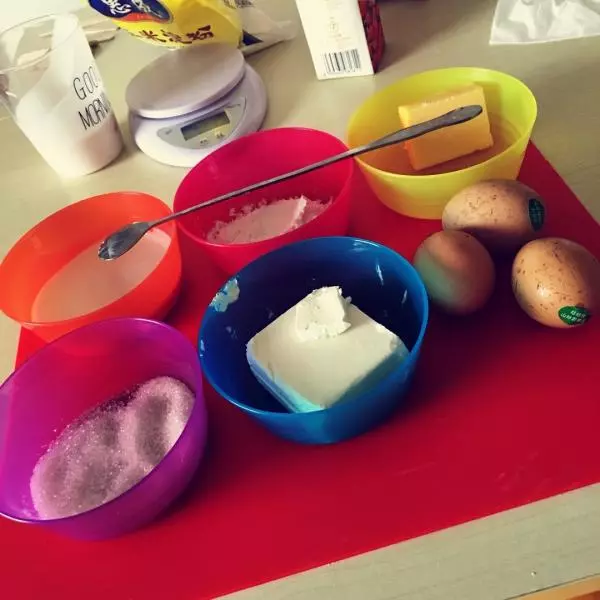
鸡蛋: 3只, 柠檬汁,可用醋代替: 少量, 酸牛奶(个人觉得轻畅草莓,芒果都挺好,比原味的好,把果肉用筛子过滤出来就OK): 100g, 奶油奶酪: 60g, 无盐黄油: 40g, 白砂糖: 40g(根据自己的喜好吧), 栗粉(玉米淀粉): 20g
步骤
1准备好以上材料
2将奶油奶酪,黄油和过滤好的酸奶混合在一起
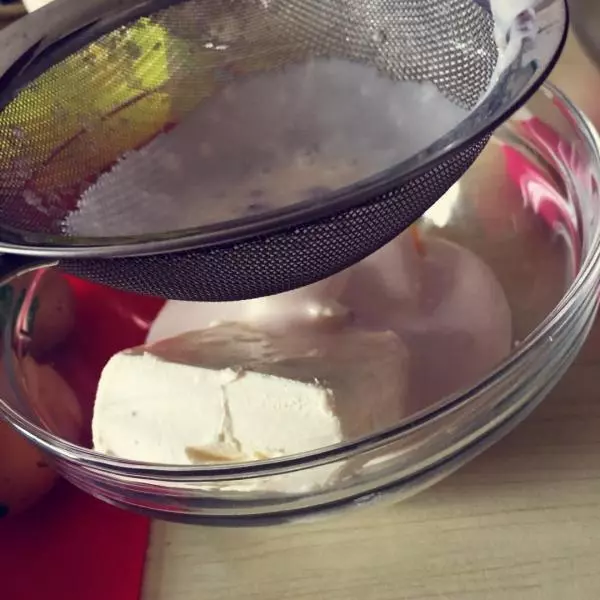
3隔水融化至无颗粒

4将分隔号的鸡蛋黄一个个的加入到奶油奶酪黄油酸奶糊中,搅拌均匀
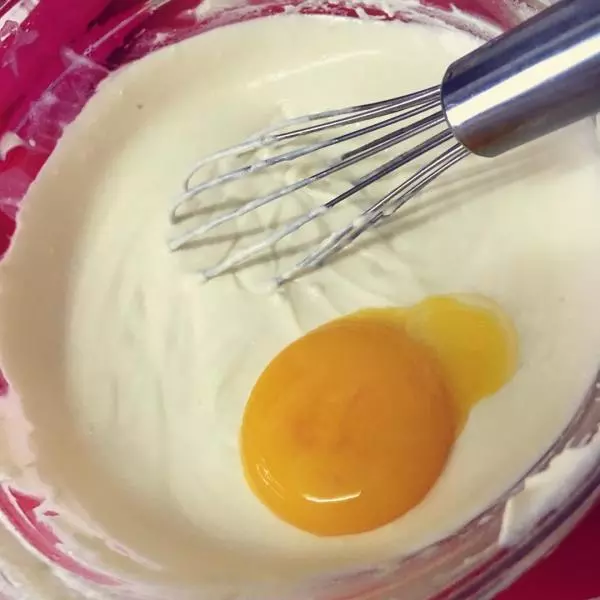
5搅拌好鸡蛋,加入玉米淀粉?搅拌至无颗粒
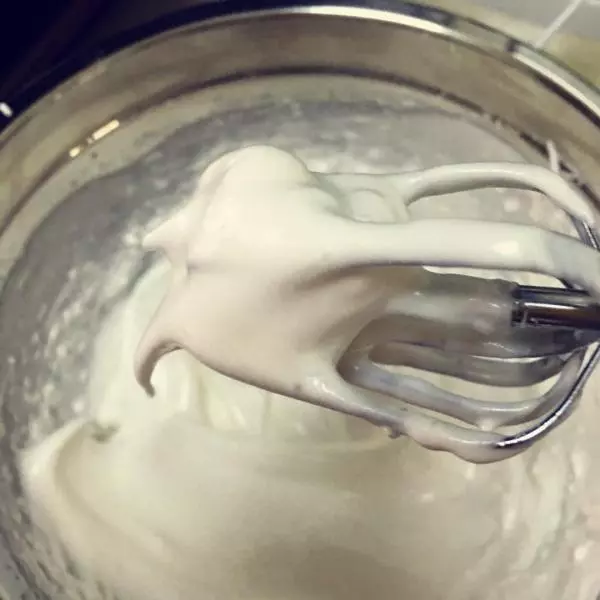
6取出放在冰箱的蛋清,分三次加入白糖,打至大勾状
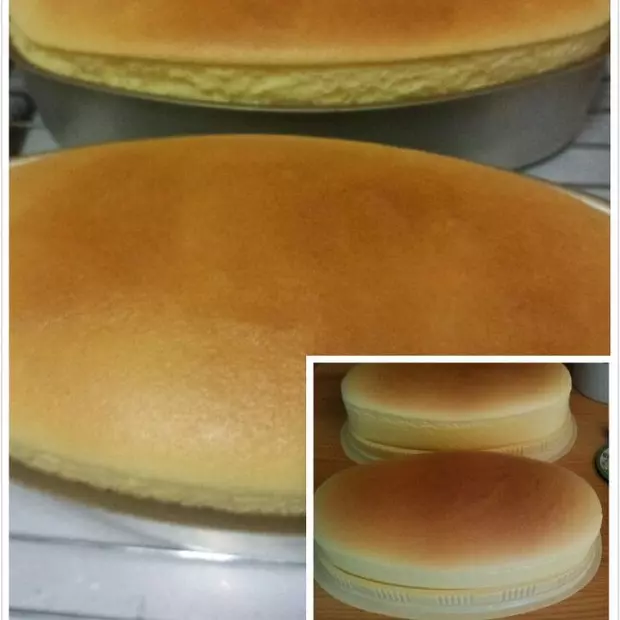
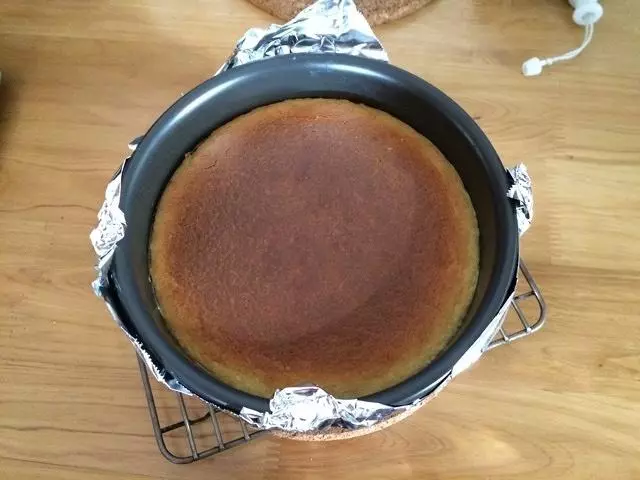
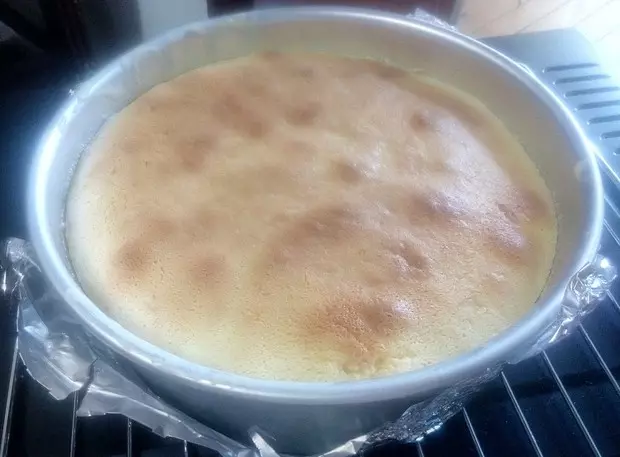
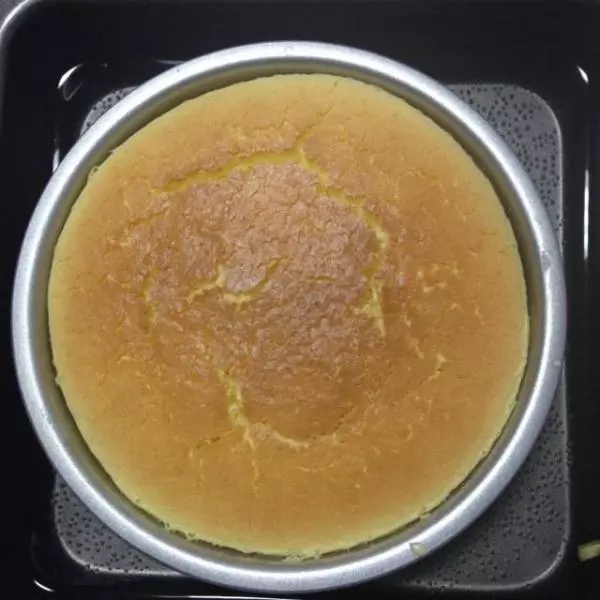
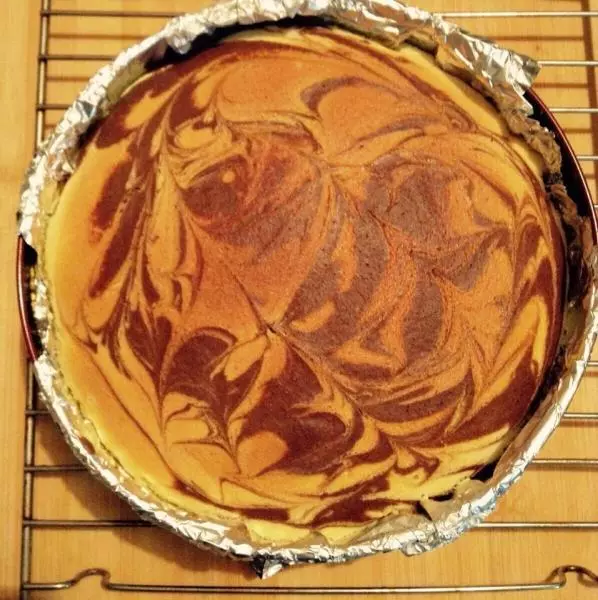
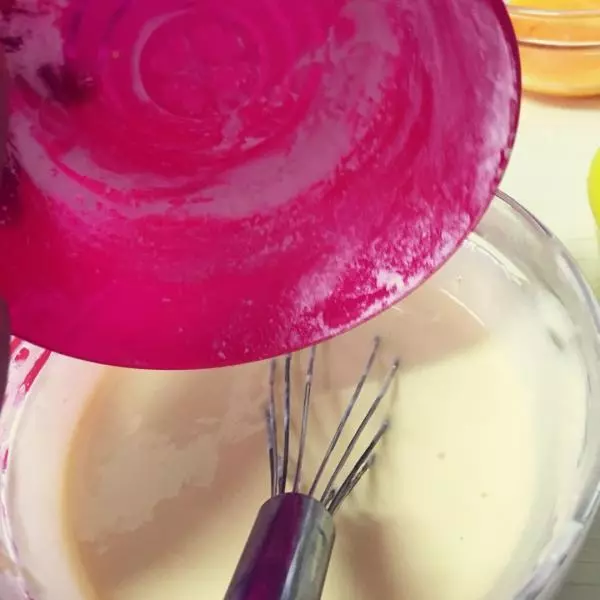
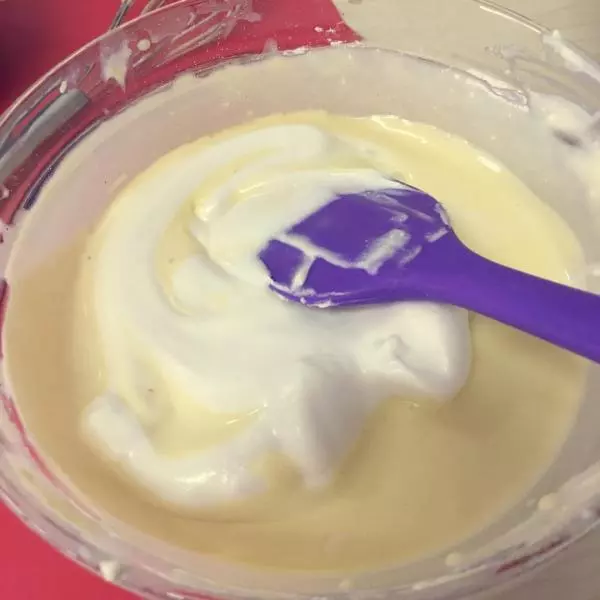
7将打好的蛋清分三次倒入奶酪糊中,搅拌均匀,否则奶酪会沉在底部,搅拌好后倒入铺有油纸的模具中,轻摔两次振出气泡,放入150度20分钟预热的烤箱内,将盛有水的烤盘放入烤箱下层,烤网放入中层,调节至170度烤30分钟,最后上色
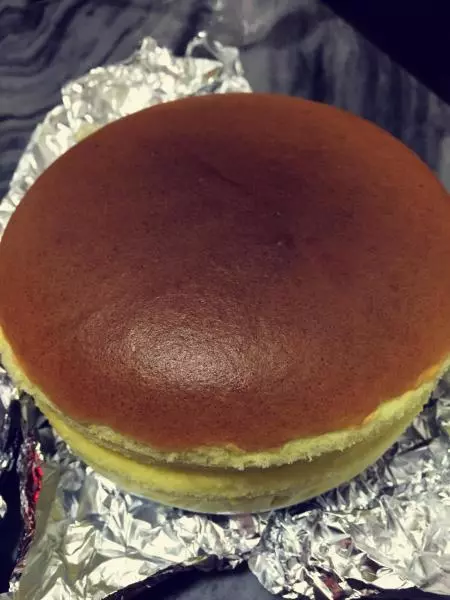
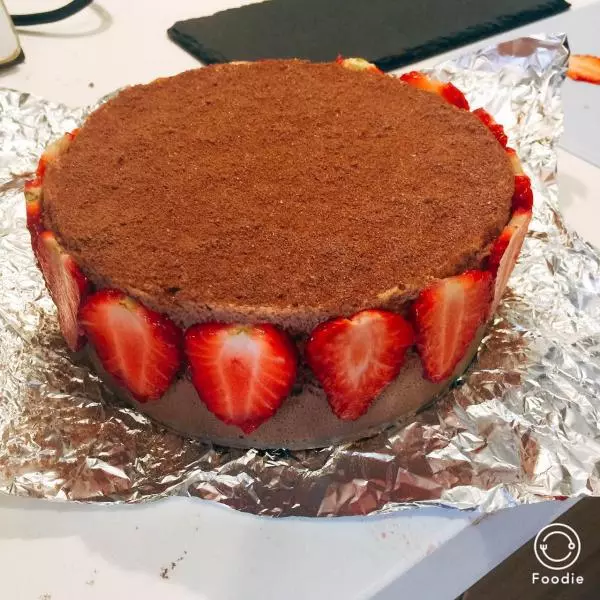
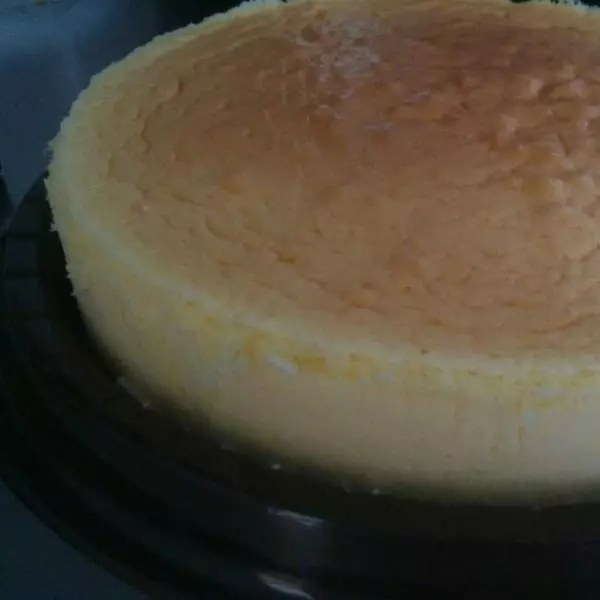
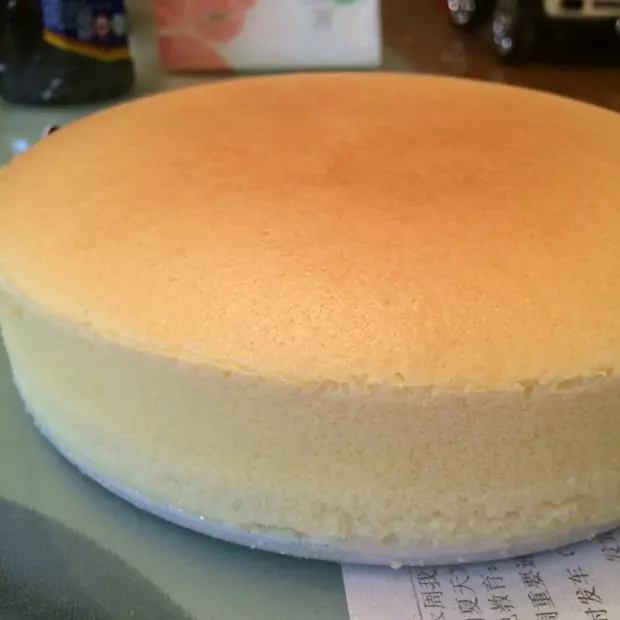
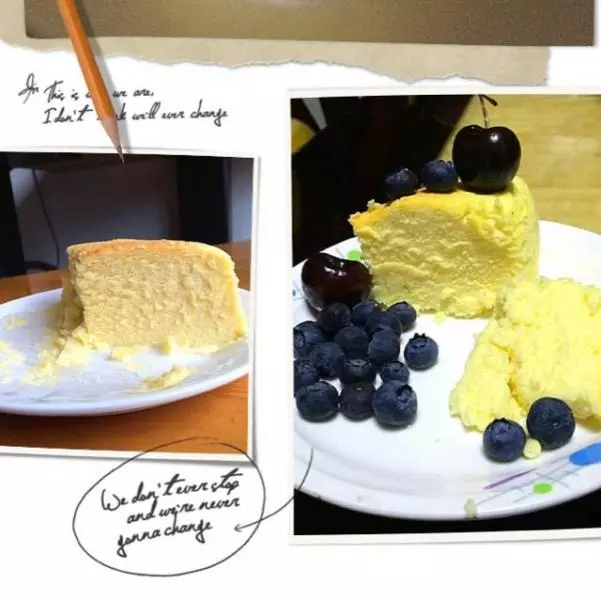
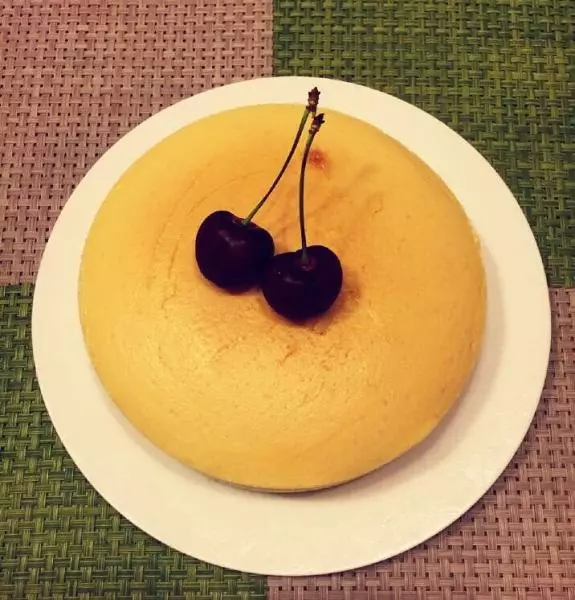
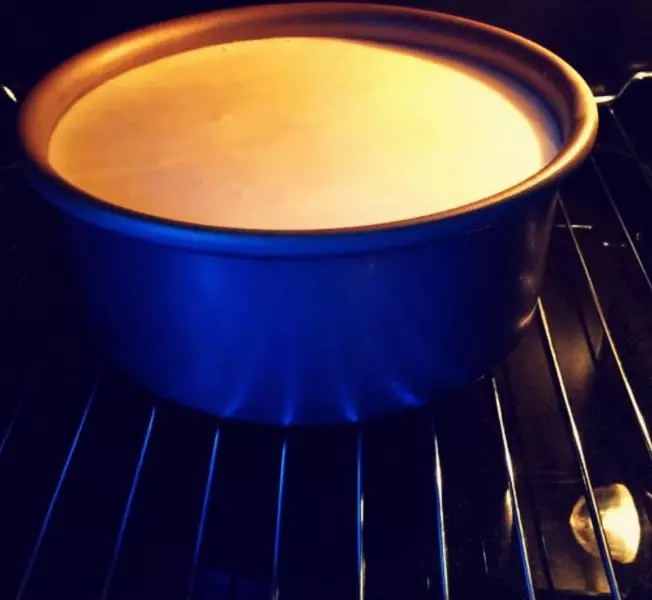
830分钟170度烤完后,将温度调至140度,再烤30分钟。烤完后,将乳酪蛋糕在烤箱里焖50分钟,取出晾凉后放入冰箱冷藏,最好过夜口味更佳……
小技巧
烤的时候,千万要注意温度,可以稍低20度,因为烤箱温度不同,所以大家可以降低下温度。 打鸡蛋清的时候千万别打过