原料
鸡蛋: 3只, 牛奶: 50ml, 黄油: 30g, 糖粉: 45g, 奶油奶酪: 125g, 柠檬汁: 几滴
步骤
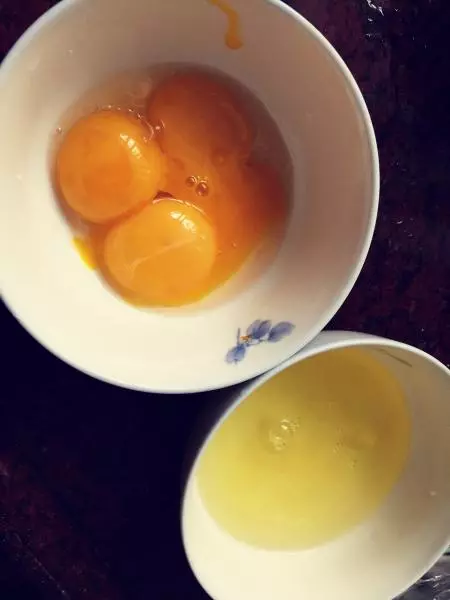
1把材料准备好,把鸡蛋的蛋黄和蛋清分离在无油无水的小碗里
2把奶油奶酪+牛奶倒入大碗,隔水加热,拌匀至无颗粒状态
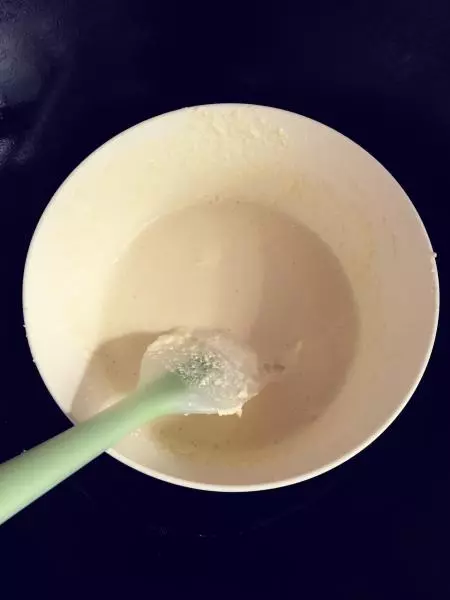
3加入黄油拌匀至溶化
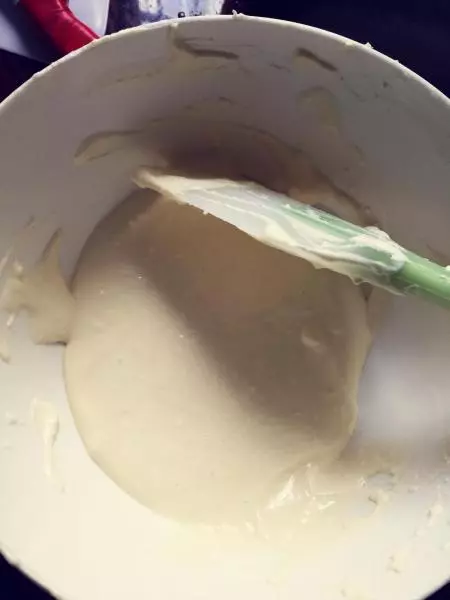
4将大碗拿出分次加入单个蛋黄拌匀
5筛入低粉,拌匀至无颗粒状态
6将烤盘加入7分满水,放入烤箱下层,预热烤箱180度,15分钟

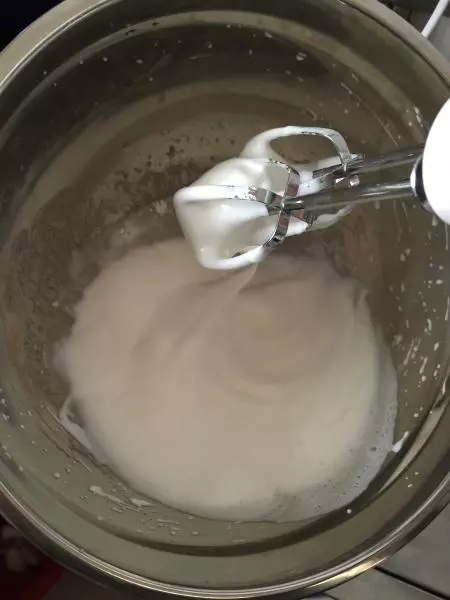
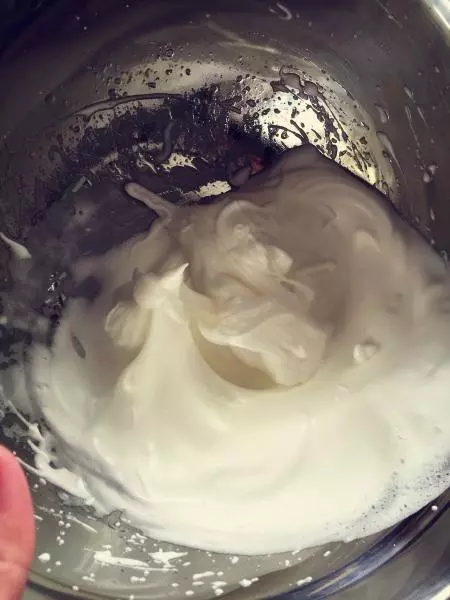
7蛋白+糖粉+柠檬汁 先高速再低速打成打成湿性发泡(弯勾状态)
8打发好的蛋白取1/3放入面糊 从下往上翻拌,剩余同理
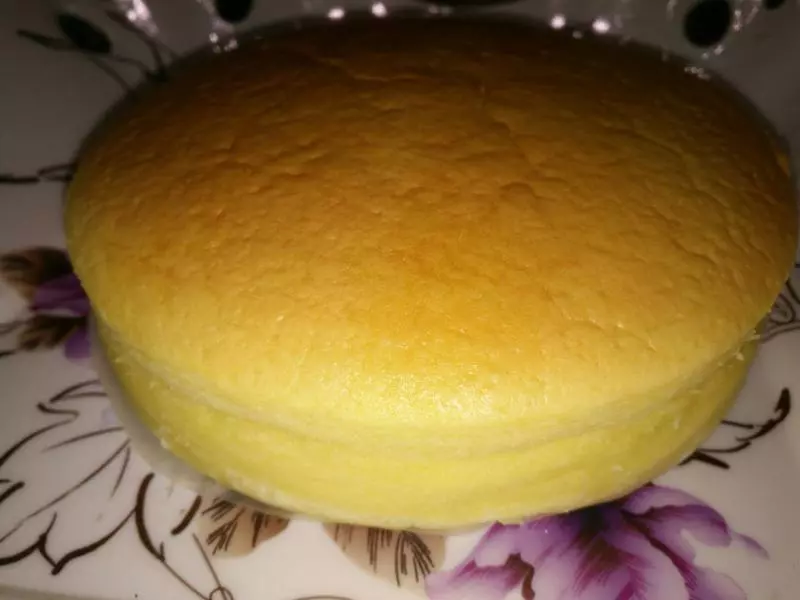
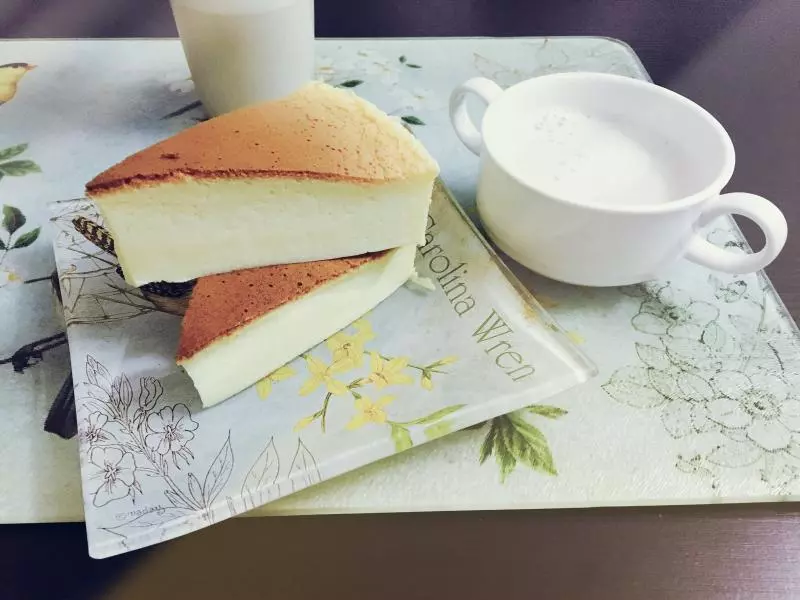
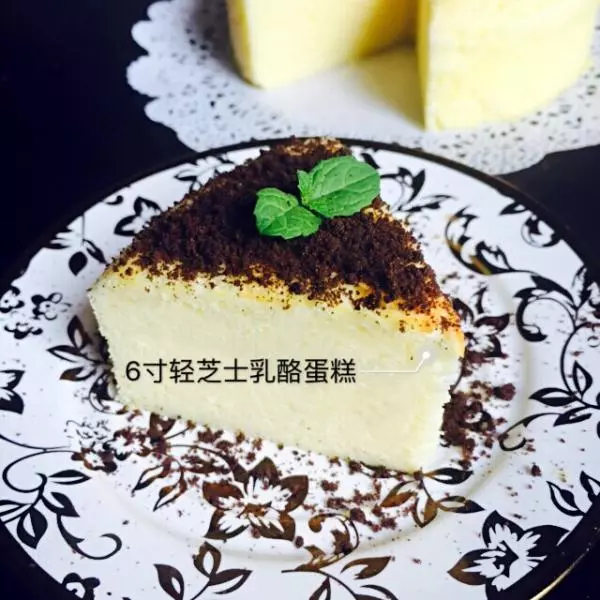
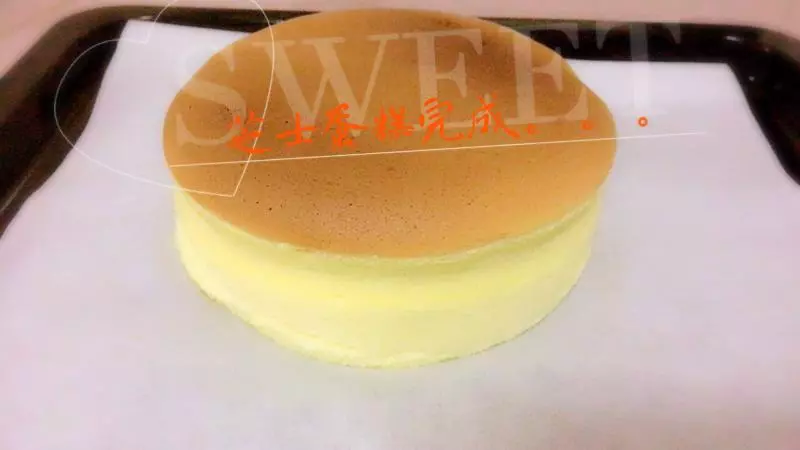
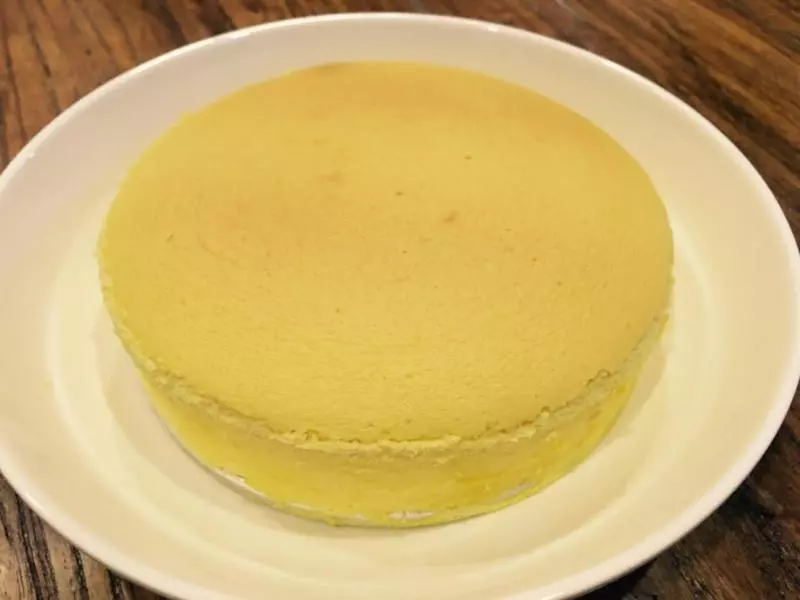
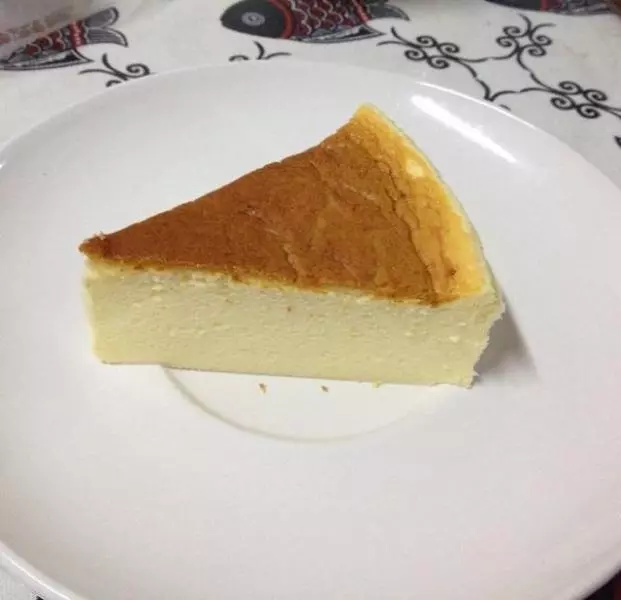
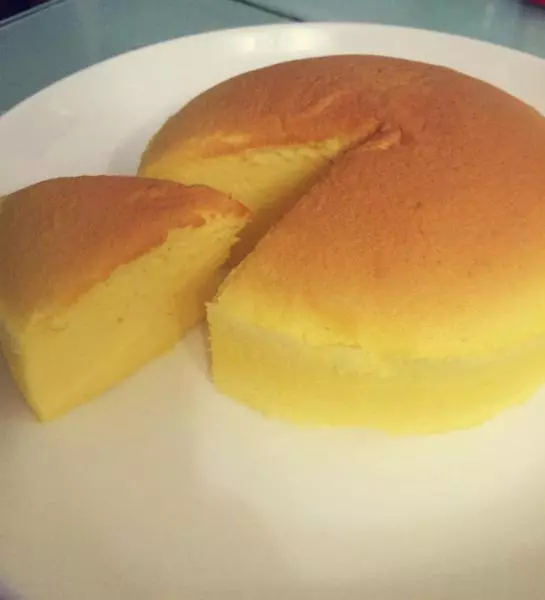
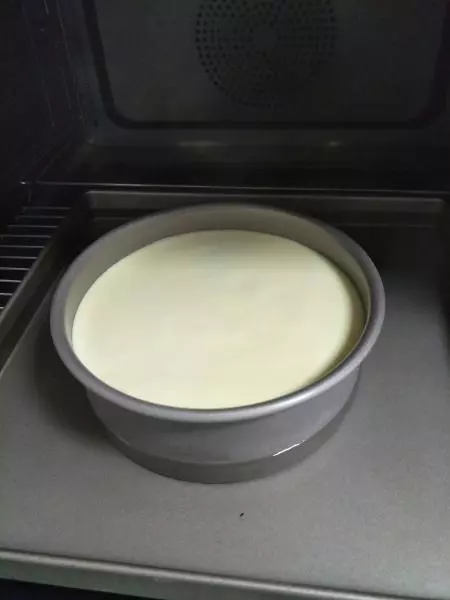
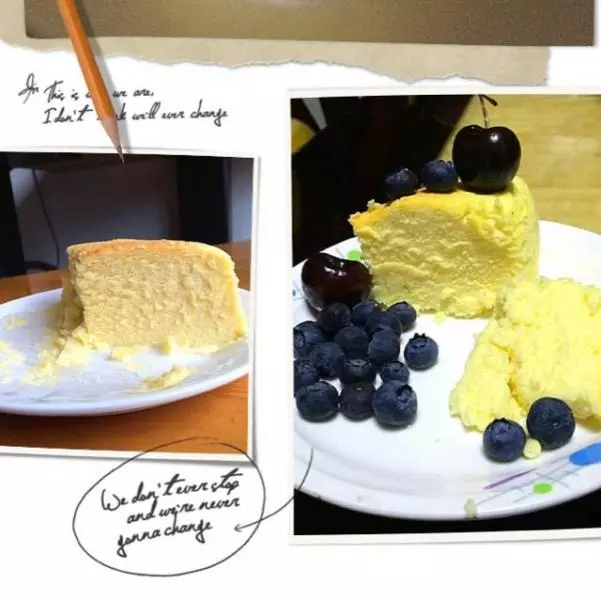
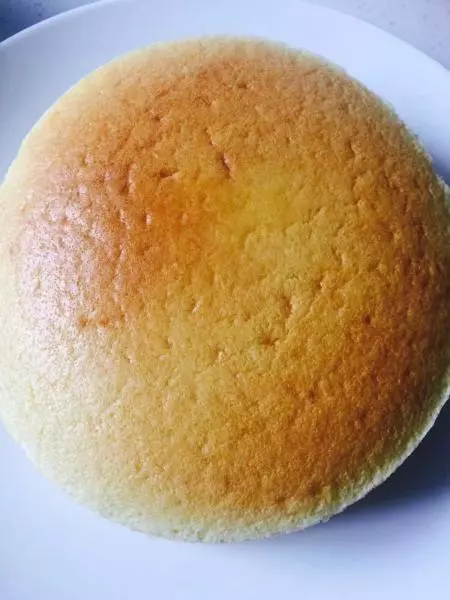
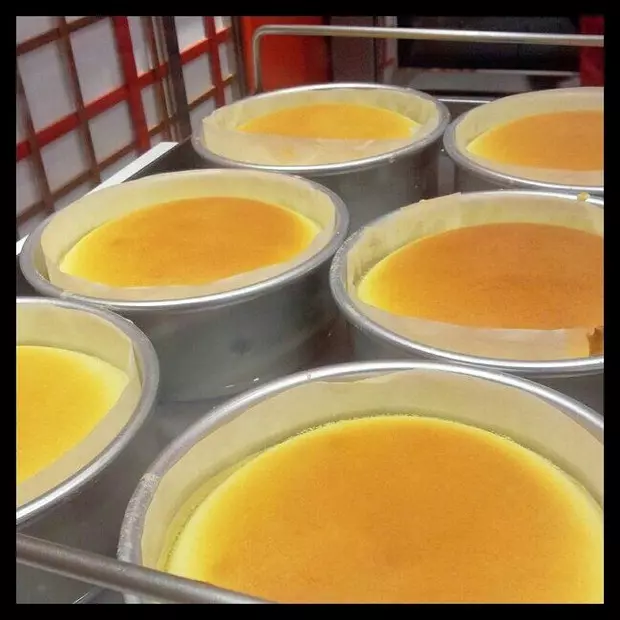
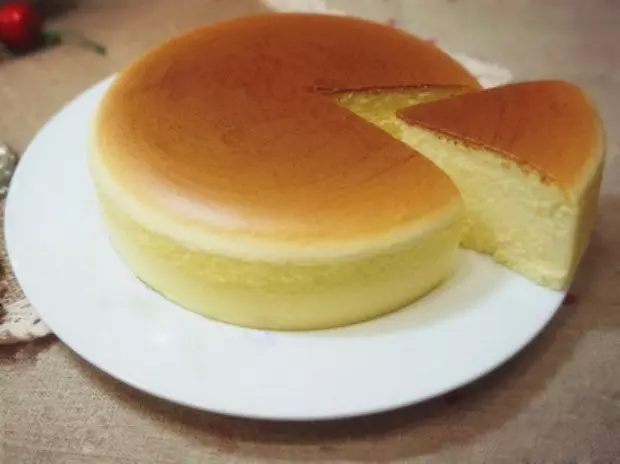
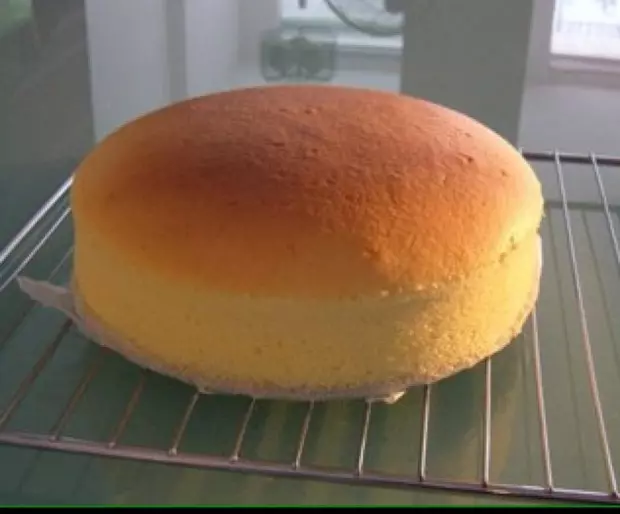
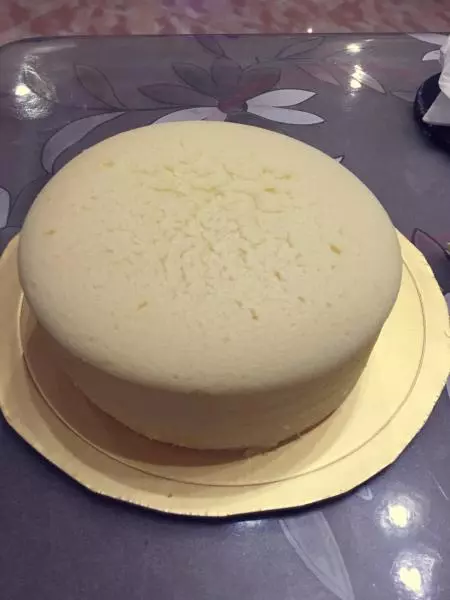
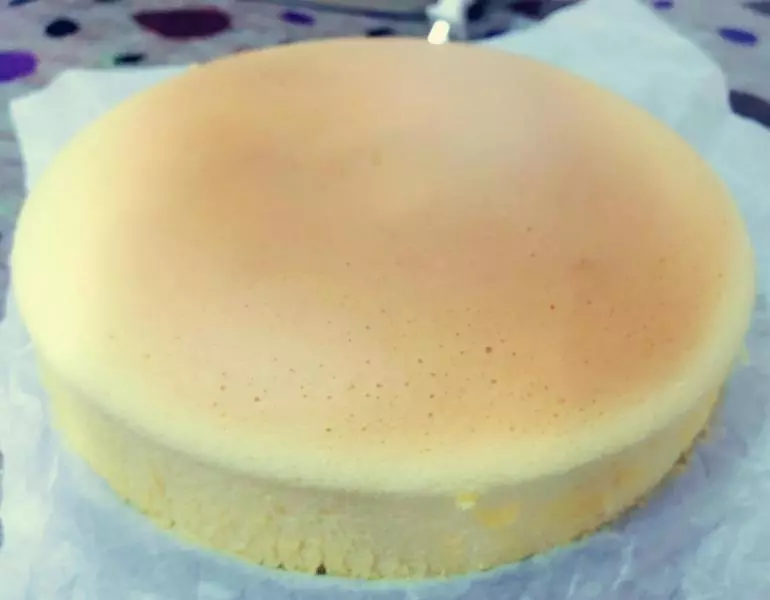
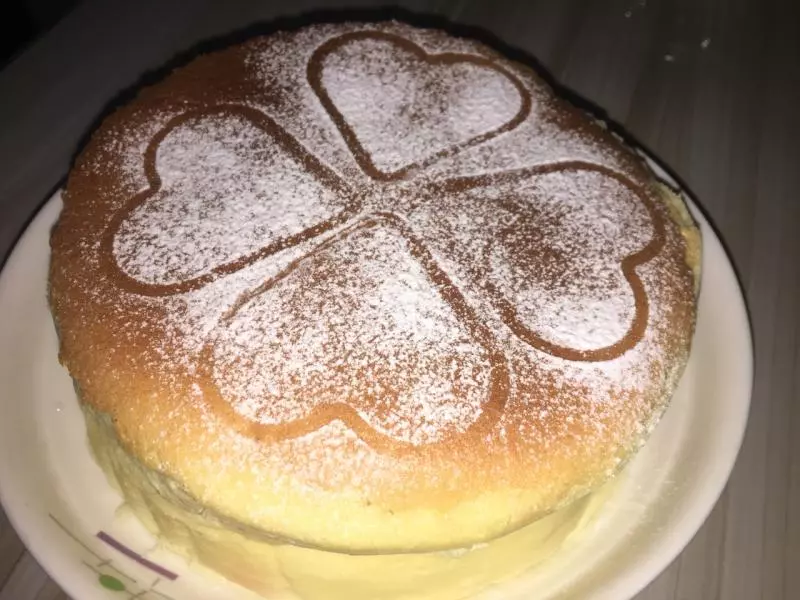
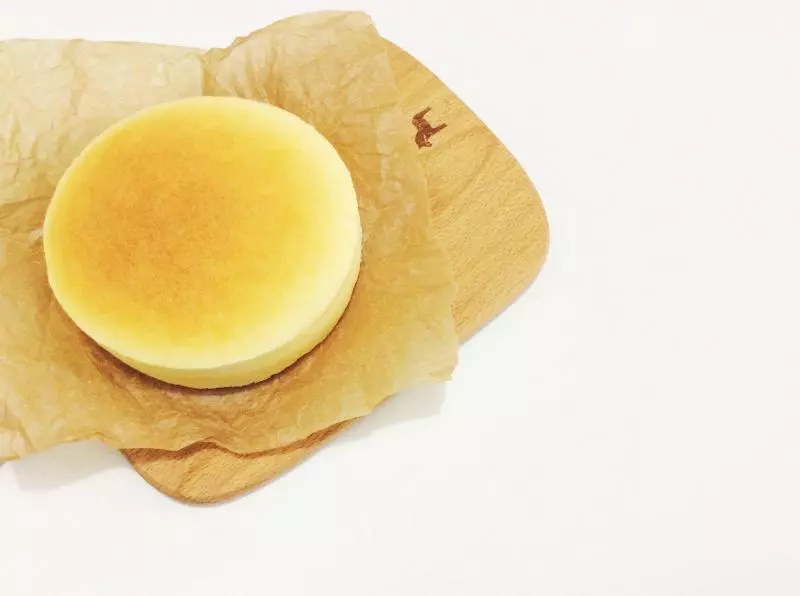
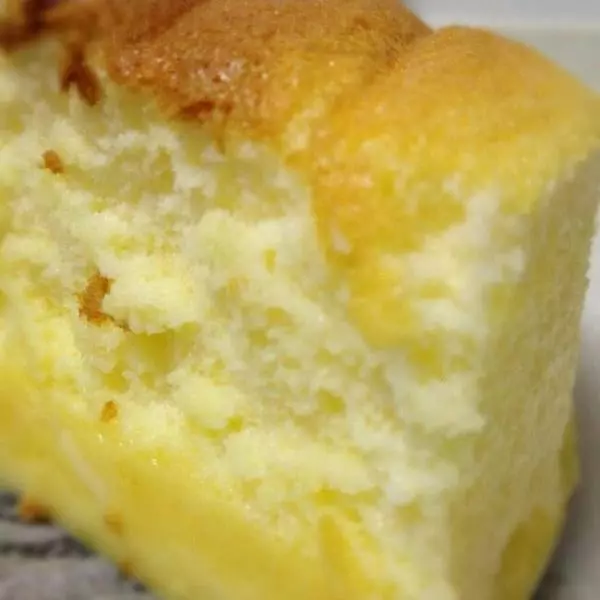
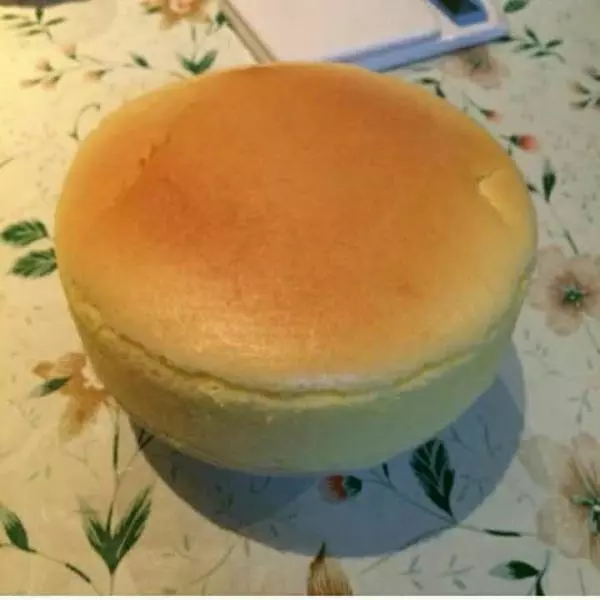
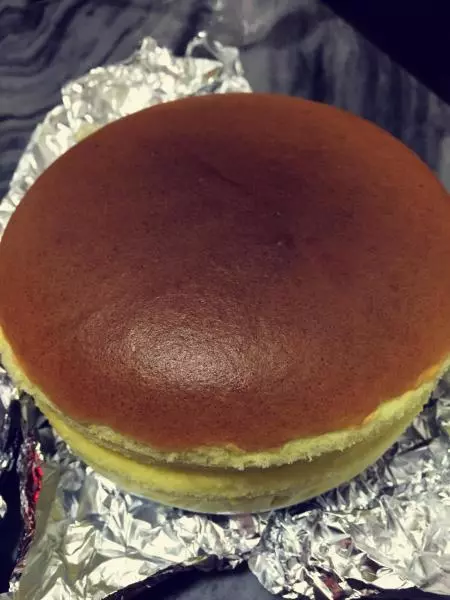
9剪好油纸放入模具底部,倒入拌好的面糊,模具外面最好用锡纸包一下 烤盘上层放一个烤网,将模具放至烤网进行水浴180度30分钟转150度20分钟,烤好后,不用马上取出,在烤箱焖20-30分钟脱模 可即食/冷藏一晚口感更佳