原料
中筋面粉: 180克, 花生油: 50克, 转化糖浆: 130克, 枧水: 4克, 咸蛋黄: 10个, 蛋黄液: 20克(做装饰)
步骤
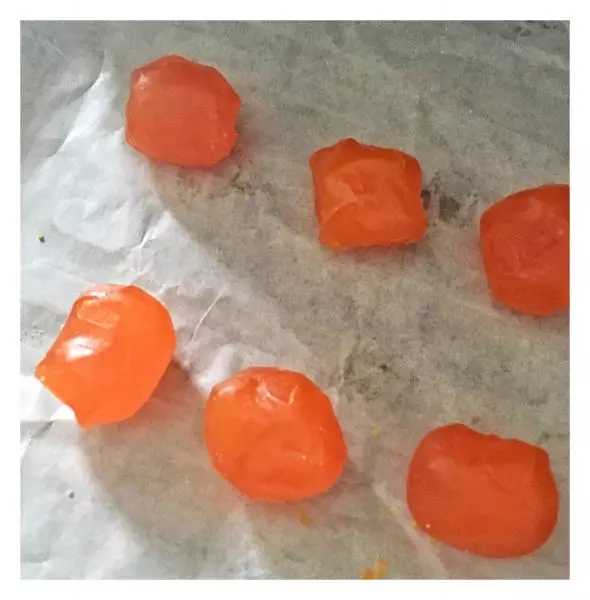
1蛋黄过下白酒,烤箱设置170度,烤八分钟
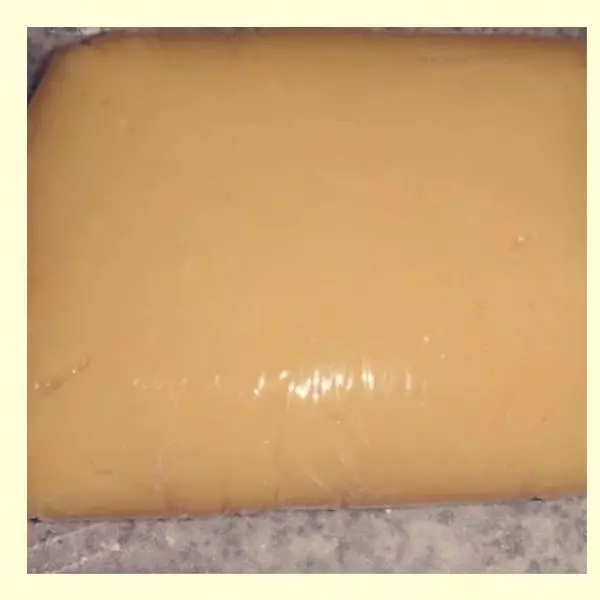
2制作饼皮,将面粉、枧水、转化糖浆混合,揉成光滑的面团,用保鲜膜包好,松弛2个小时
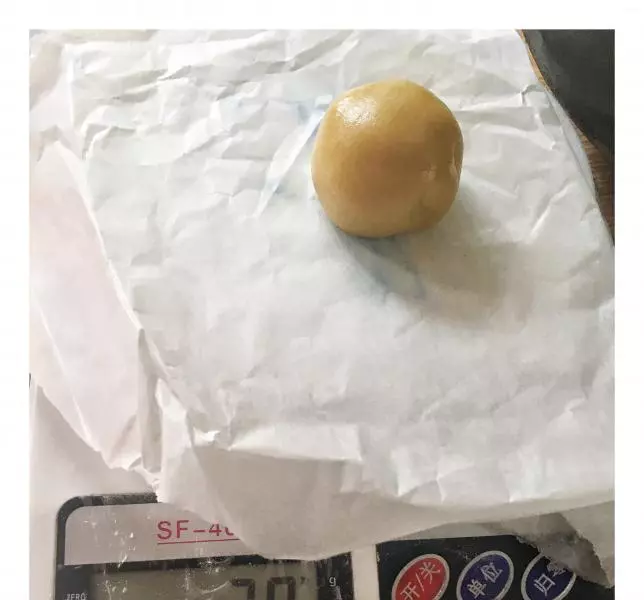
3饼皮每一份是30克,此配方可以做10个
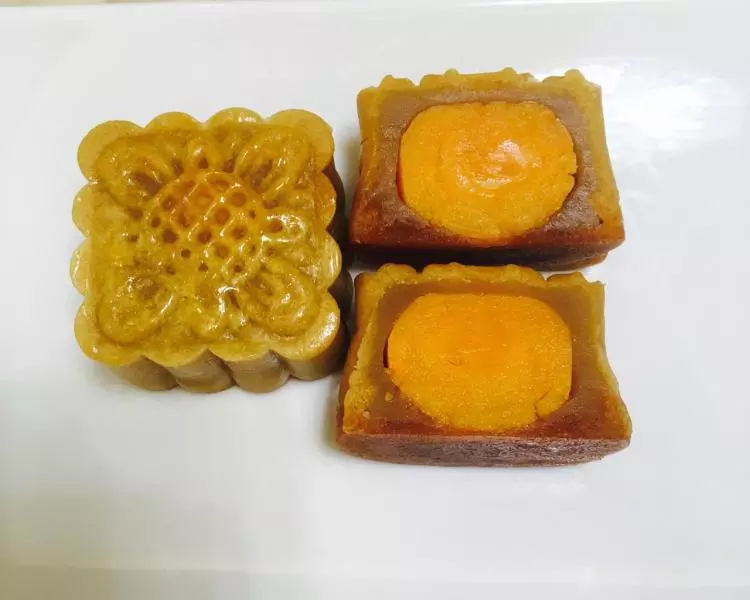
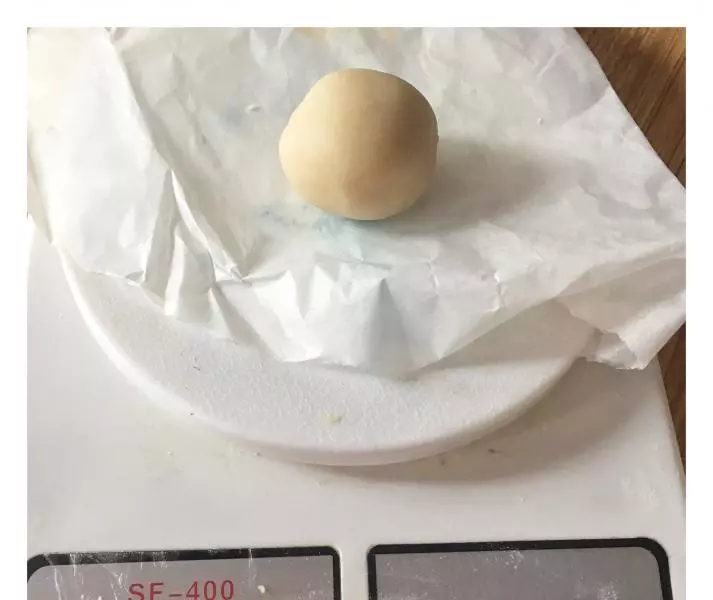
4莲蓉馅30克,蛋黄10克,加起来40克
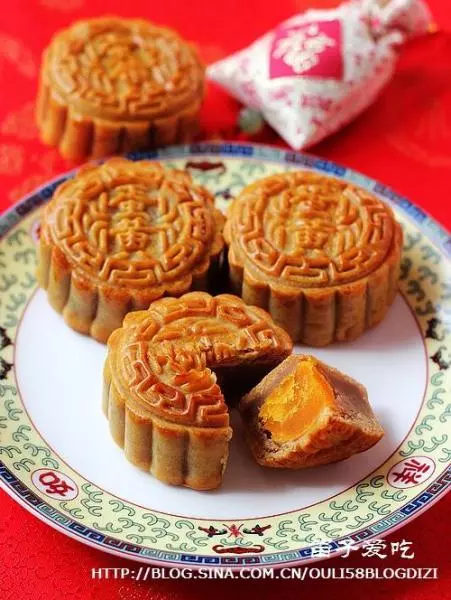
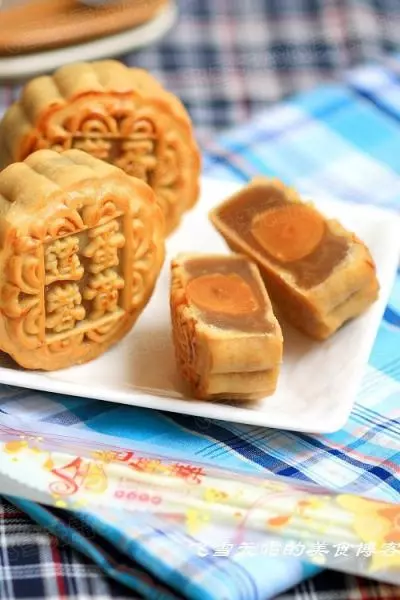
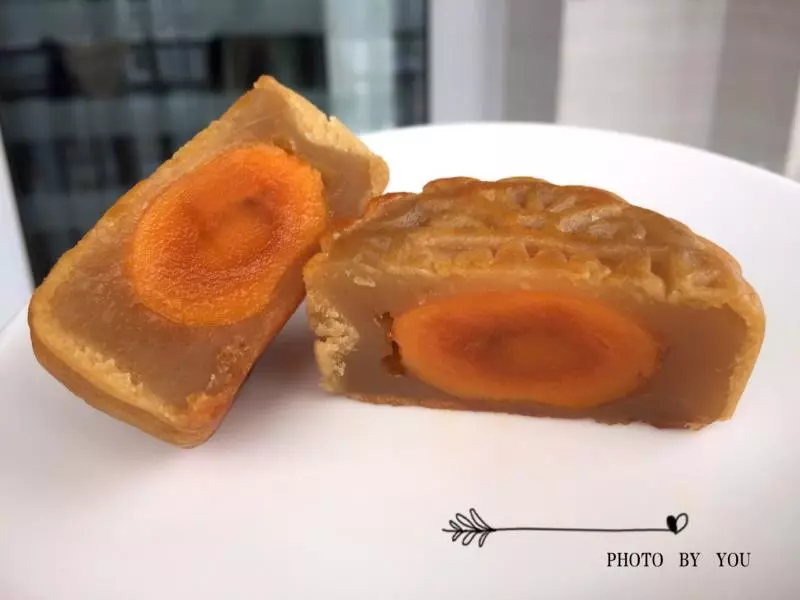
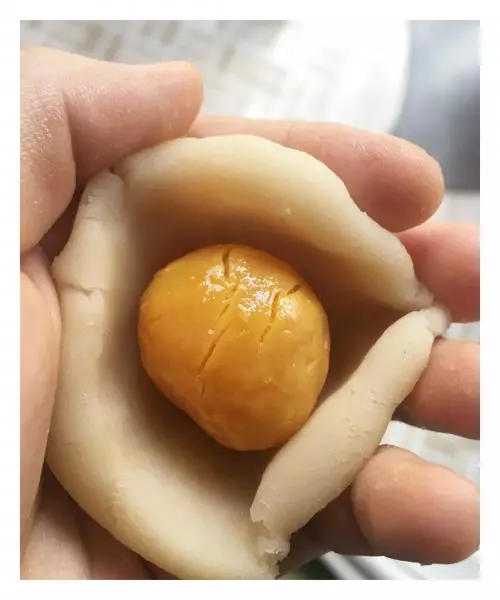
5莲蓉包住蛋黄
6饼皮包住莲蓉蛋黄馅
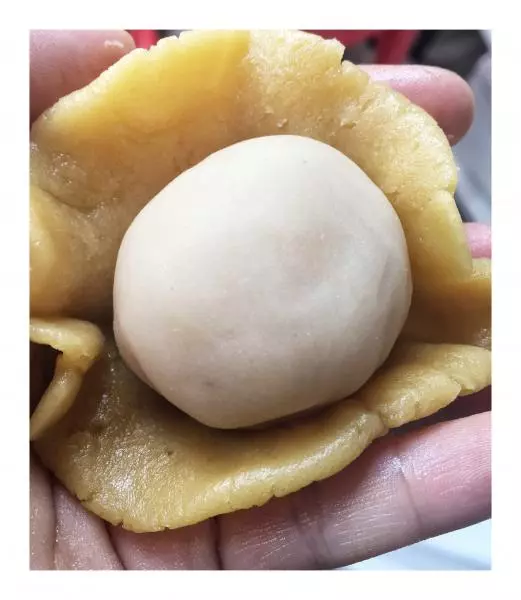
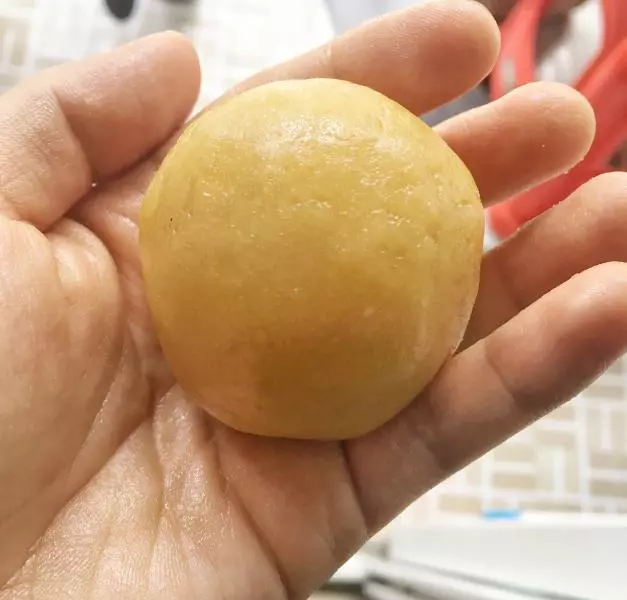
7收口,揉成光滑面团
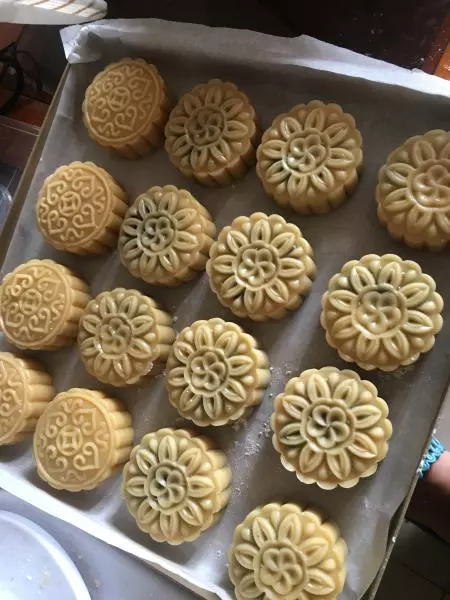
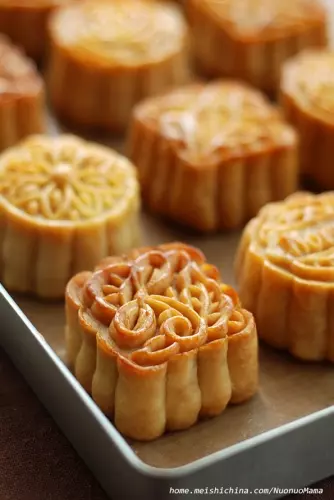
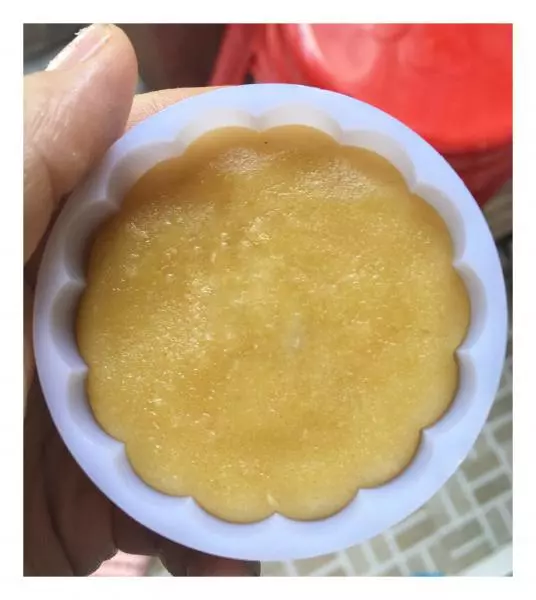
8将面团放进模具里面,压平整
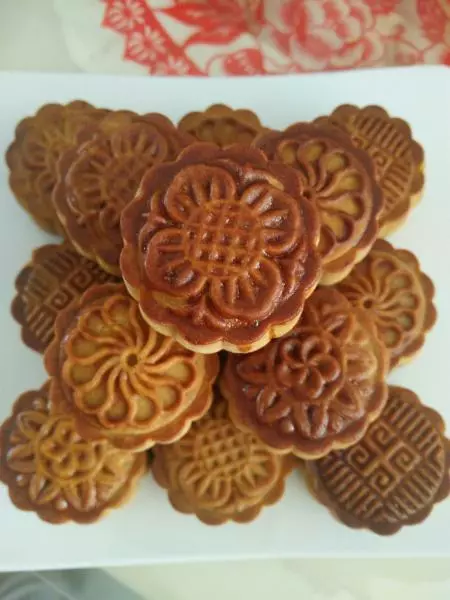
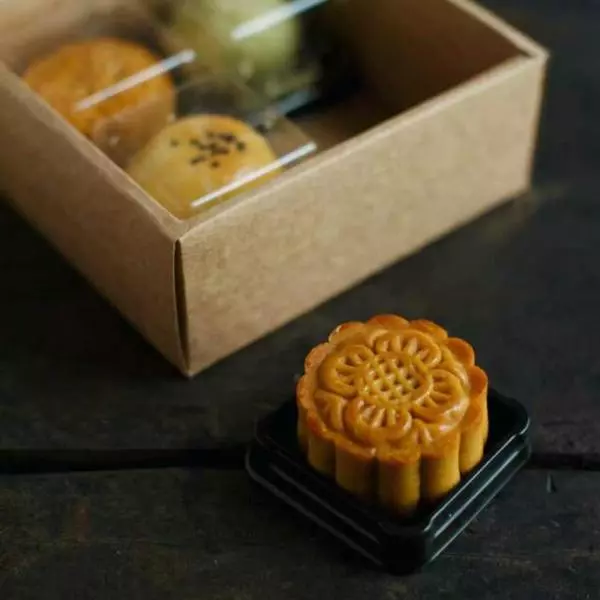
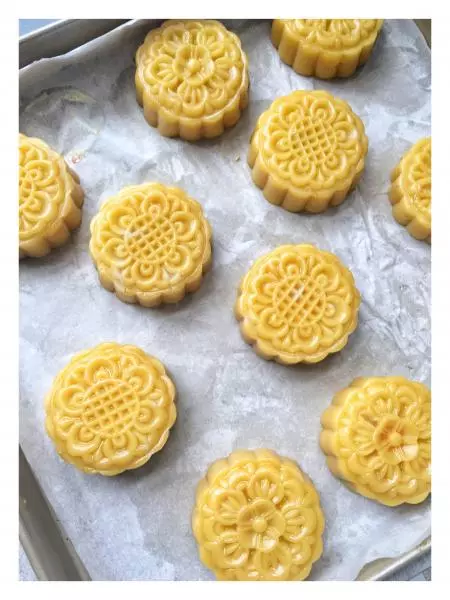
9压模完成
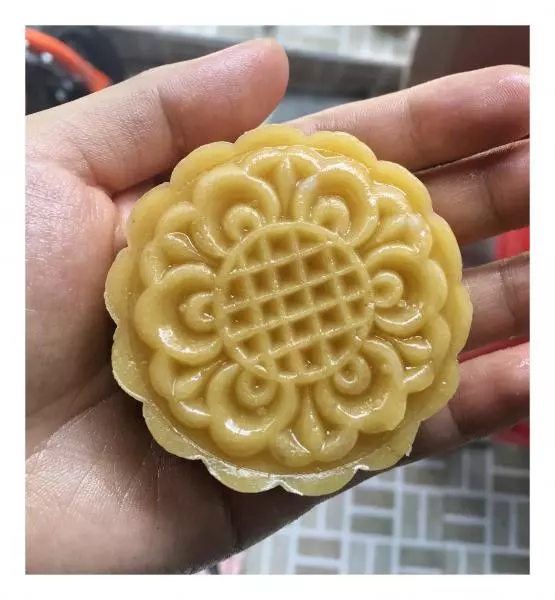
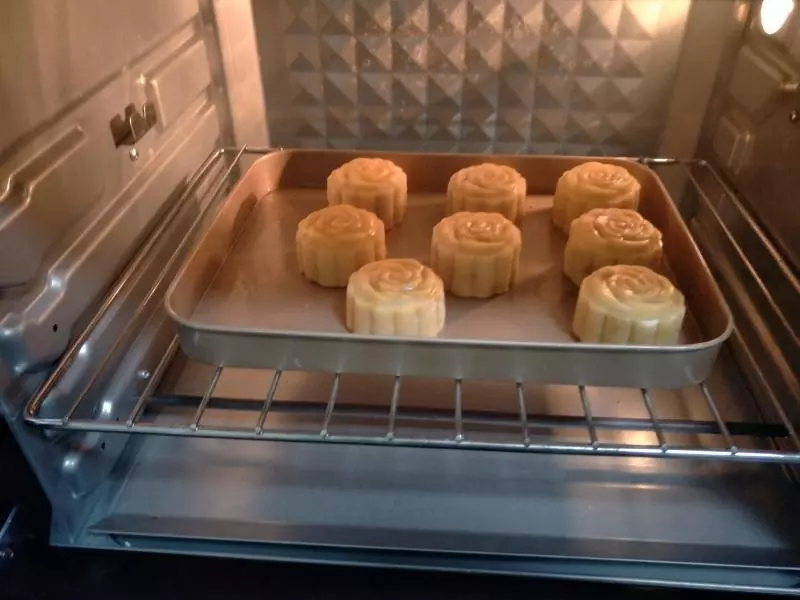
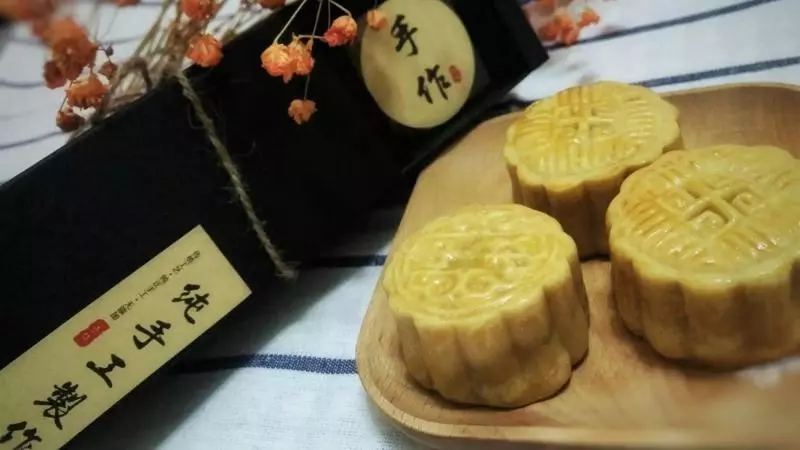
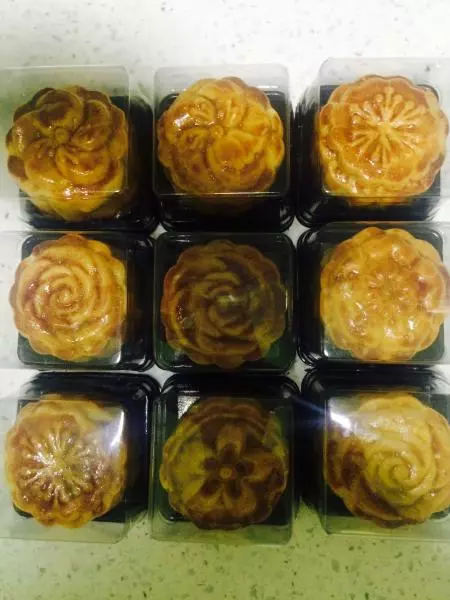
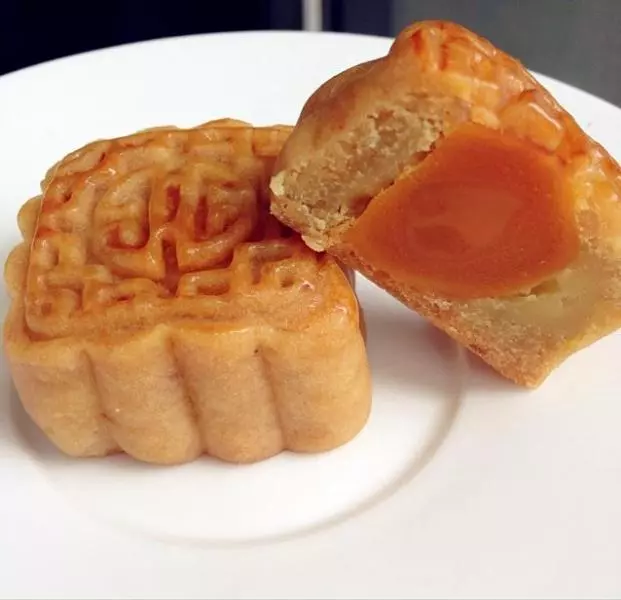
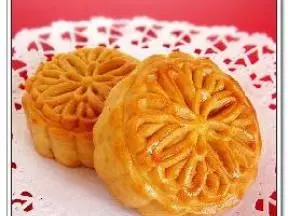
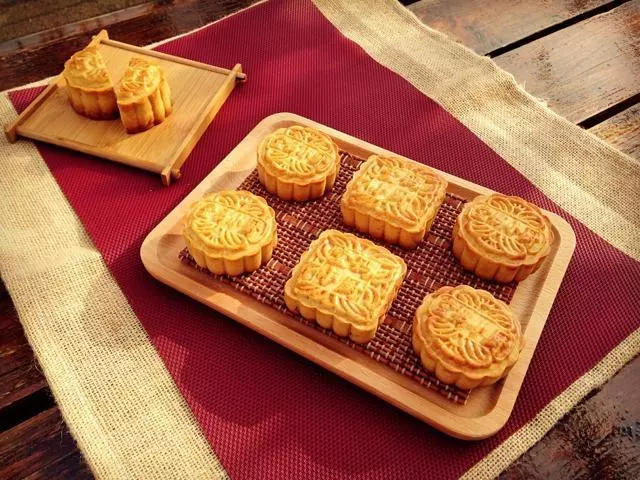
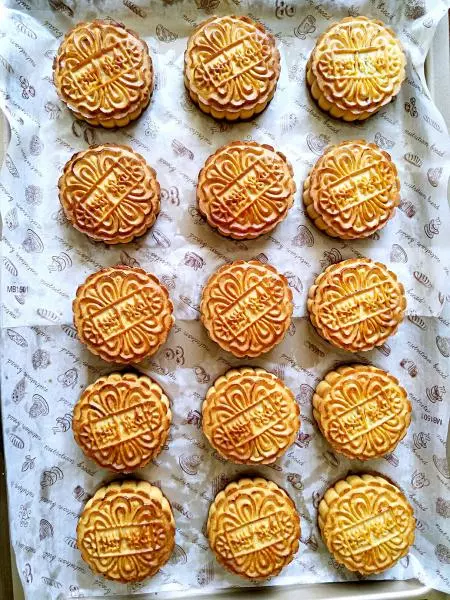
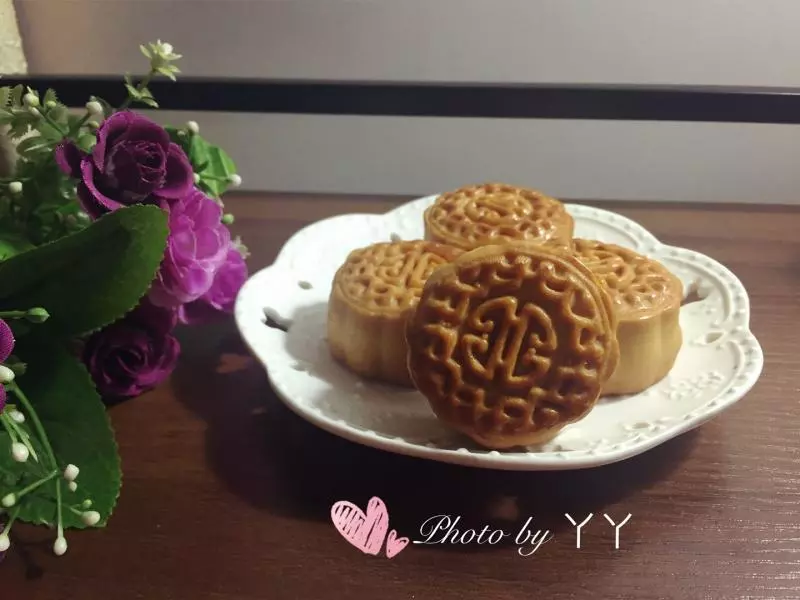
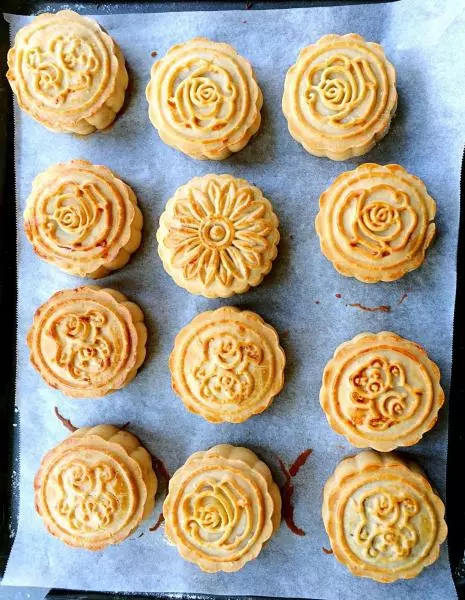
10烤箱170度,烤10分钟,定型完成后,刷少量蛋黄液,再烤8分钟
小技巧
刷的蛋黄液一定要少量哦,不然花纹不清晰