原料
蛋黄 6个 细砂糖 20克 牛奶 120克 玉米油 75克 低粉 135克: , 蛋白 6个 细砂糖 80克 柠檬汁 数滴:
步骤
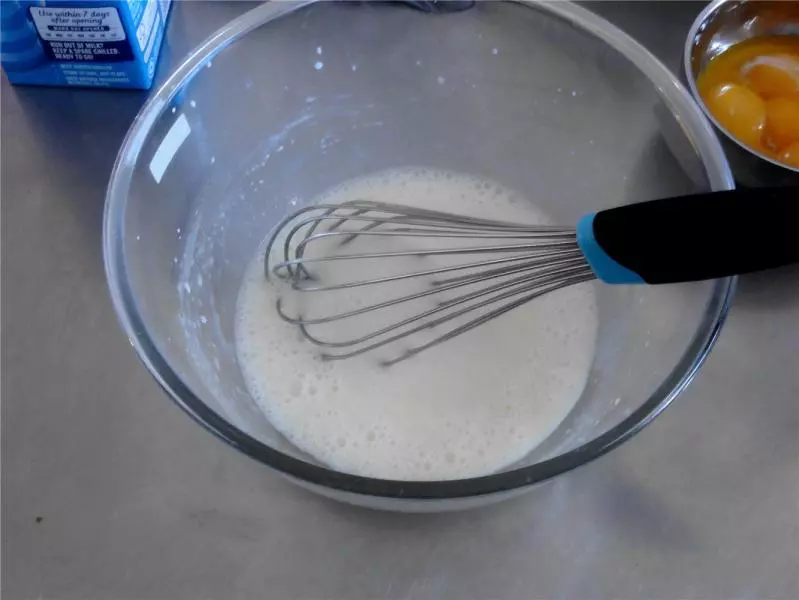
1烤箱上下管140度预热 蛋白和蛋黄分离备用 牛奶和玉米油加入细砂糖,搅拌均匀
2筛入低筋面粉
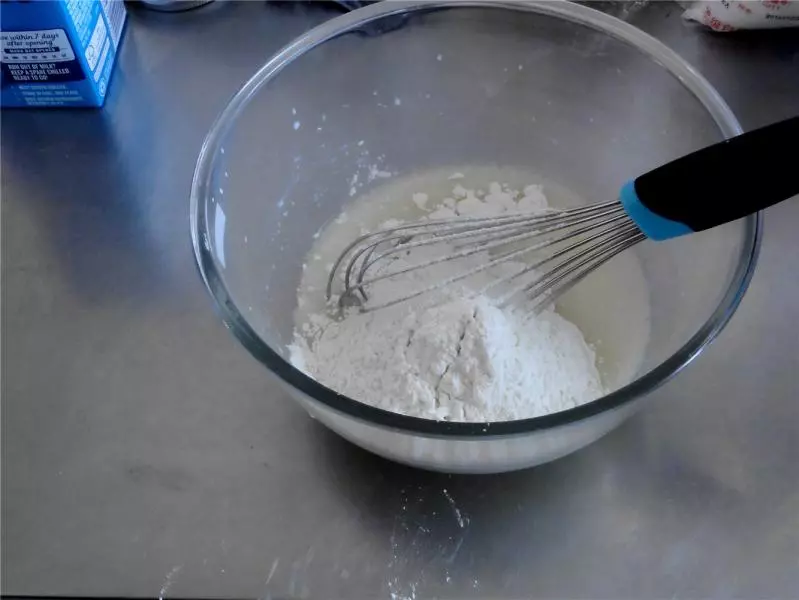
3用手动打蛋器之字形拌匀
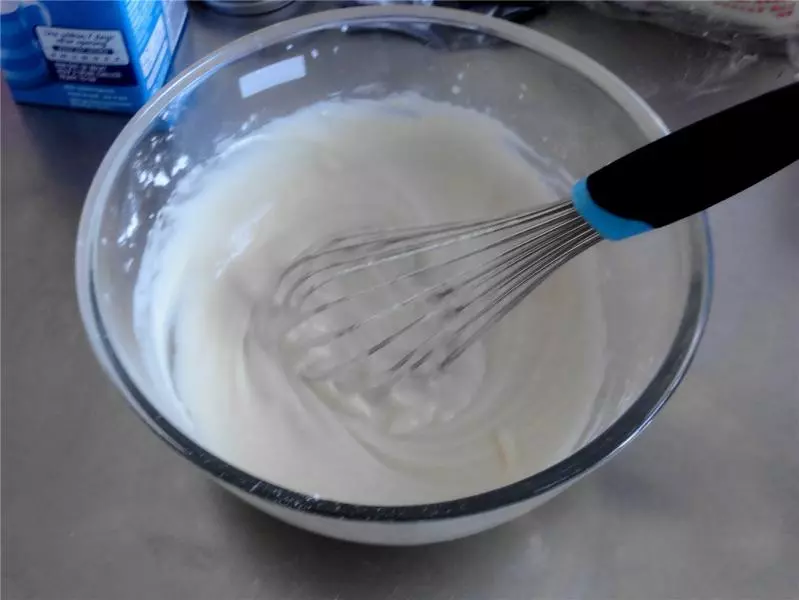
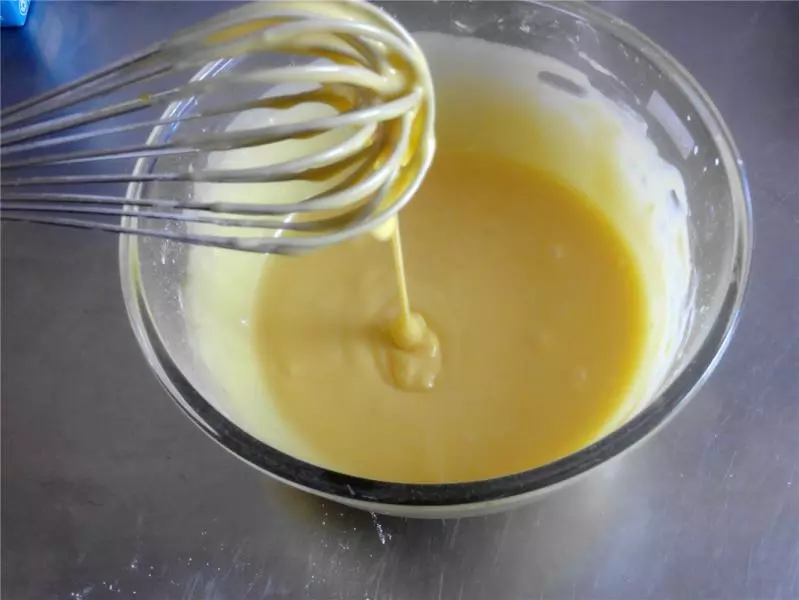
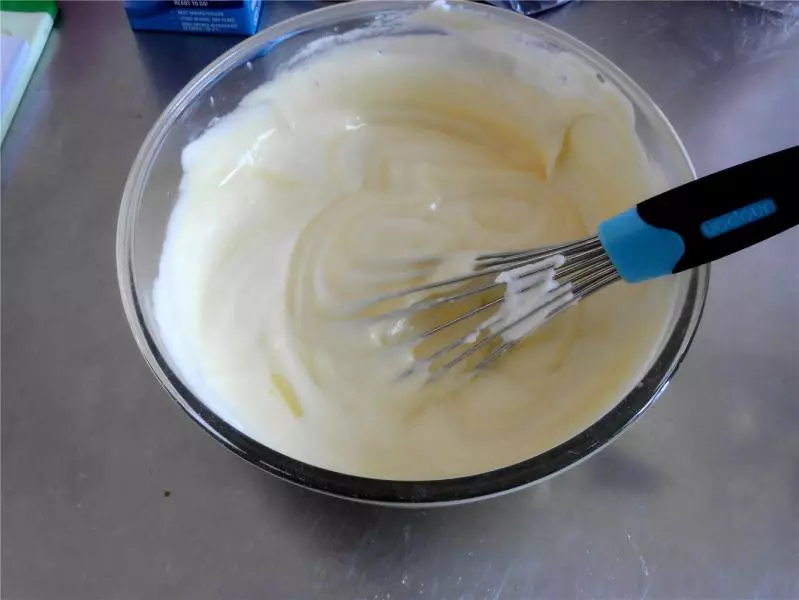
4加入蛋黄,

5搅拌均匀
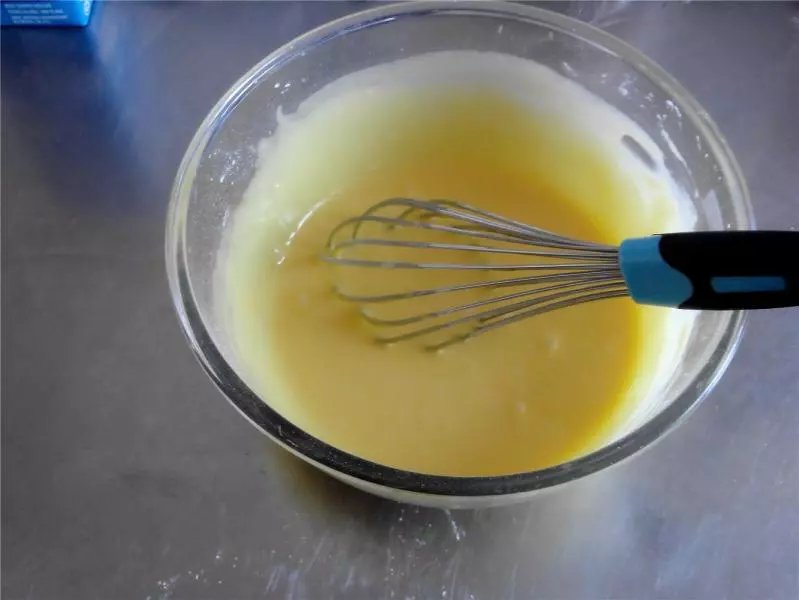
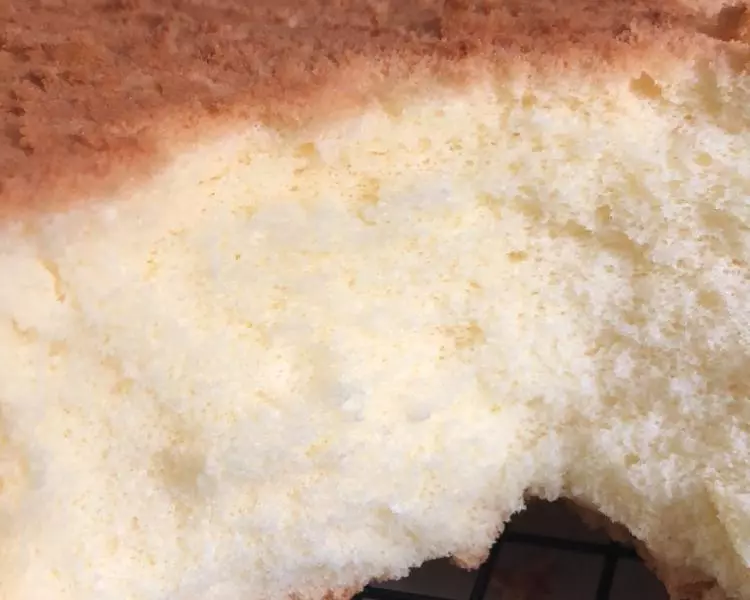
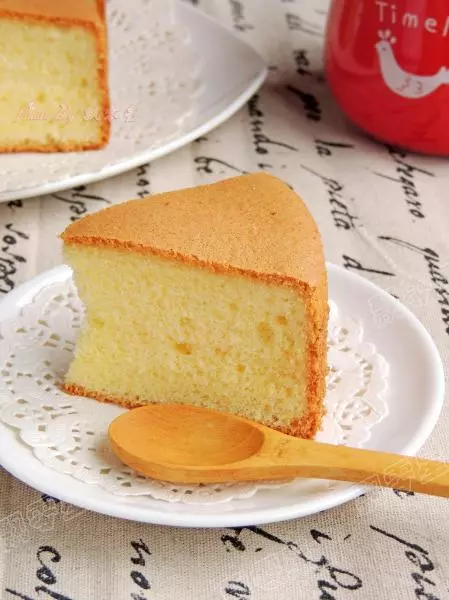
6拌好的蛋黄糊细腻有光泽
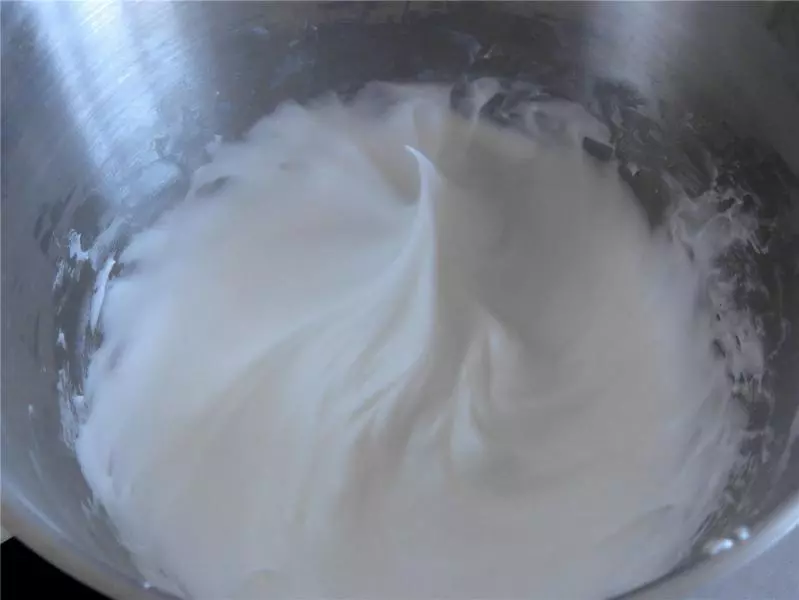
7搅打蛋白加入柠檬汁,有粗大气泡时即可加入1/3的细砂糖继续搅打。 蛋白霜渐渐浓稠出现纹路时,第二次加糖,继续搅打。 蛋白霜纹路更加明显时,加入剩余的糖,继续低速搅打能拉出粘稠的尖角即可
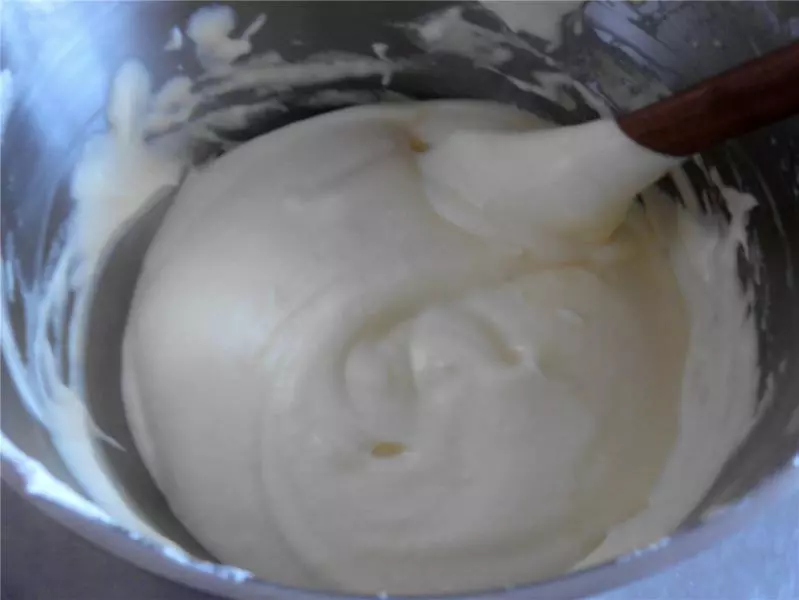
8取三分之一蛋白霜与蛋黄糊混合均匀
9倒回蛋白霜盆子,继续自下而上翻拌均匀
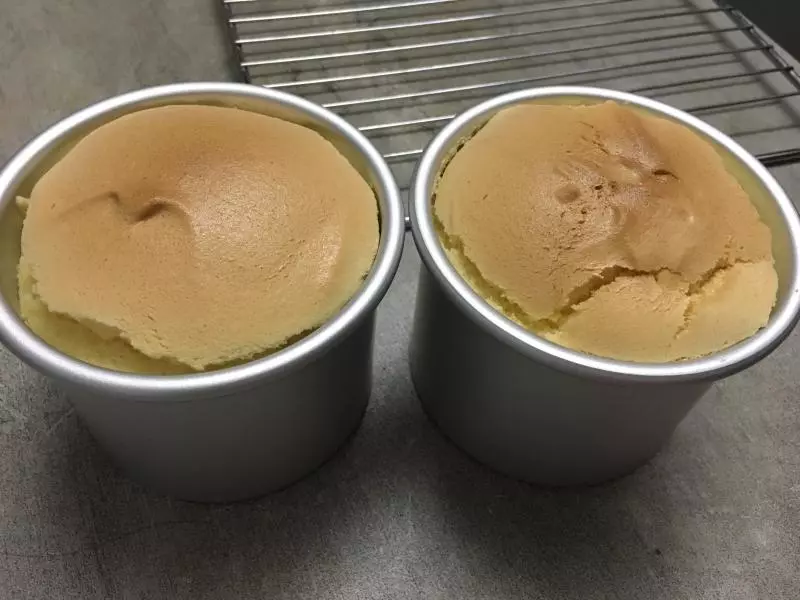
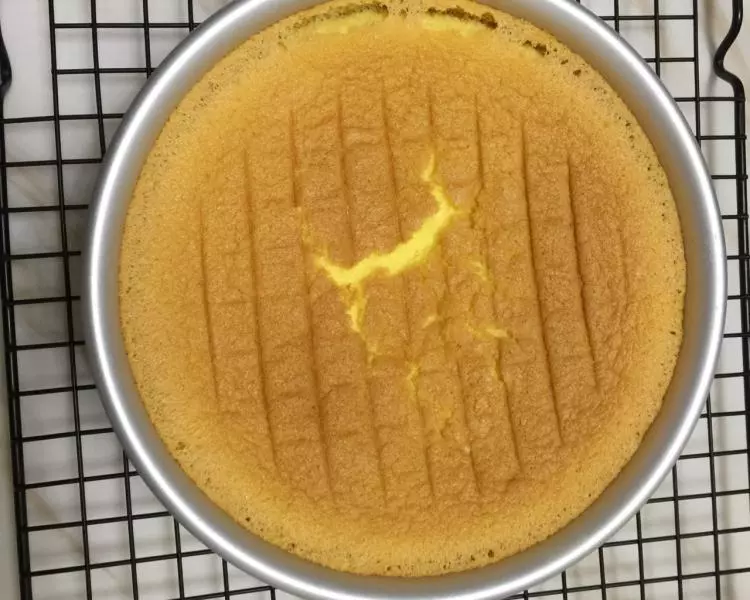
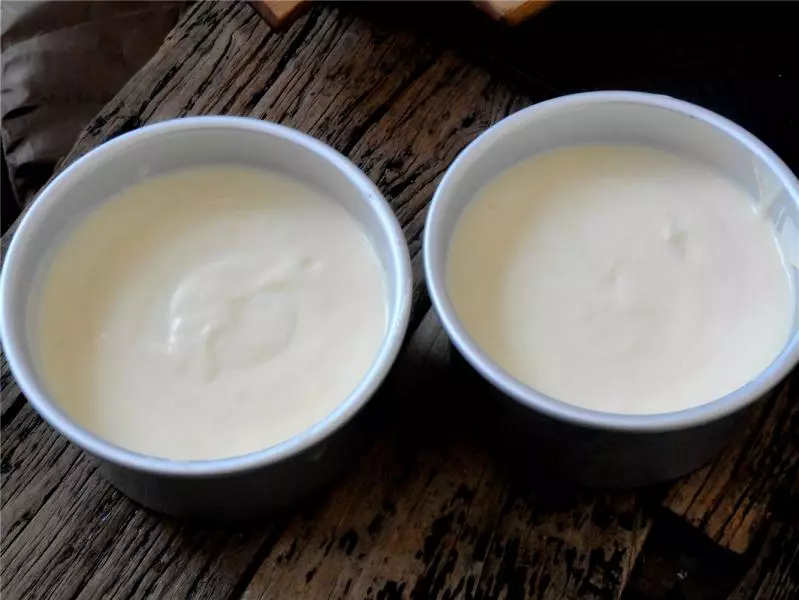
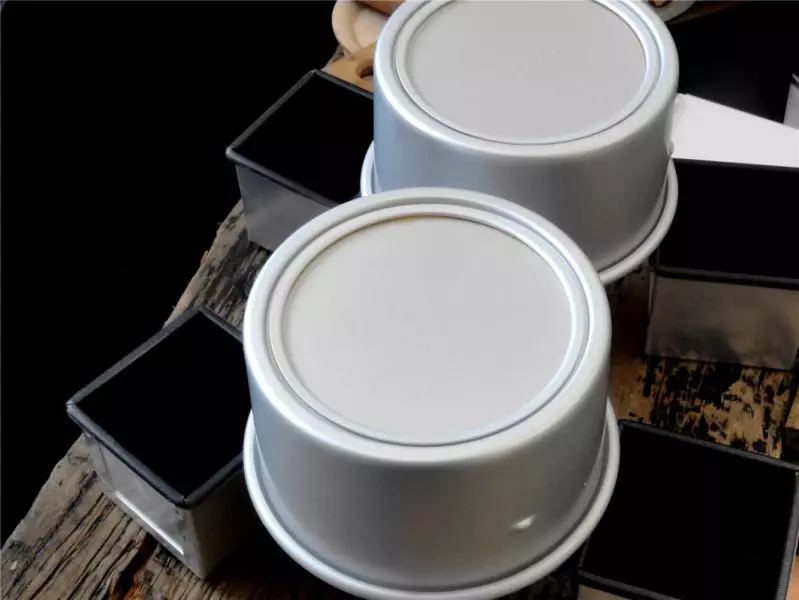
10将蛋糕糊装入模具 轻轻震动使面糊分布均匀
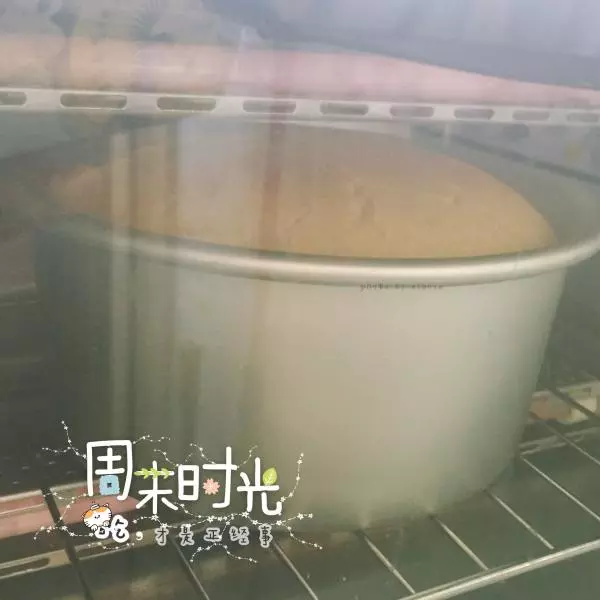
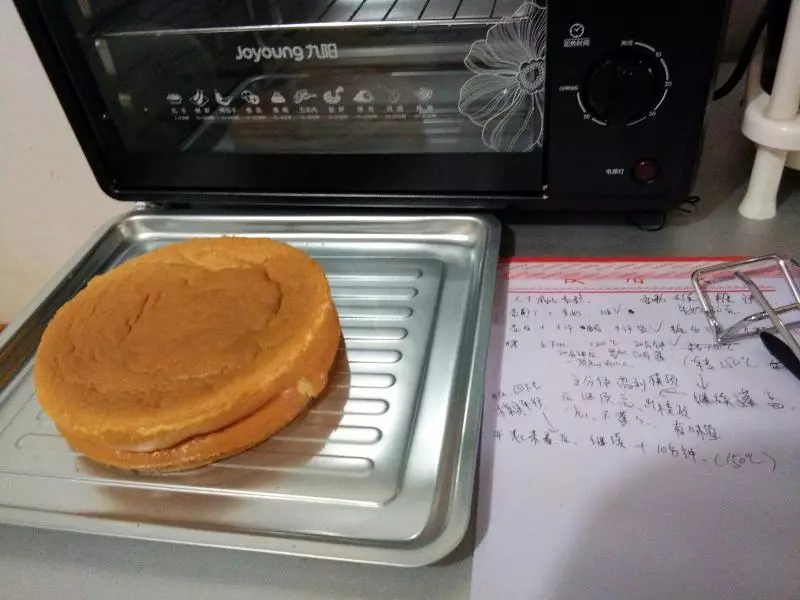
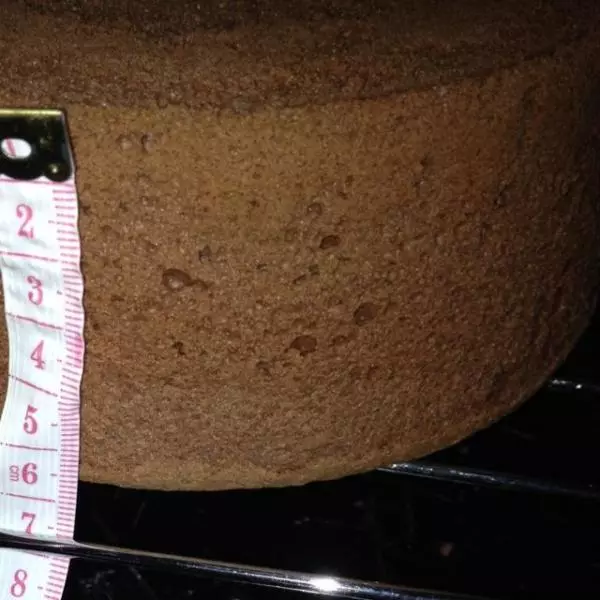
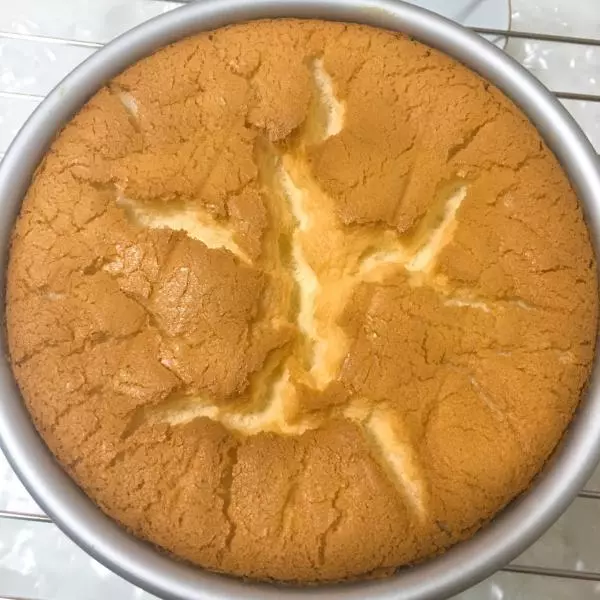
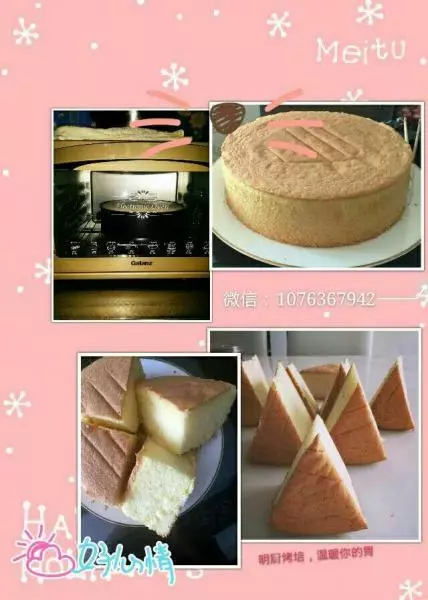
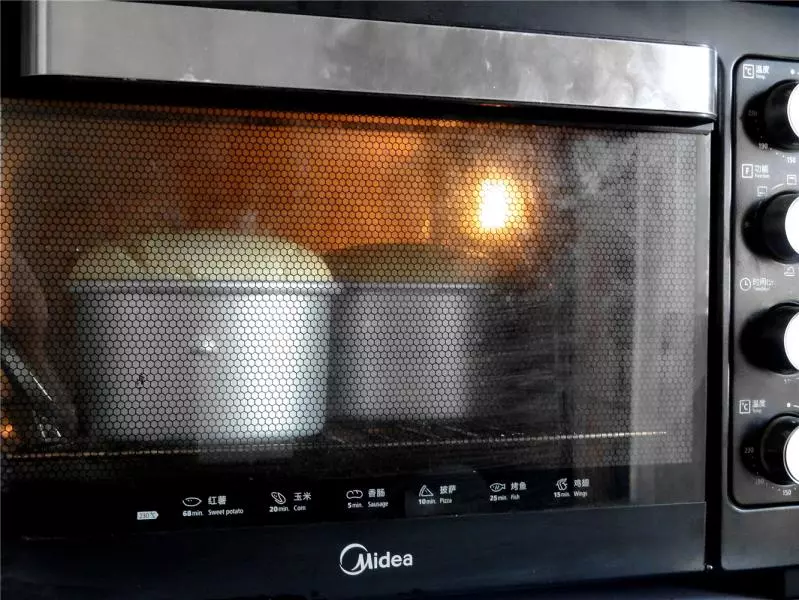
11放入预热好的烤箱 中下层140度烘烤50分钟
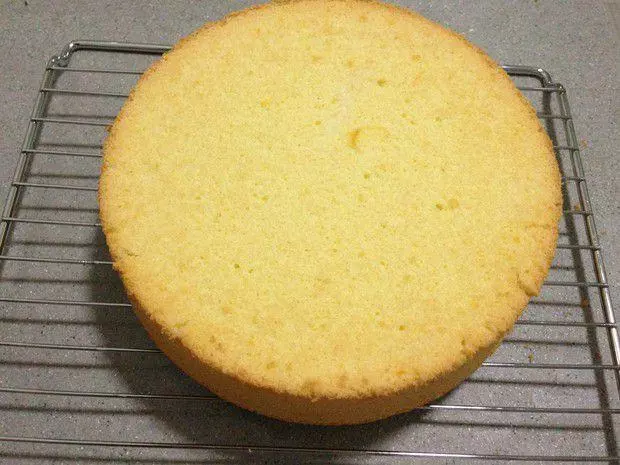
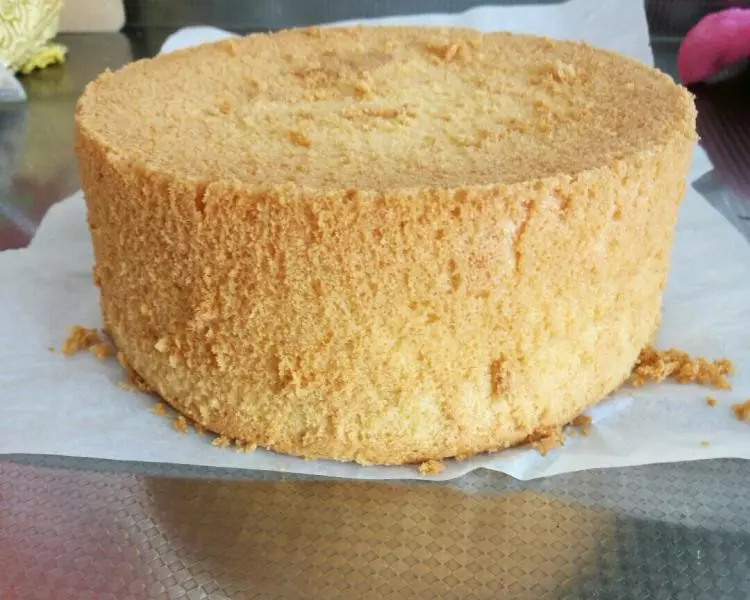
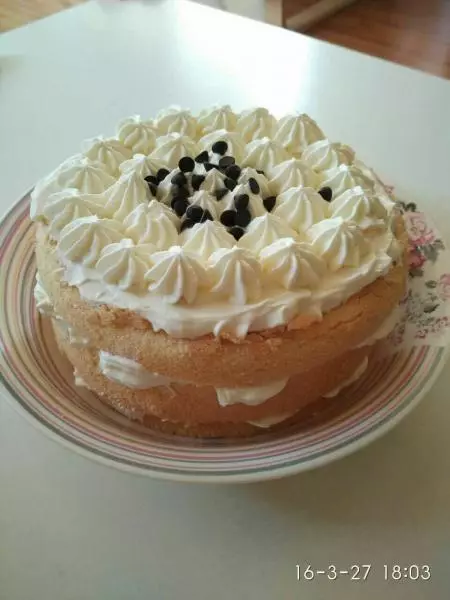
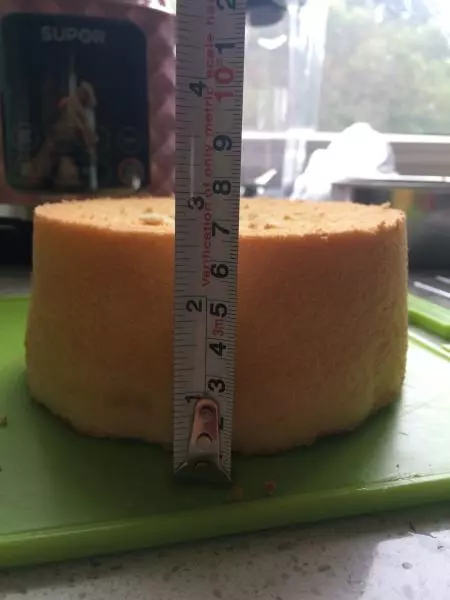
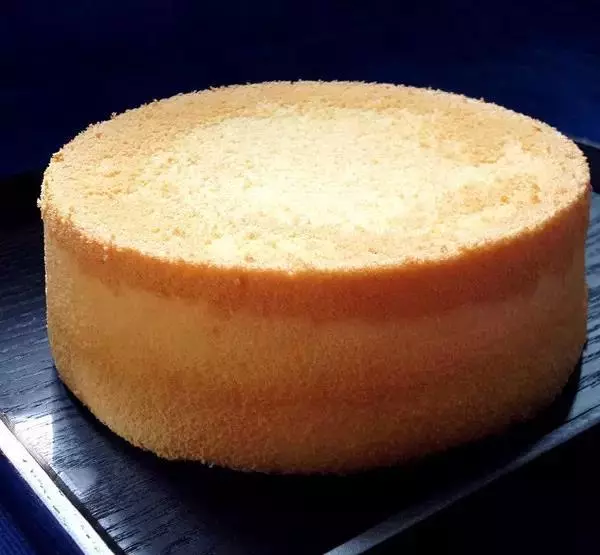
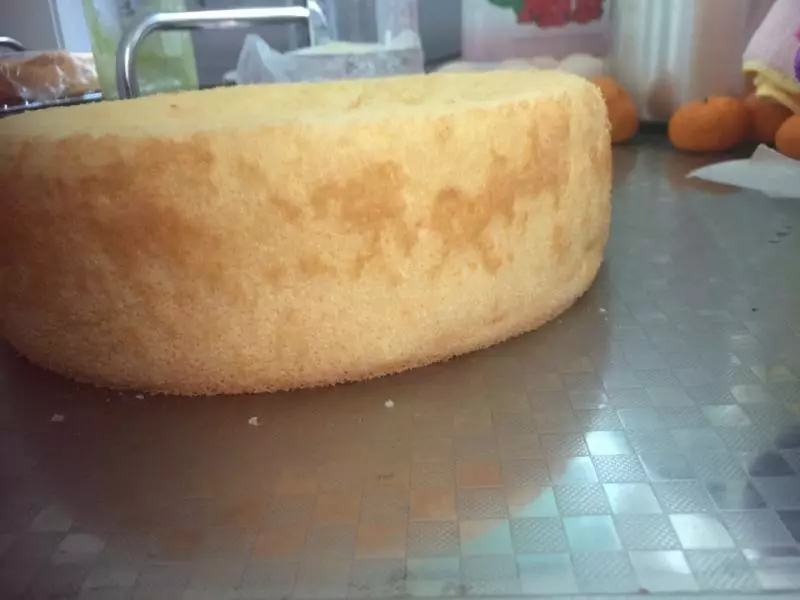
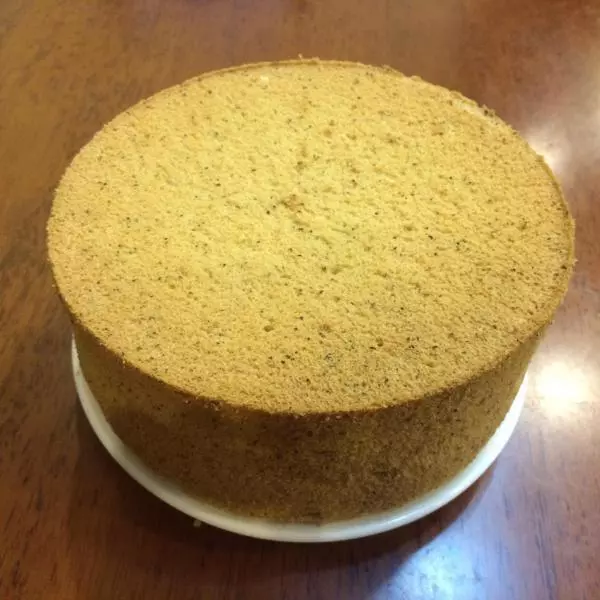
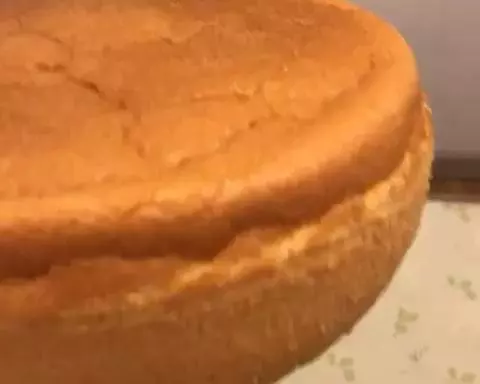
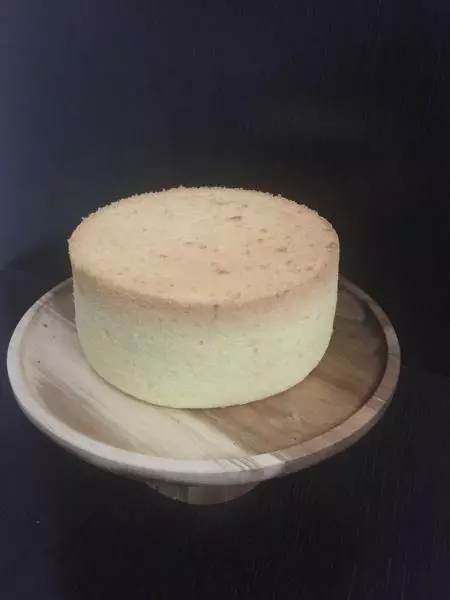
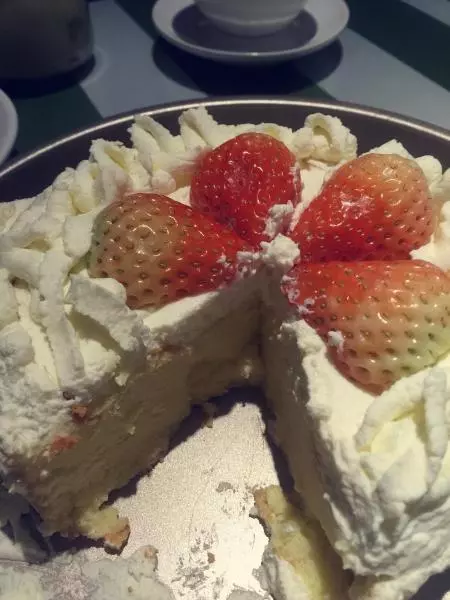
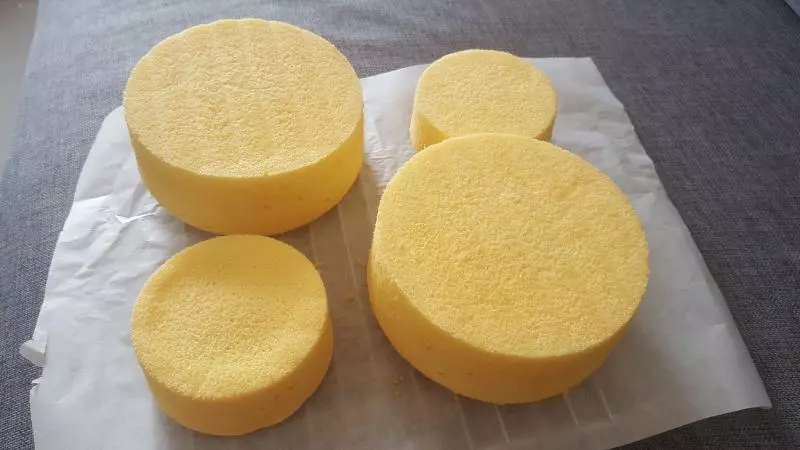
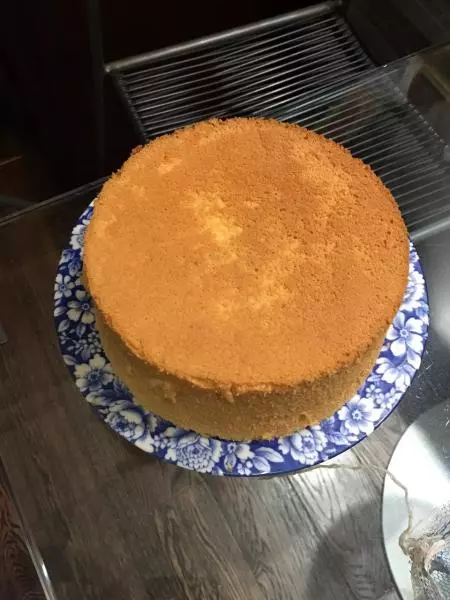
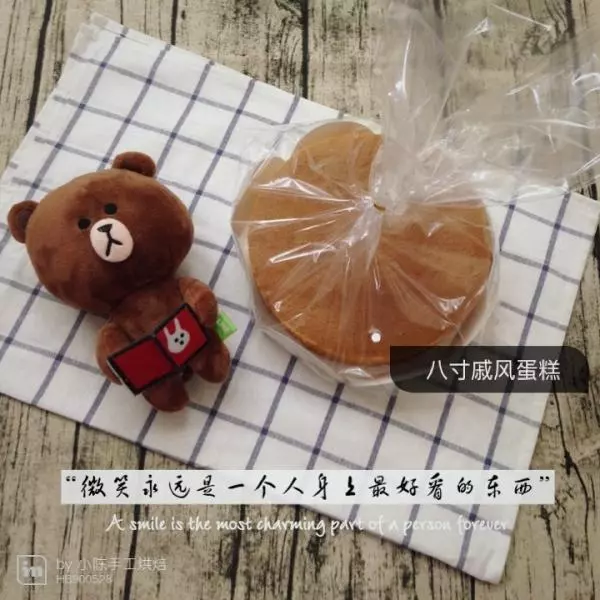
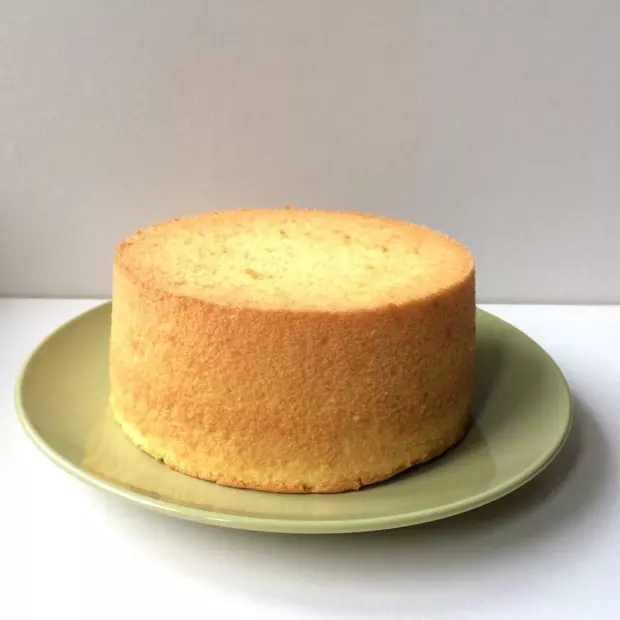
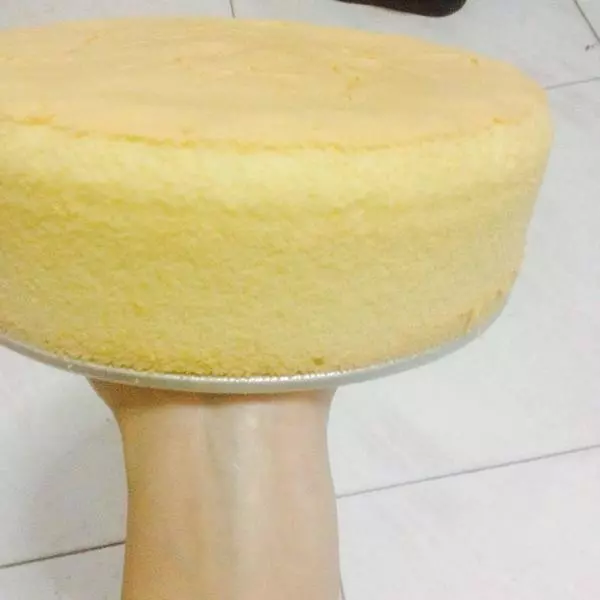
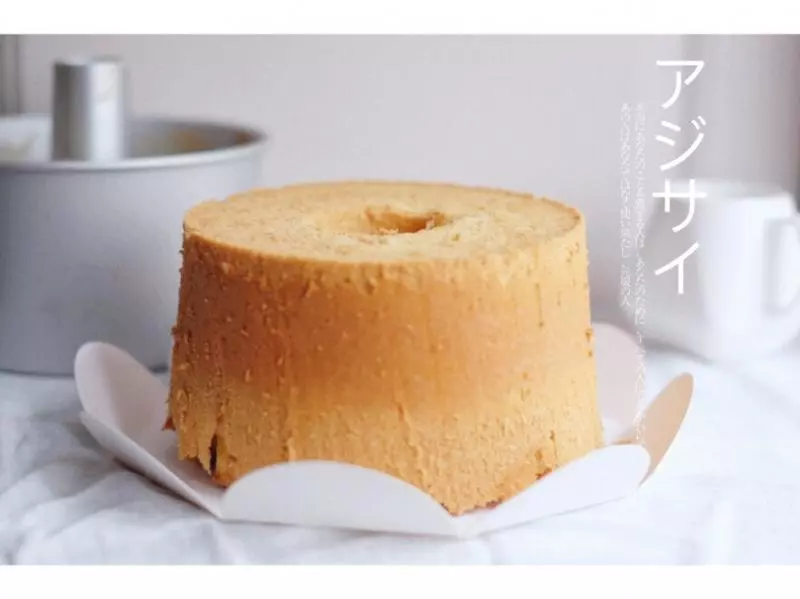
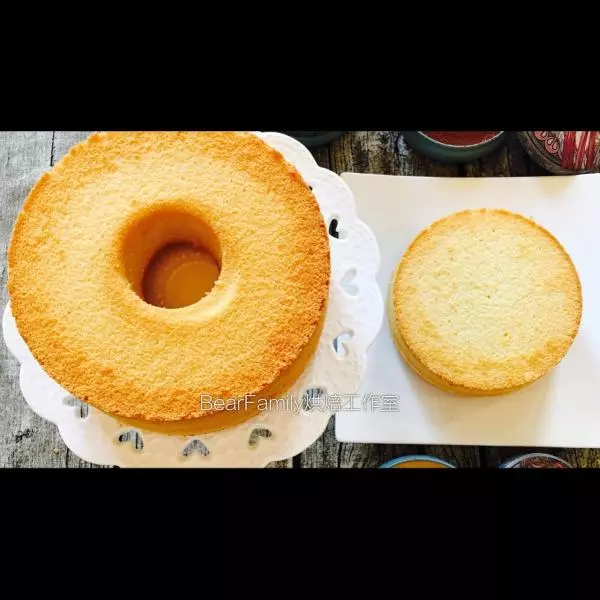
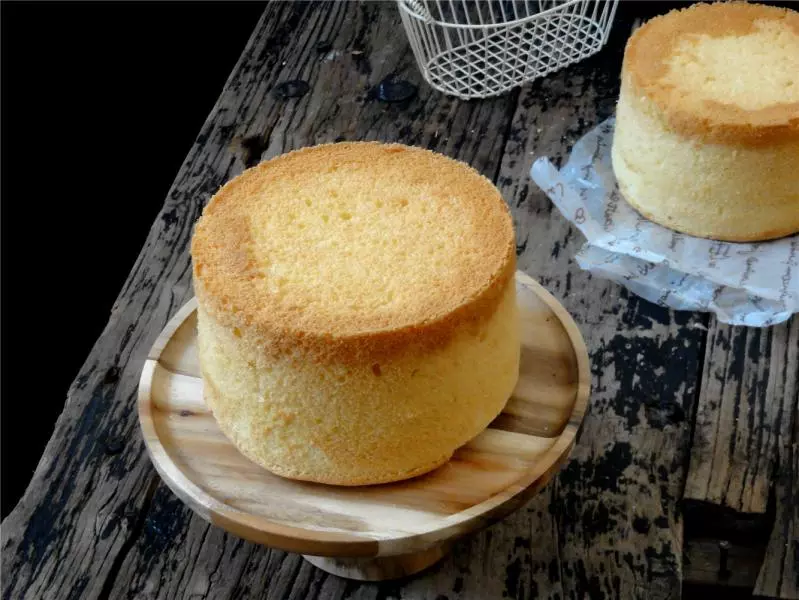
12出炉轻震倒扣冷却后脱模
13脱模
小技巧
1、鸡蛋选中号就可以,一定要新鲜的 2、烘烤的温度时间请根据自己烤箱调整