原料
牛奶: 140g, 淡奶油: 180g, 砂糖: 80g, 煉乳: 15g, 低粉: 15g, 蛋黃: 4個, 低粉: 220g, 高粉: 30g, 黃油: 40+180g, 砂糖: 5g, 鹽: 2g
步驟
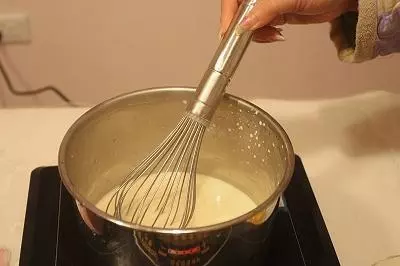
1先做撻液。淡奶油加牛奶加煉乳,加入細砂糖,加熱攪拌至砂糖溶解。
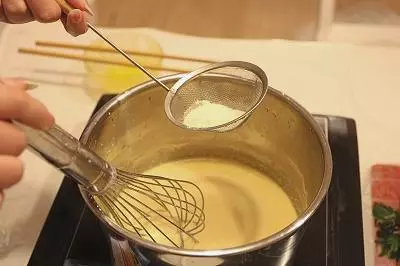
2冷卻後,加入打勻的蛋黃。

3篩入低筋麵粉。
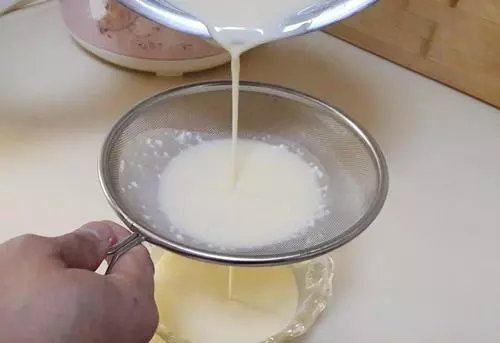
4攪拌均勻後過篩待用,這就是蛋撻液了。
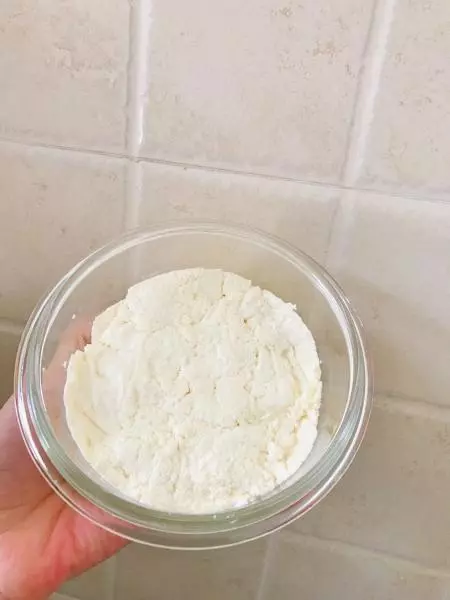
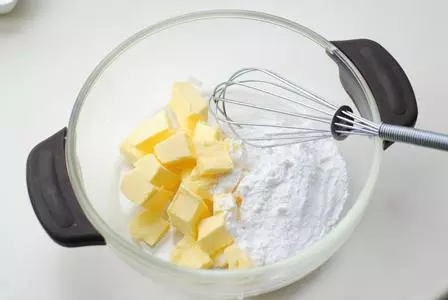
5下面是重頭戲,開始做蛋撻皮。(買了蛋撻皮的可以直接跳到結尾了哈)40克黃油室溫軟化,加入麵粉和糖、鹽混合。
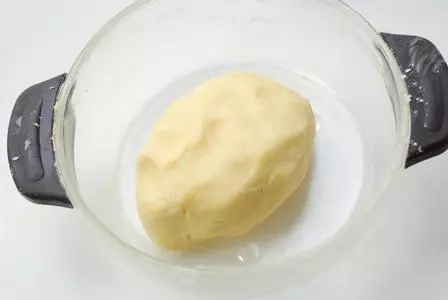
6酌情加水,糅合成麵糰。用保鮮膜包好,放進冰箱冷藏松馳20分鐘。
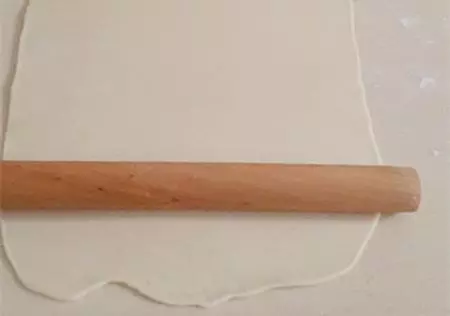
7松馳好的麵糰取出來,擀成長方形。
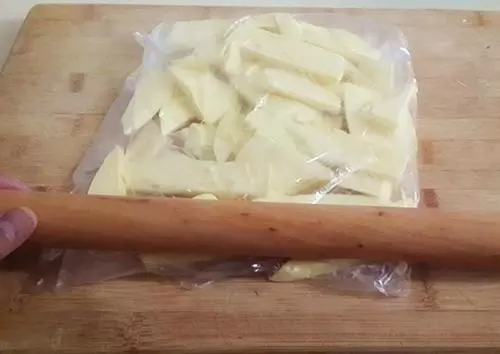
8180克黃油切成小片,放入保鮮袋,擀壓成厚薄均勻的薄片。這時黃油會輕微軟化,要放入冰箱冷藏至重新變硬。
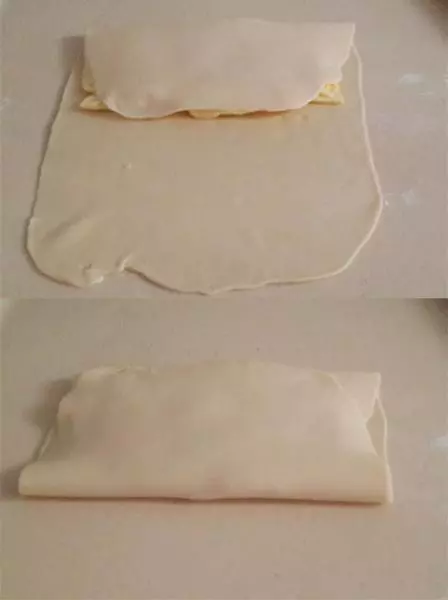
9將黃油薄片放在長方形面片中央。
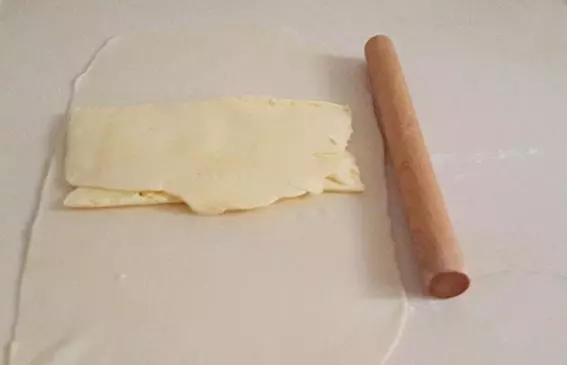
10像疊被子一樣兩邊疊起,把黃油薄片包裹在面片里。
11用手將面片中的氣泡趕出來,把面片壓實,然後重新擀成薄片。

12依舊像疊被子一樣疊好面片。完成後包上保鮮膜,放入冰箱冷藏松馳20分鐘。
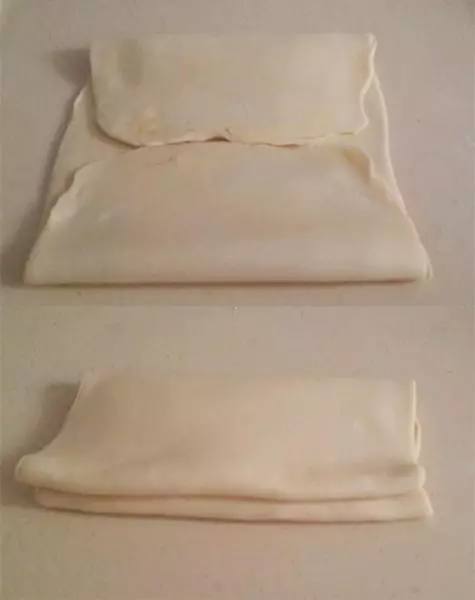
13這個疊被子的動作需要三次後才能進行到下一步。

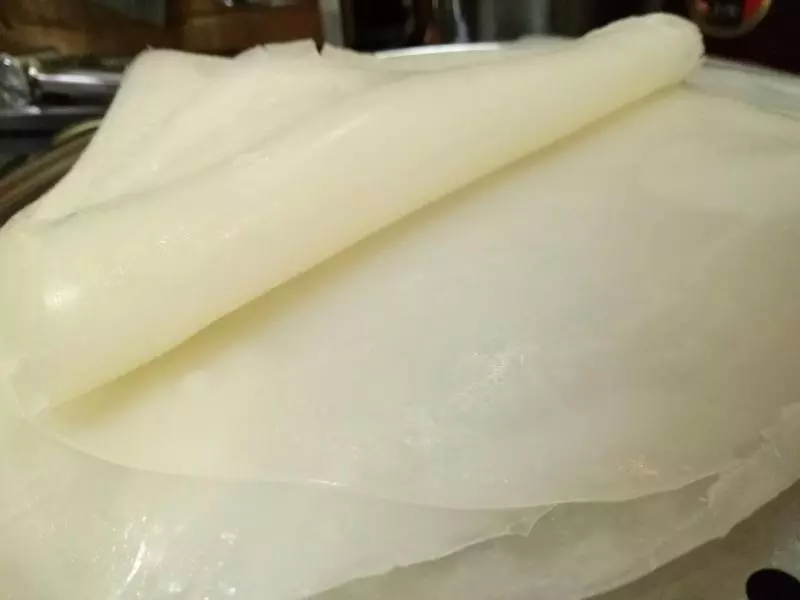
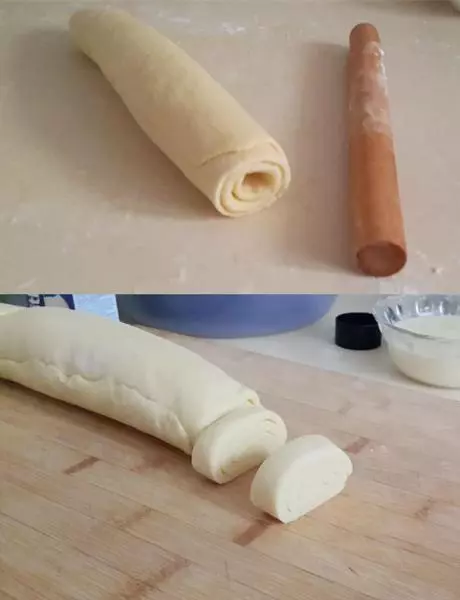
14三輪四折完成的麵皮擀開,捲起,這樣千層酥皮就完成了,放入冰箱冷藏一會兒後用刀切成厚度1CM左右的片 。
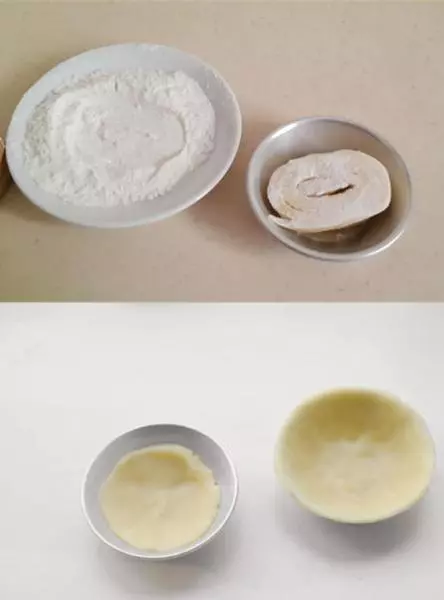
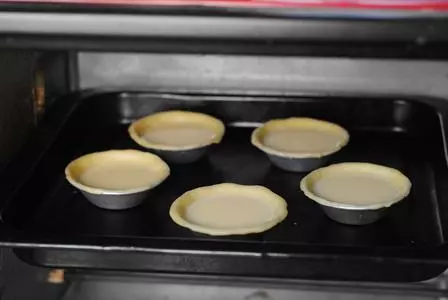
15放在麵粉中沾一下,然後沾有麵粉的一面朝上,放在未塗油的撻模里。用手指輕輕按壓,使塔皮鋪滿模具,注意要厚薄均勻。可以高出模具一點。
16撻水倒入撻皮,八分滿即可(在烤制的過程中會膨脹。)放入烤箱中層,210度烘烤約15分鐘,關下火,上火繼續烤5分鐘。注意觀察表面顏色。
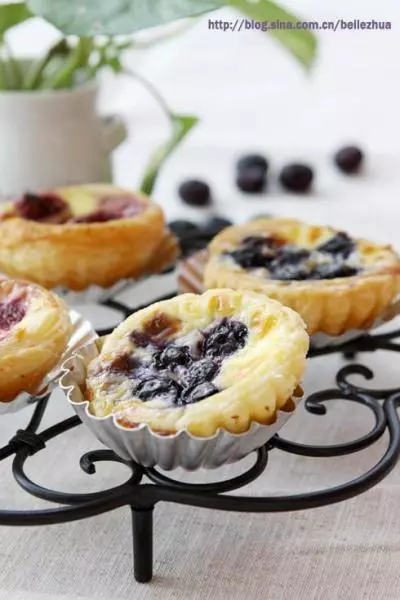
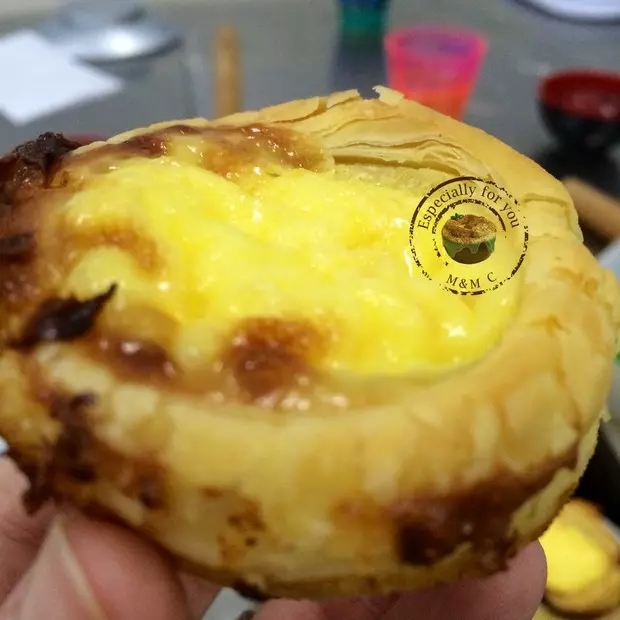
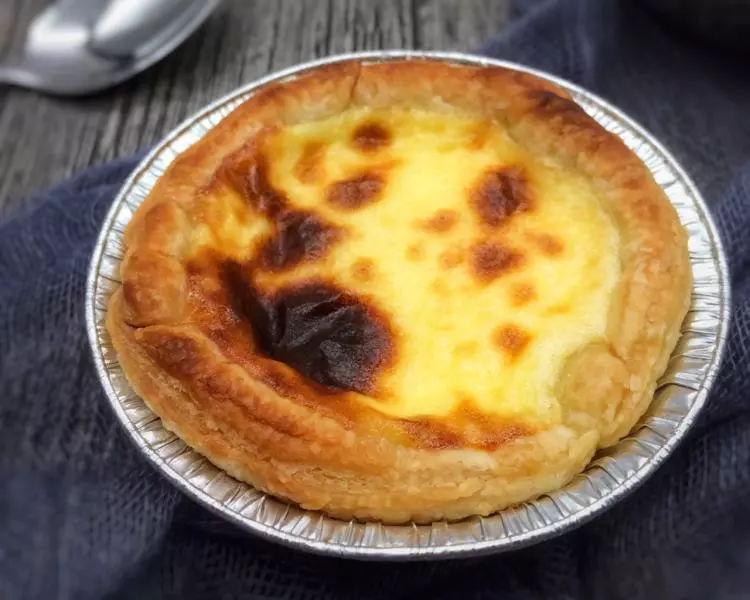
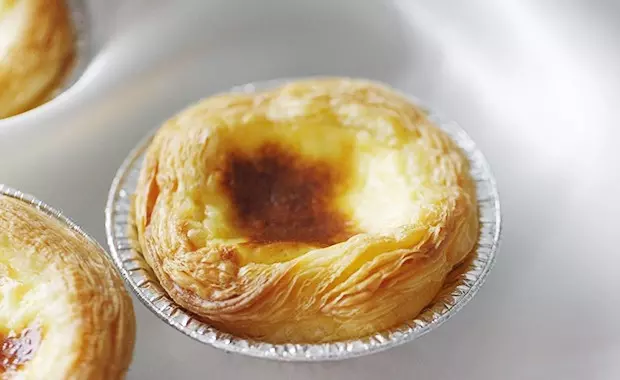
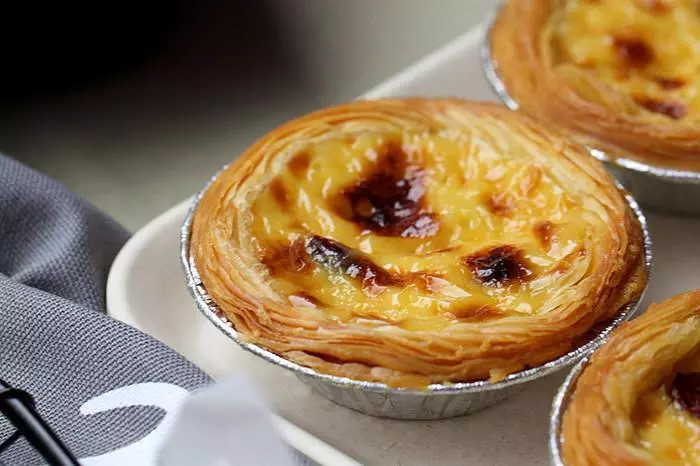
17人間美味。
小技巧
對於蛋撻初學者來說,最頭疼的事兒絕對是千層酥皮的「疊被子」。尤其是夏天,黃油只要從冰箱裡拿出來,就一直化,一直化,一直化……所以現在也有一些製作撻皮的方法是不用「疊被子」的,但我還是喜歡這種層層相疊的酥皮,所以麻煩一點也心甘情願,大概這就是吃貨吧~ 用剩下的千層酥皮可以在表面撒上層乾粉,然後捲起來放進冰箱冷凍室冷凍,這樣可以保存一個月甚至更長時間。