原料
奶油卷:: , 高粉: 200g, 鹽: 3g, 奶粉: 8g, 糖: 24g, 室溫軟化的黃油: 30g, 即發乾酵母: 3g, 雞蛋: 20g, 蛋黃: 4g, 清水: 118g, 雞蛋(塗抹用): 適量, 奶酪包餡料:: , 奶油奶酪: 50g, 馬斯卡彭: 50g, 糖粉: 10g, 奶粉(裝飾用): 適量, 淡奶油: 17-20g左右
步驟
1麵粉酵母鹽奶粉糖混合均勻

2先預留十克水,把其他的水與雞蛋,蛋黃混合均勻,之後倒入麵粉中

3揉麵糰,揉面過程中若覺得麵糰太干用預留出來的水調解,稍微出膜加黃油,再揉出膜,必須出膜,揉好的麵糰是28度

4放入噴過油的盆中,30度發酵50分鐘

5排氣,分成八等份麵糰

6滾圓,鬆弛15分鐘

7充分排氣,壓扁

8用手掌後側壓實摺痕

91翻過來另一面也壓實

10再對摺,用手指如圖方式捏合

11搓成一邊粗一邊細,長約12厘米

12屁股要捏實

13鬆弛10分鐘

14擀成如圖形狀,要保持薄厚均勻,擀下面的時候要用一隻手拉著下部,另一隻手向下擀,為了能擀的更長一些

15就像這樣,擀好的長度約25厘米

16頂部用手捲起壓實,然後再輕輕往下卷,不可太用力,也不可太松

17卷到尾巴同樣用一隻手趁著,另一隻手卷,要左右勻稱哦,這樣成品才能好看

18把尾巴捏緊,朝下放置

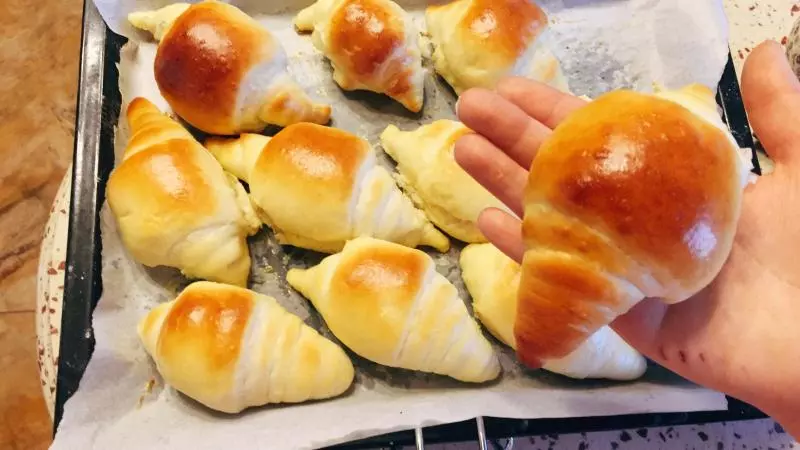
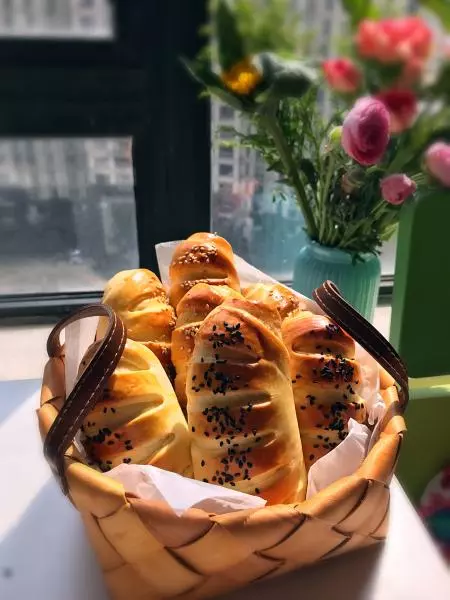
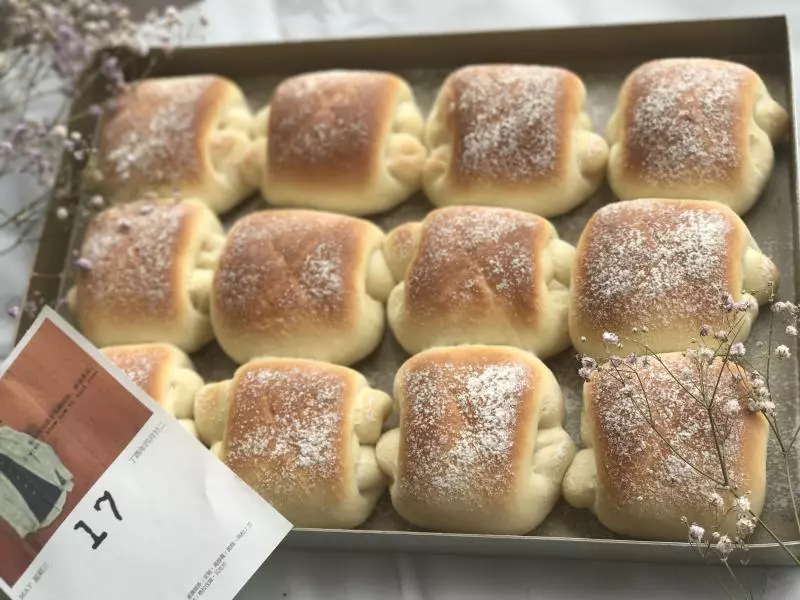
19發酵50分鐘左右,至2倍大,烤箱預熱200度 均勻的刷蛋液,蛋液不可過多滴下

20中下層烤10-15分鐘左右,上色了就蓋上鋁箔紙

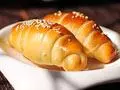
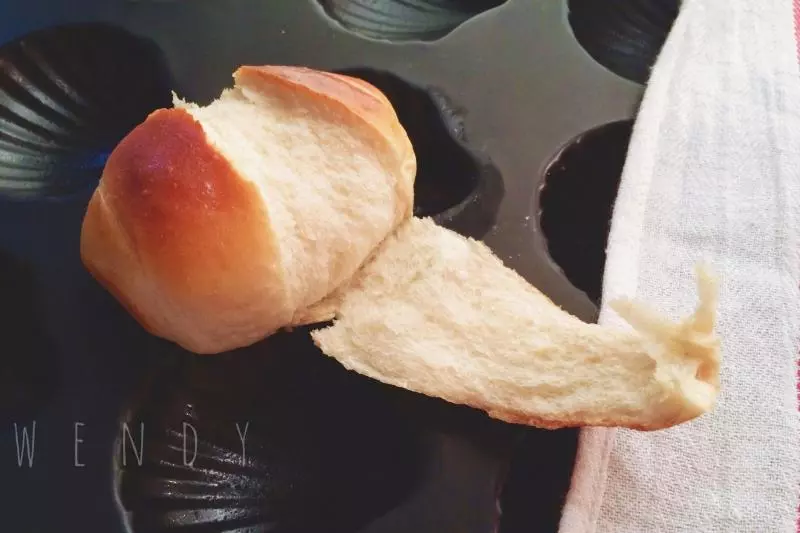
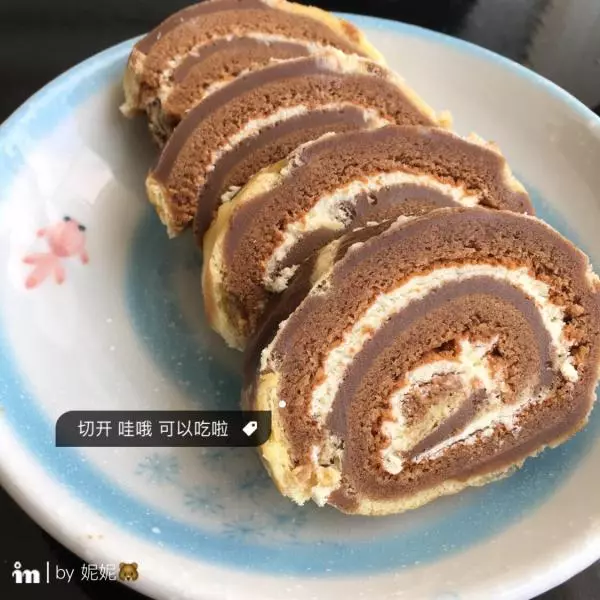
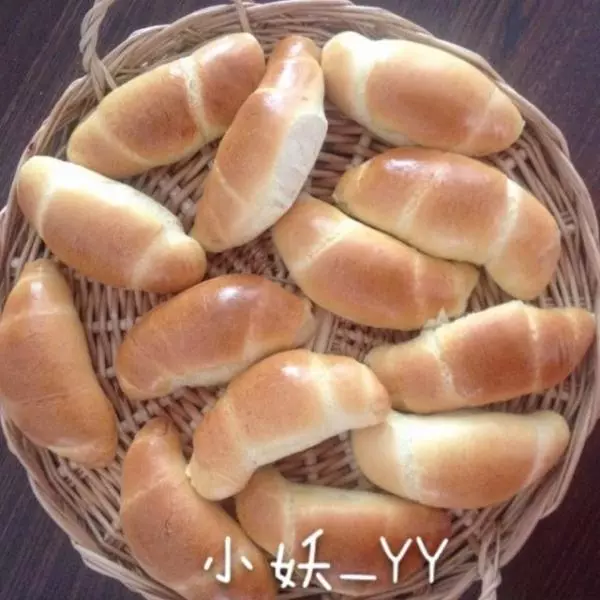
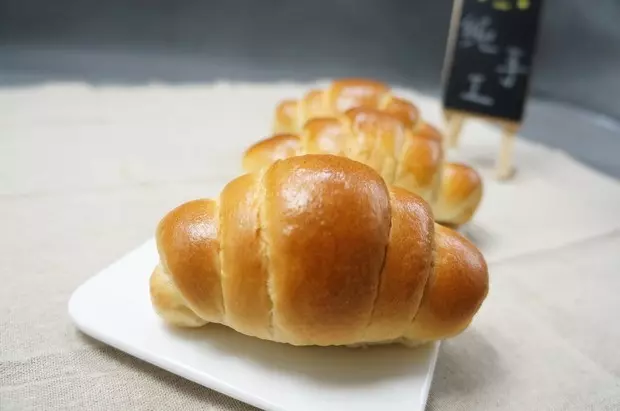
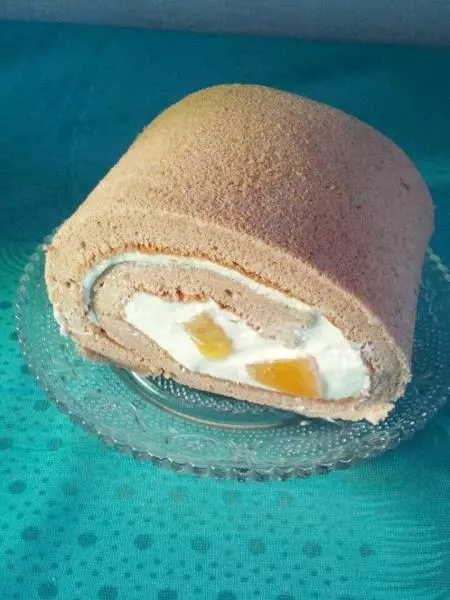
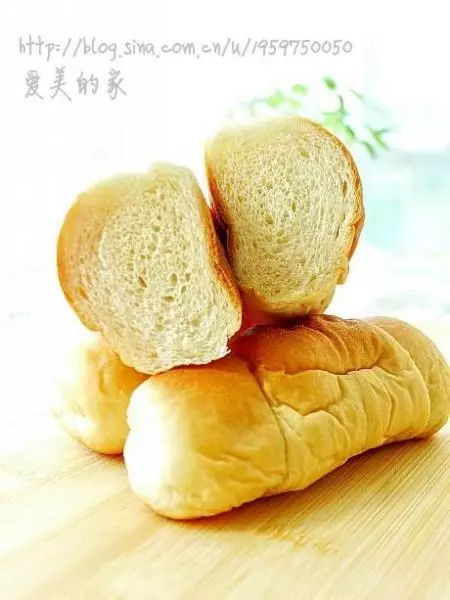
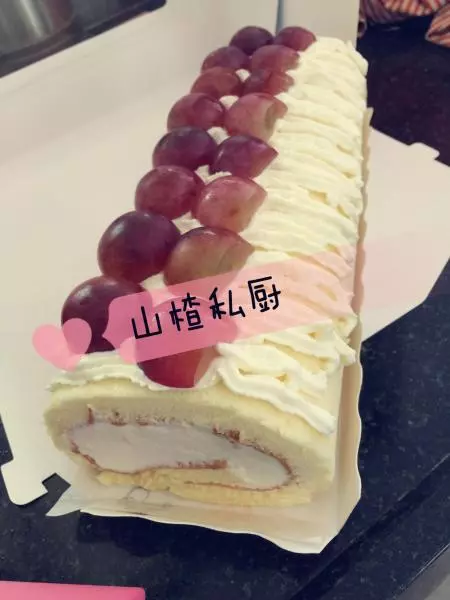
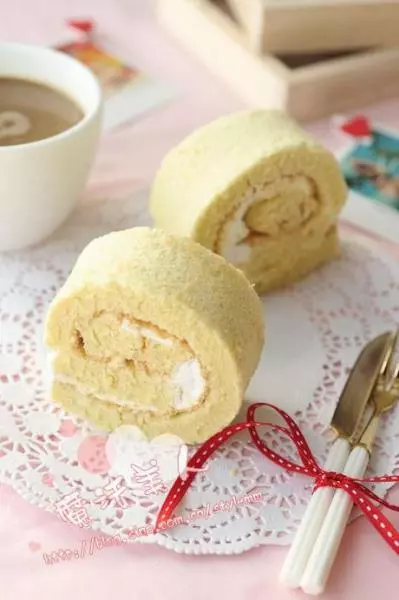
21出路之後晾涼,就完成啦! 接下來是乳酪包方法,把麵包切成兩半

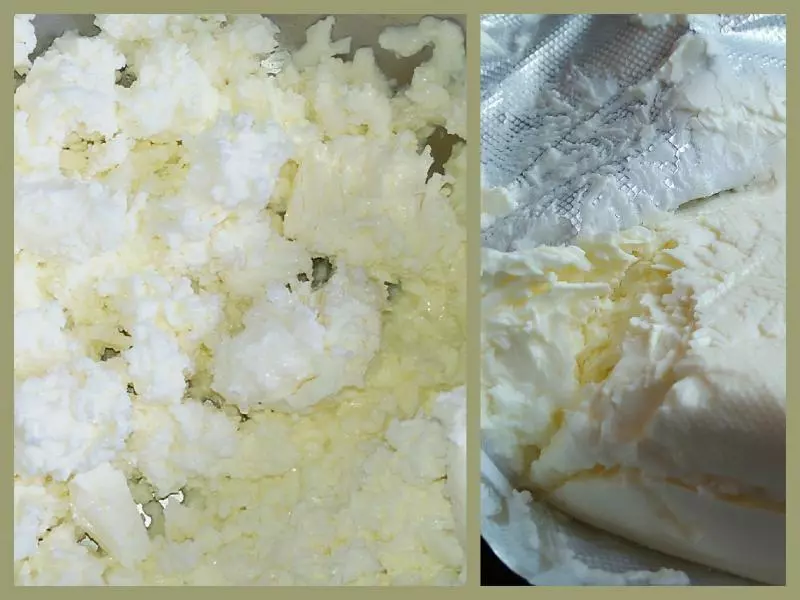
22盆中放入室溫軟化的奶油奶酪,用電動打蛋器打至蓬鬆狀態加糖加淡奶油,繼續打至蓬鬆順滑的狀態,不能太干,太干就加一點淡奶油調解濃稠度,最後放馬斯卡彭,因為馬斯卡彭打發過度會水油分離

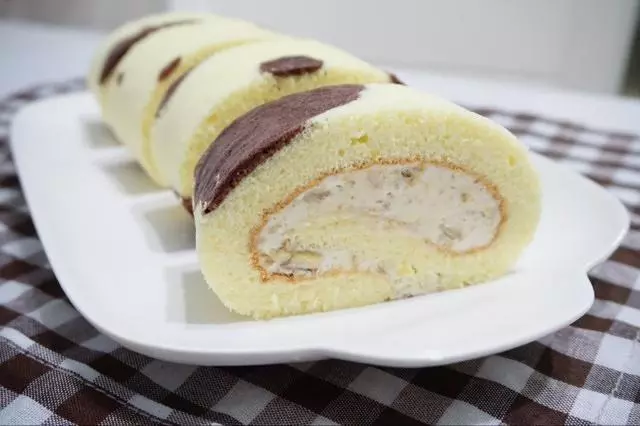
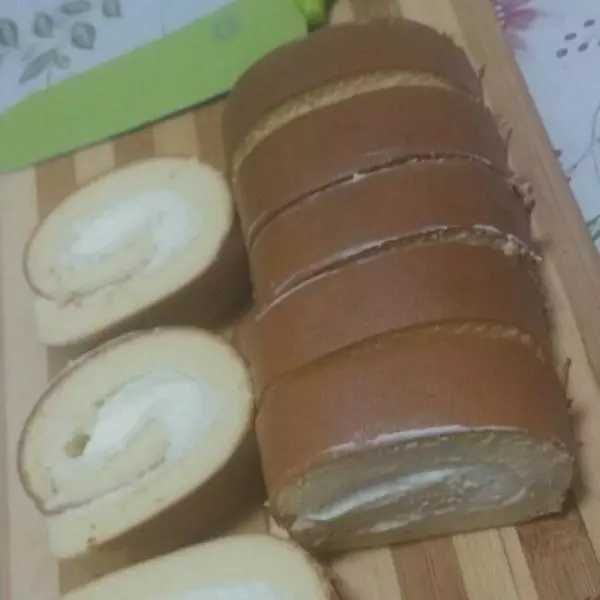
23組裝,沾奶粉,完成!

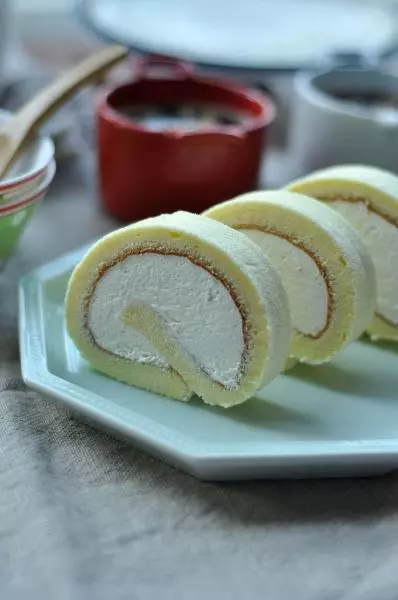
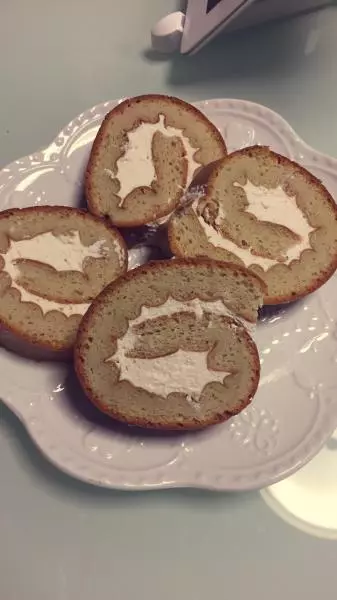
24另一種打開方式

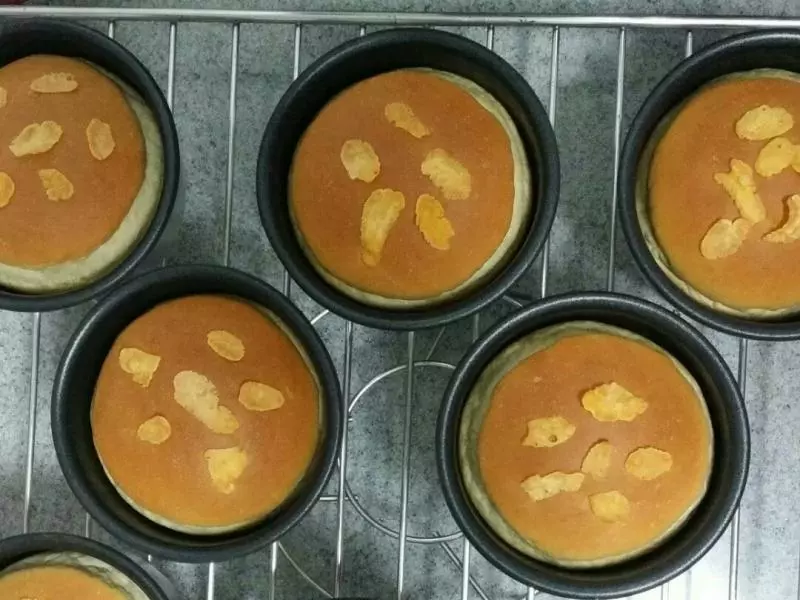
25撒上麥片口感升級了哦!

26? 想跟我交流或者看我的總結文可以關注我的新浪微博 [少女dog] 和我的公主號 [LARASKITCHEN] 兩個平台發布的內容不一樣哦!可以都關注一下呢~? ??蟹蟹我可愛的寶寶萌呀~