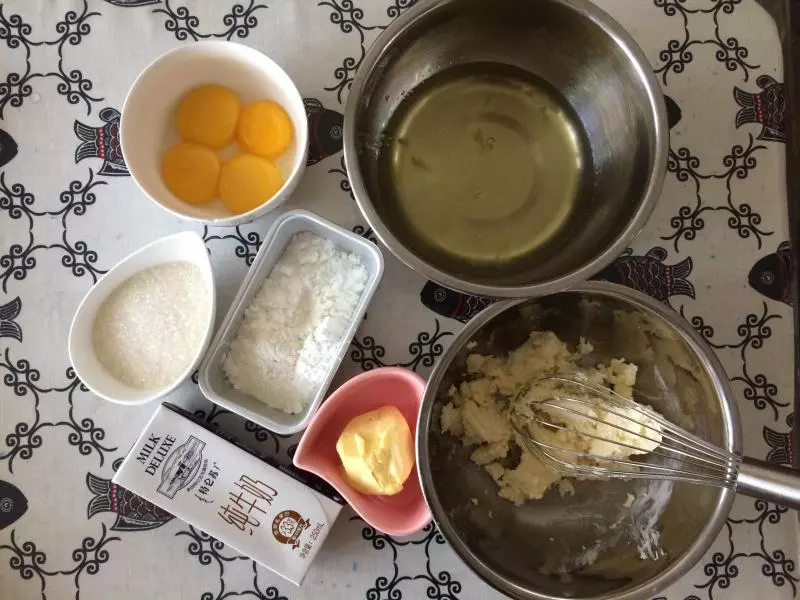
原料
雞蛋: 5隻, 乳酪: 250g, 砂糖: 75g, 牛奶: 150g, 黃油: 80g, 低粉: 25g, 澱粉: 18g
步驟
1首先備好材料,把雞蛋蛋白蛋清用無水無油乾淨盆分開,若用活底模先用錫紙把底部包好,固底模就不用了(輕乳酪的烤法水浴法,若怕進水可泡2層安全些)另用油紙剪個和㡳盤大小的墊著,方便脫模
2把奶油奶酪,黃油,牛奶混合隔水融化,攪拌到無顆粒細膩濃稠
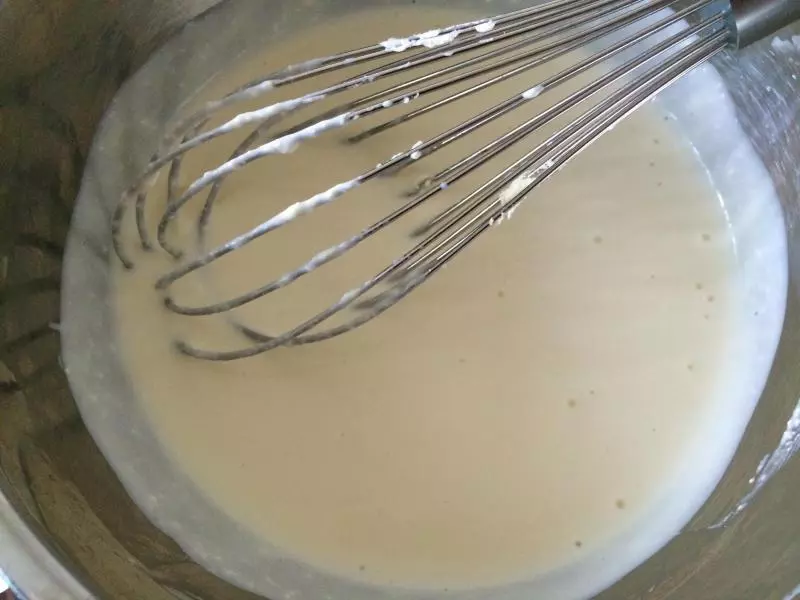
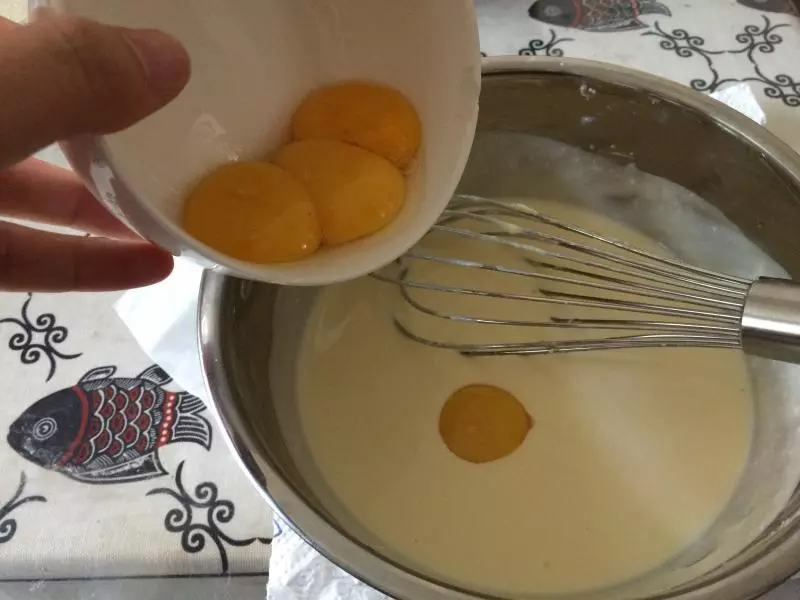
3蛋黃依次加入奶酪液中拌勻
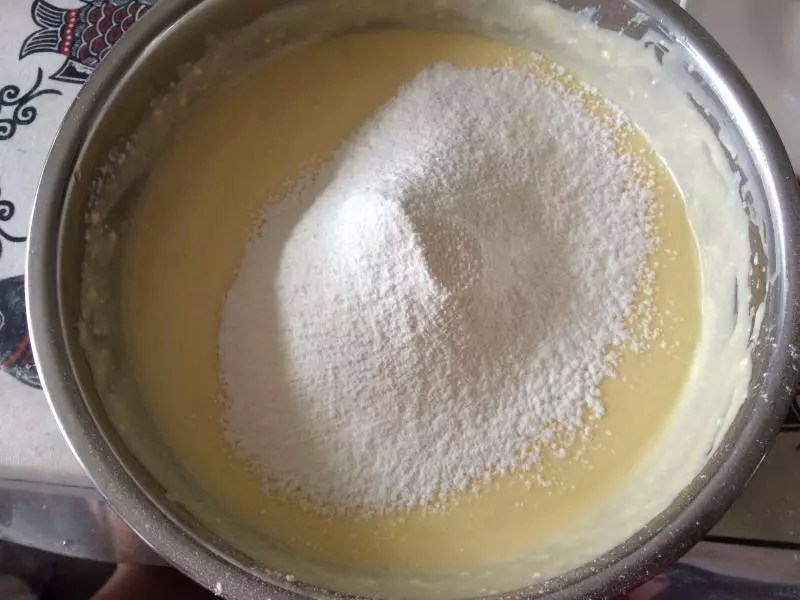
4把低粉和澱粉混合均勻後篩入,用K下往上的拌的手法拌勻
5拌好的乳酪液待用

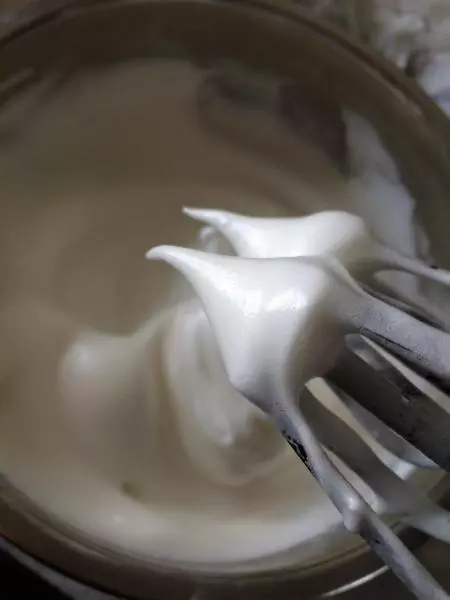
6接下來打蛋白,把蛋白打到起泡眼,滴幾滴檸檬汁,分2次加入砂糖打發到濕性,打蛋器提起來後呈倒彎小三角即可(此時可140度預熱烤箱,在烤盤上倒入1cm左右深度的水)
7然後把蛋白分1/3到蛋黃液中,從下往上拌勻
8然後倒回蛋白中,還是以從下往上翻拌的手法拌勻,動作要快且輕柔,避免蛋白消泡
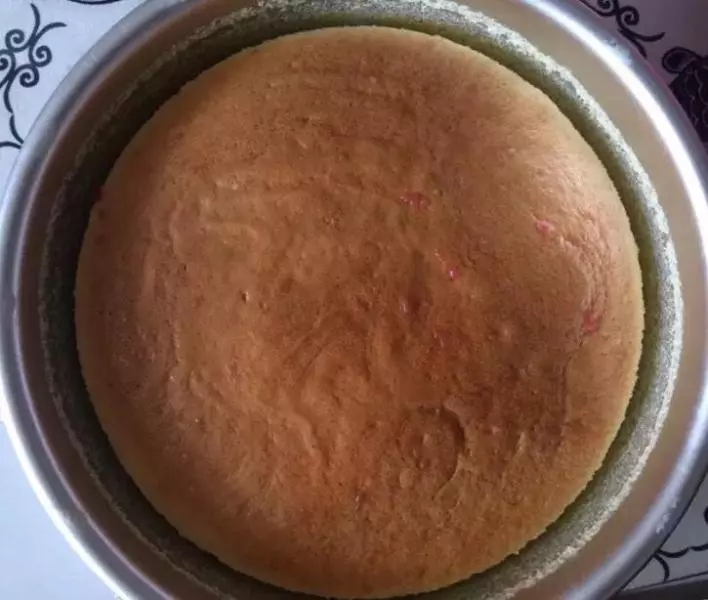
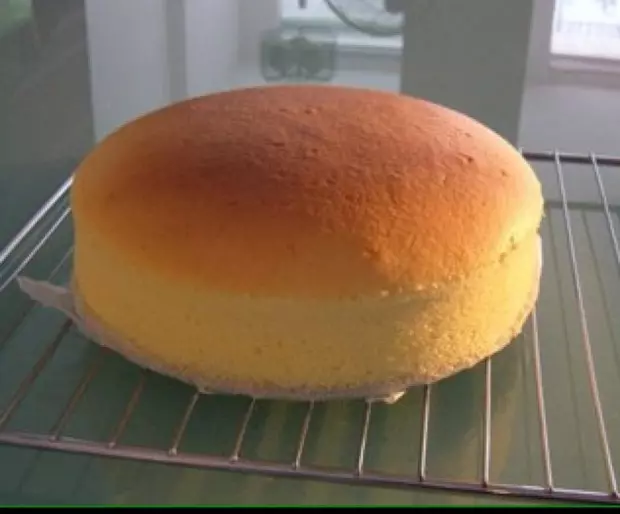
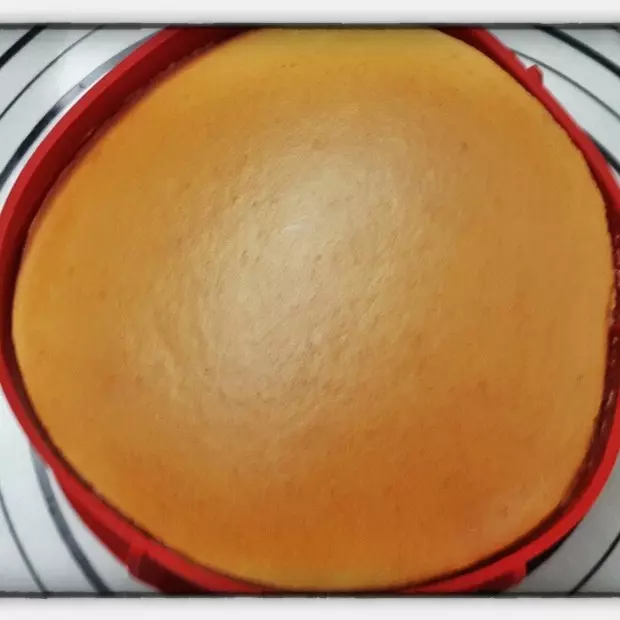
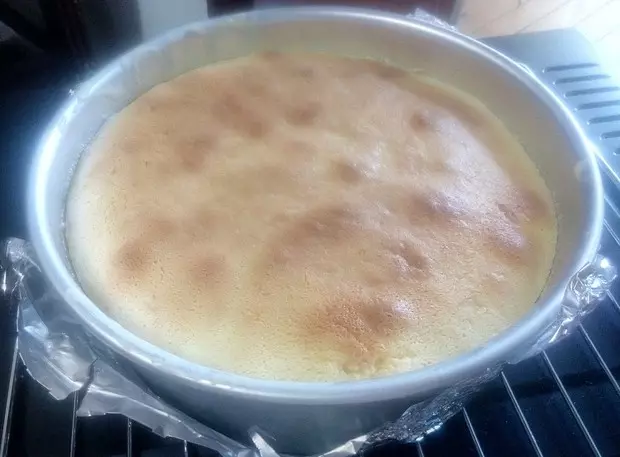
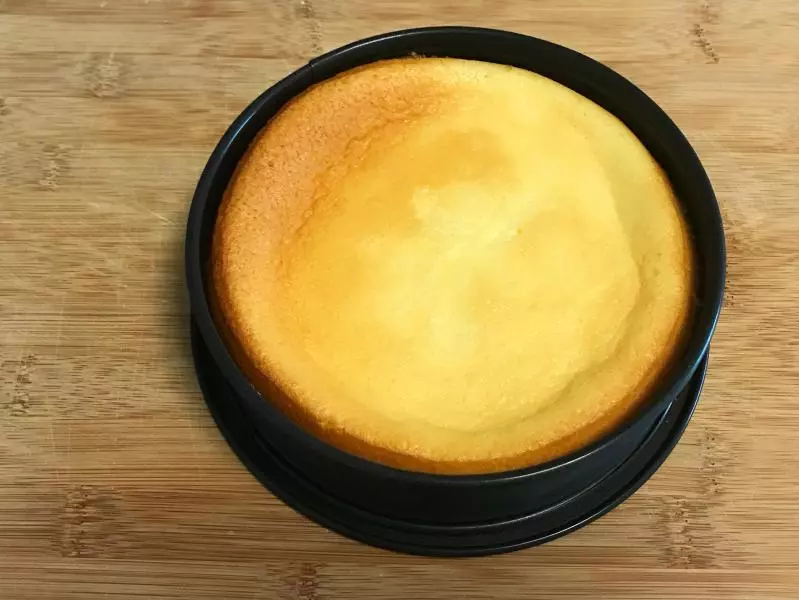
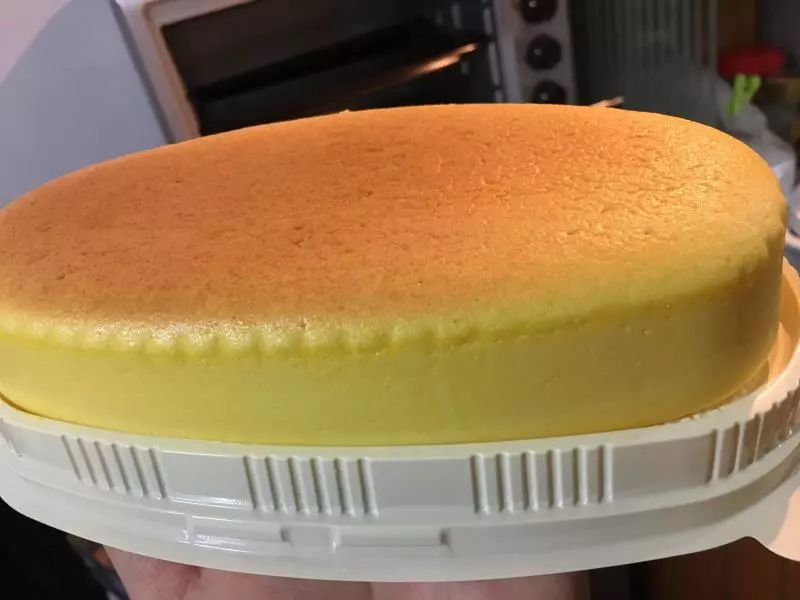
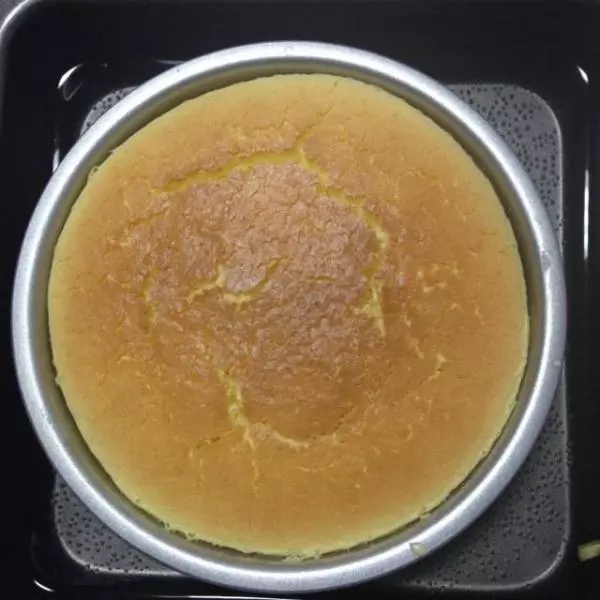
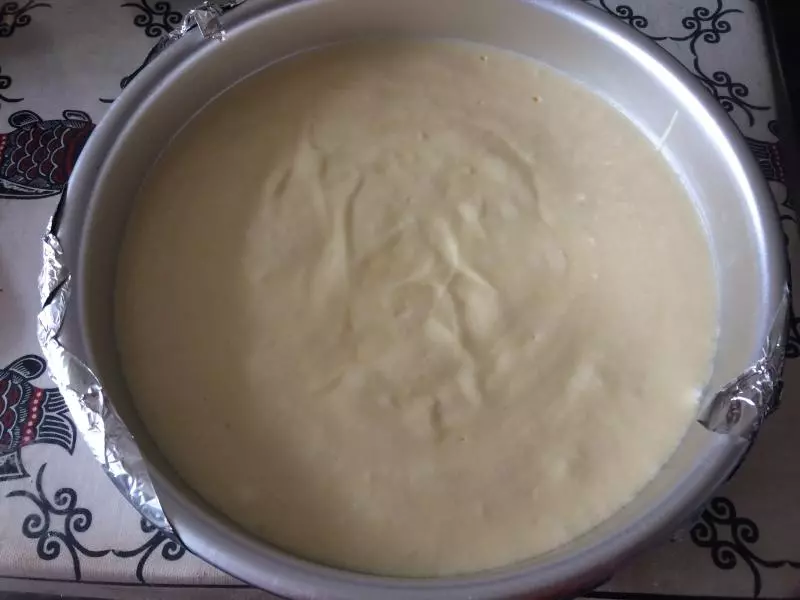
9把拌好的芝士糊從稍高處往下倒入8寸模具,然後放入預熱的的烤箱,140度,烤個80分鐘
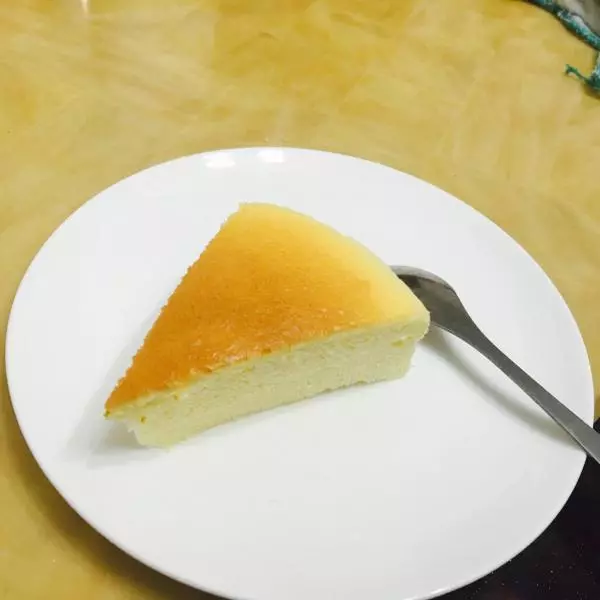
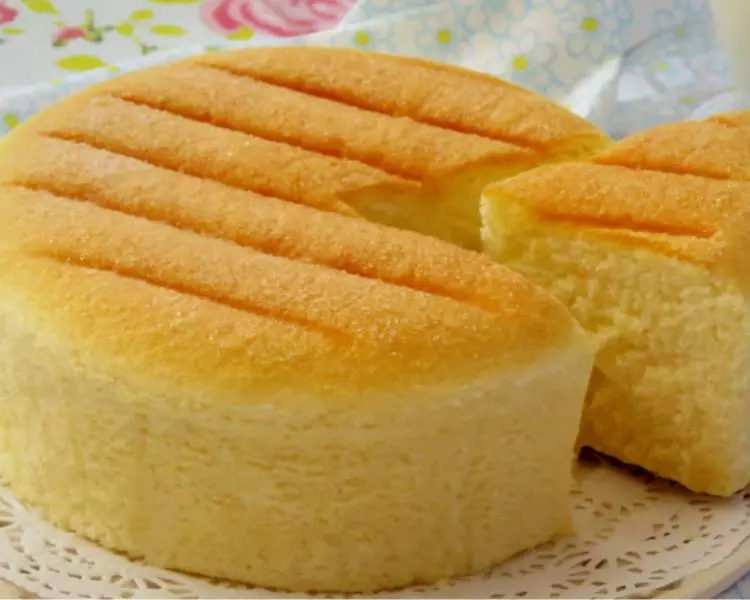
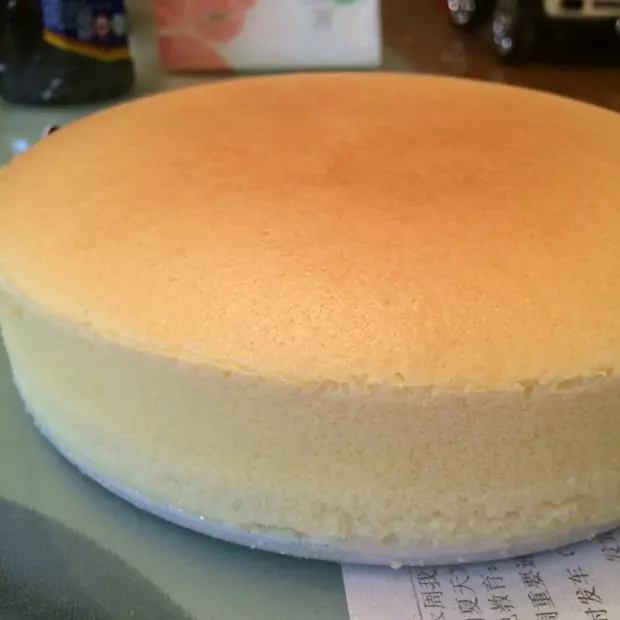
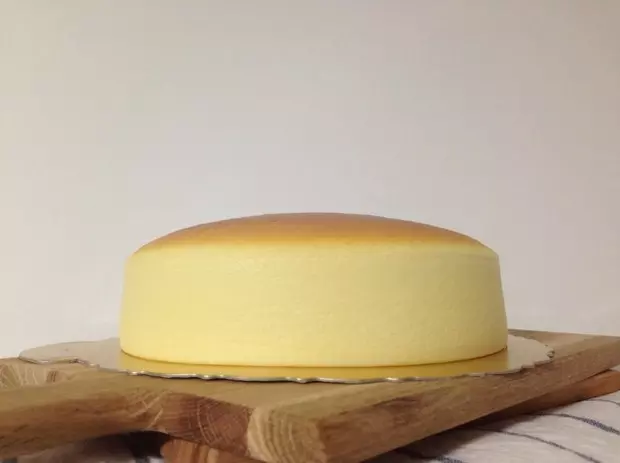
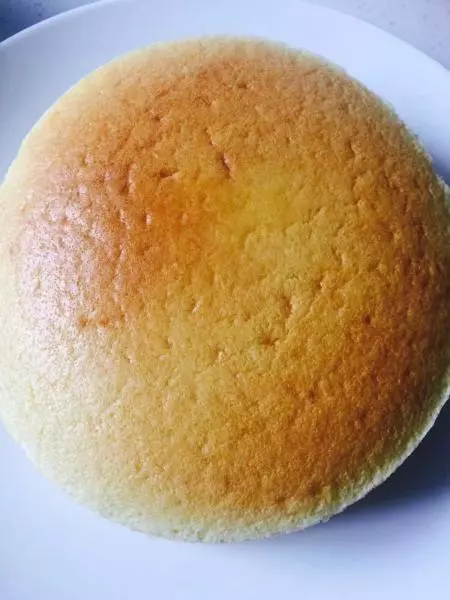
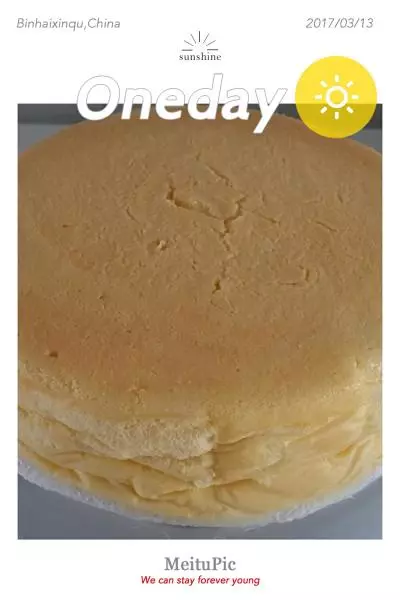
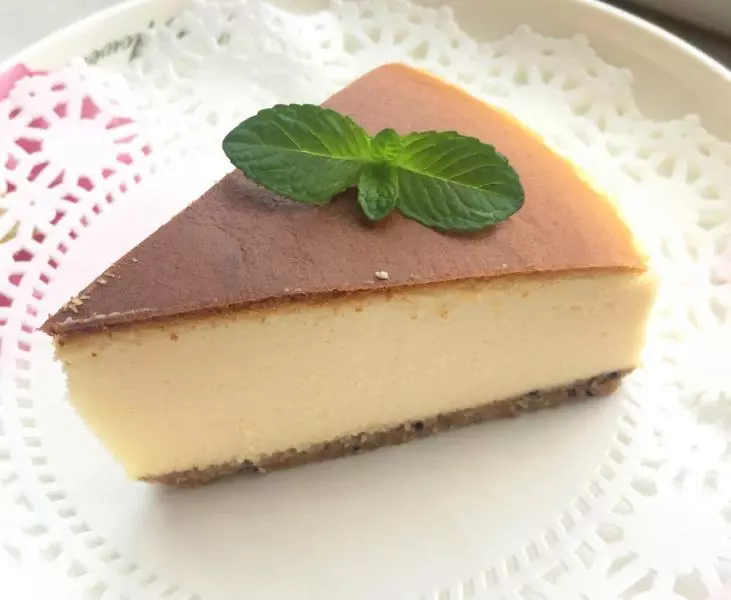
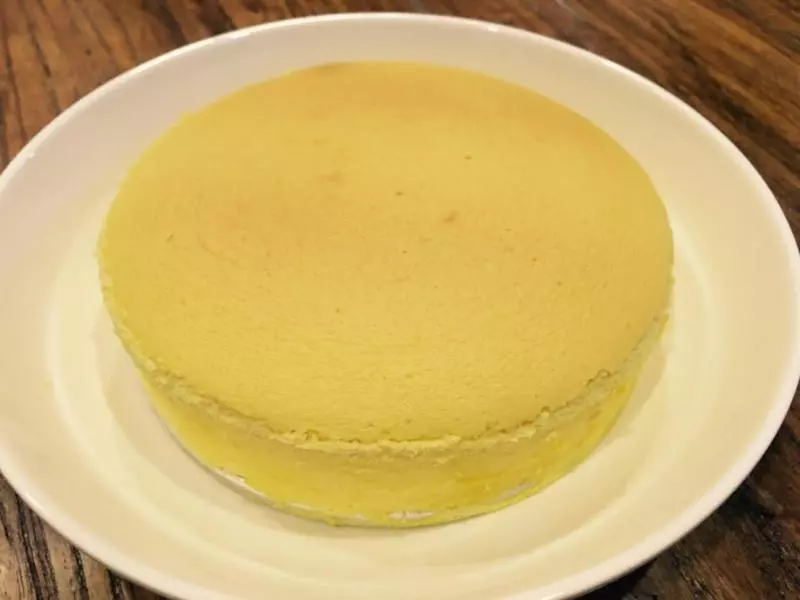
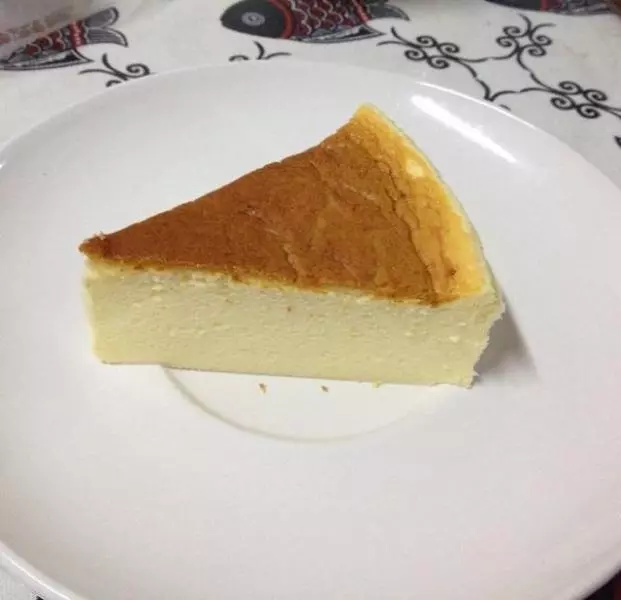
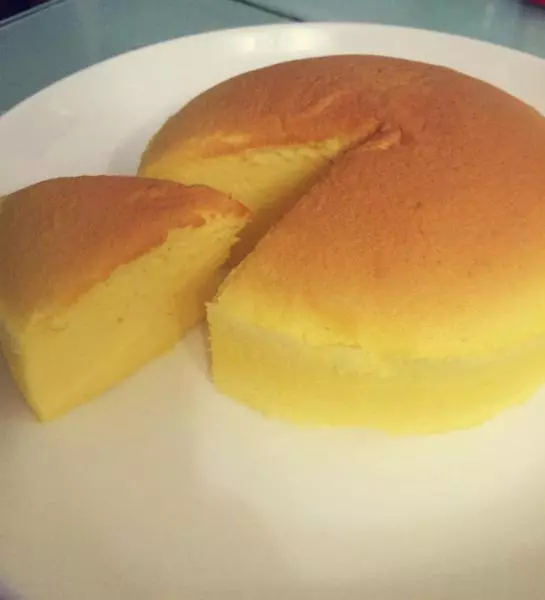
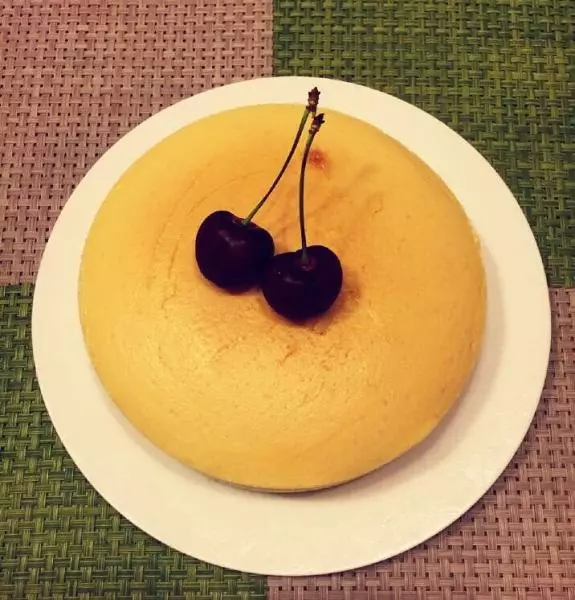
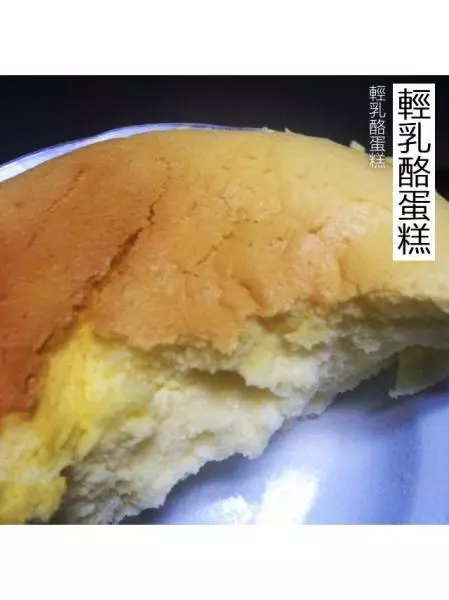
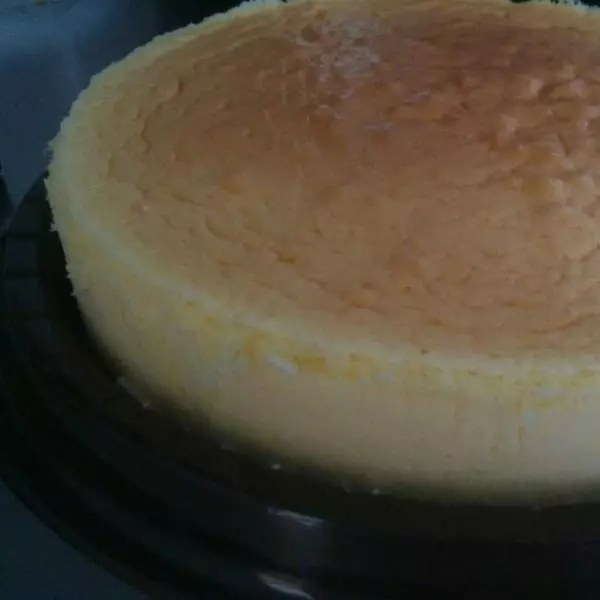
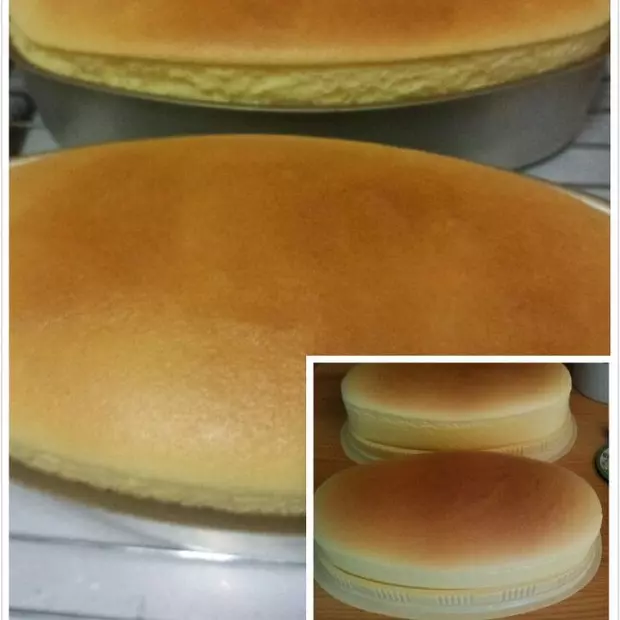
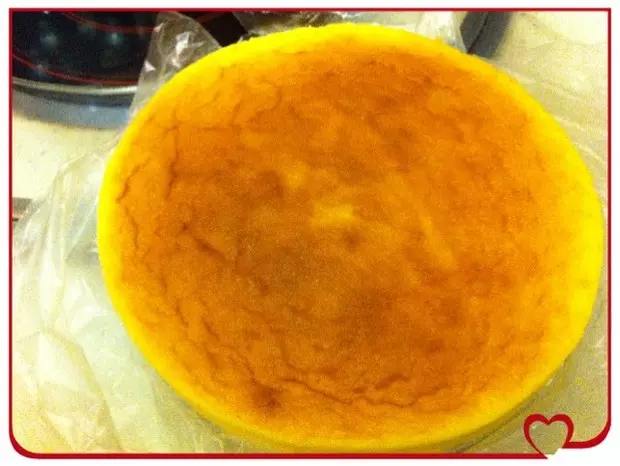
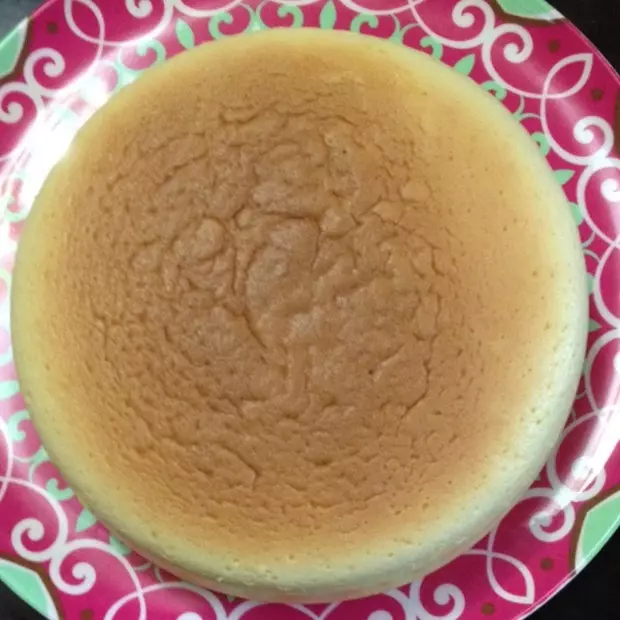
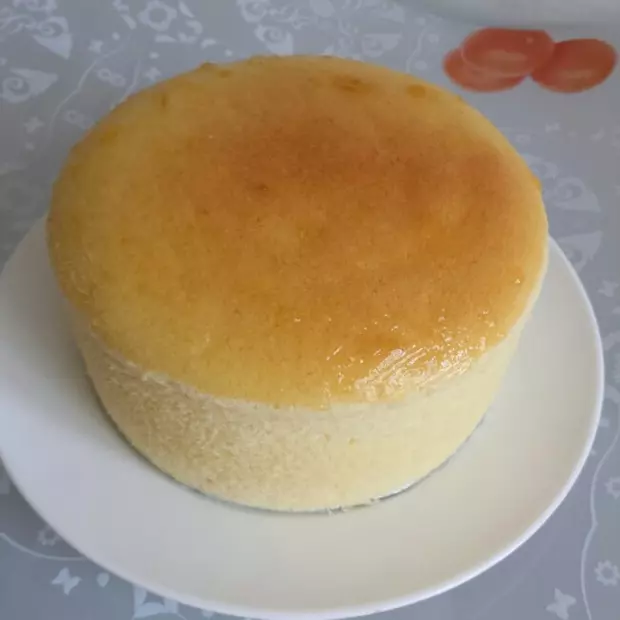
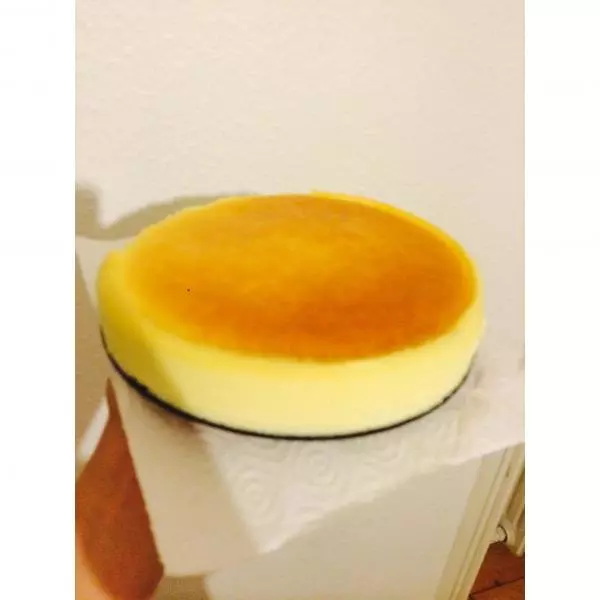
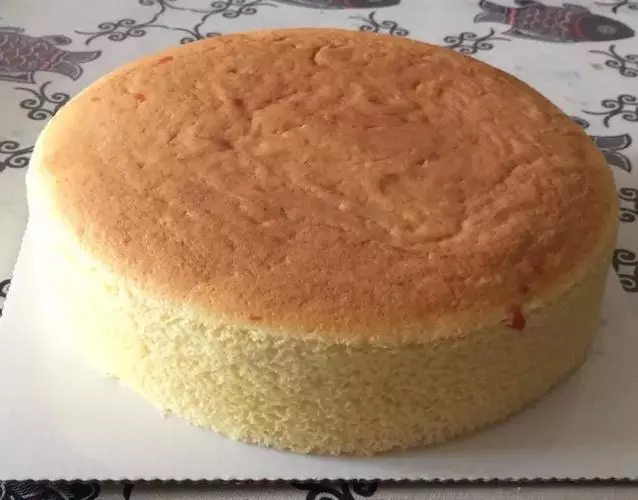
10烤箱出來後,自然冷卻後就自動脫模,我在上面刷了一層草莓果醬,嘻,放入冰箱冷藏4小時後食用