原料
雞蛋: 2個, 酸奶: 100克, 低筋麵粉: 35克, 玉米澱粉: 10克, 白砂糖: 25克, 檸檬汁: 一滴
步驟
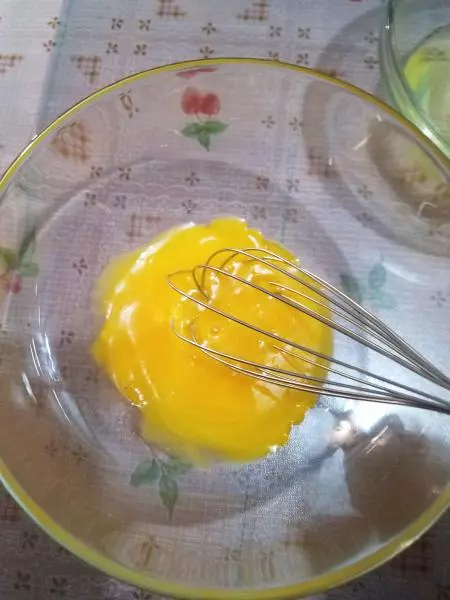
1蛋白蛋黃分離。

2蛋黃打散。
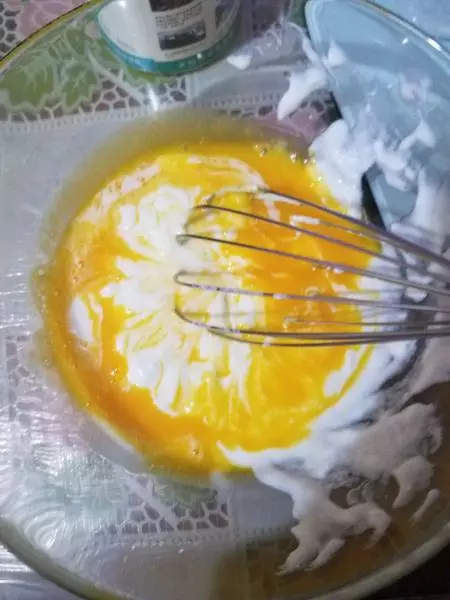
3加入酸奶攪拌均勻。
4蛋白加檸檬汁打發,白糖分三次加入。
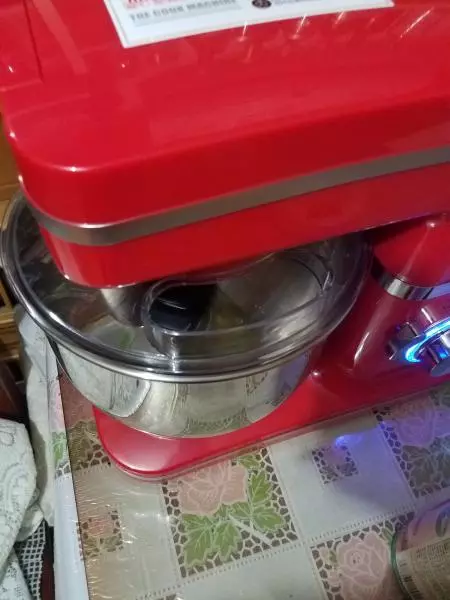
5蛋白打到尖鉤狀。

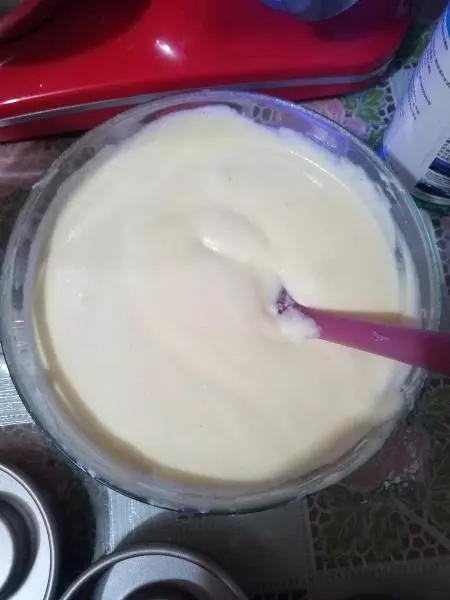
6分三次把蛋白加入蛋黃糊中,翻拌均勻。
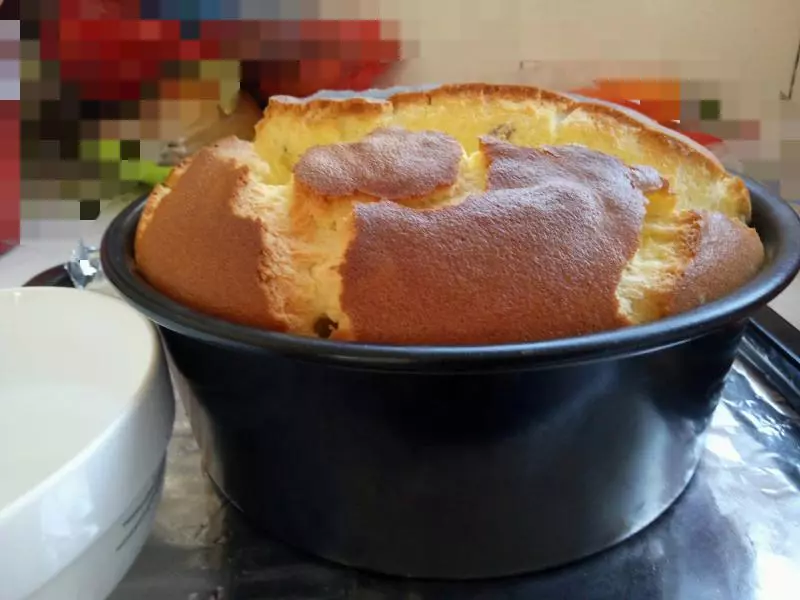
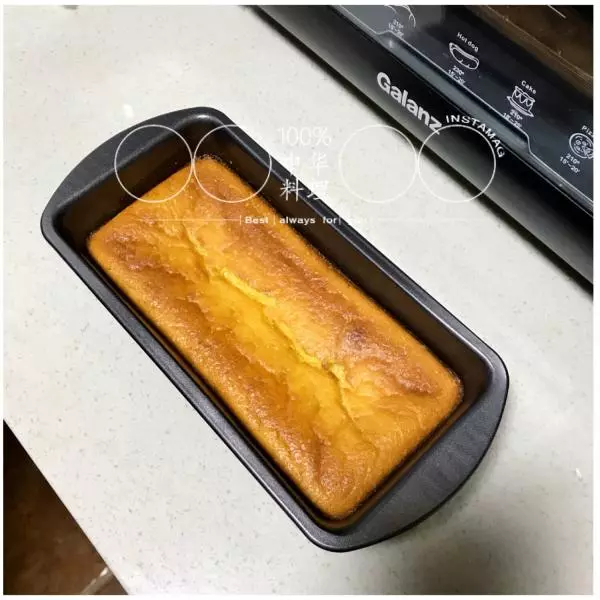
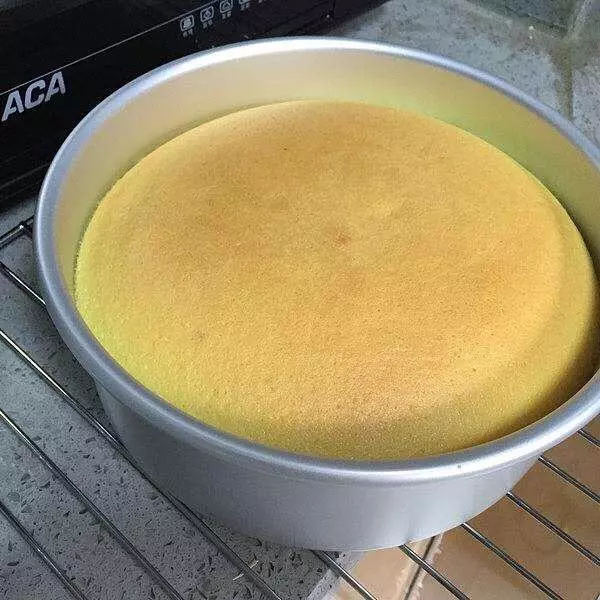
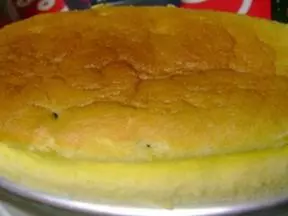
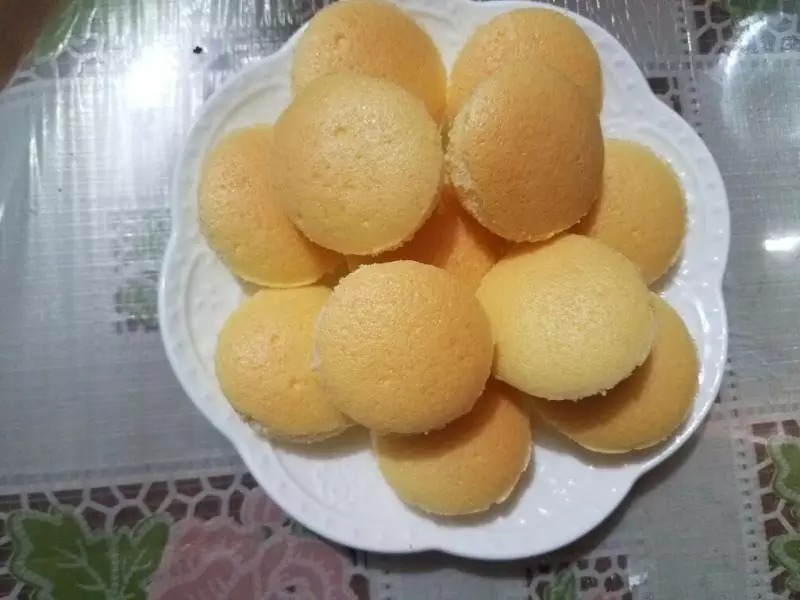
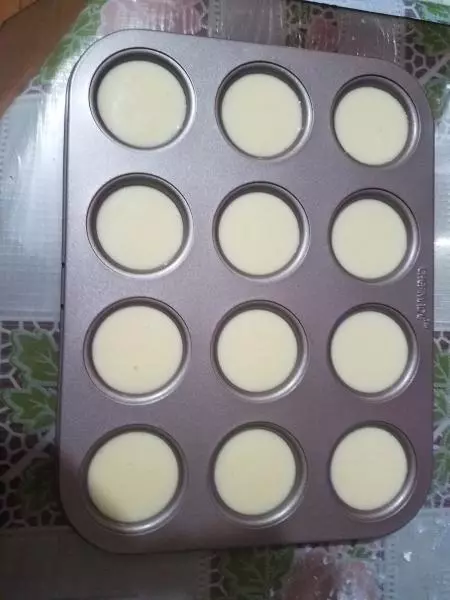
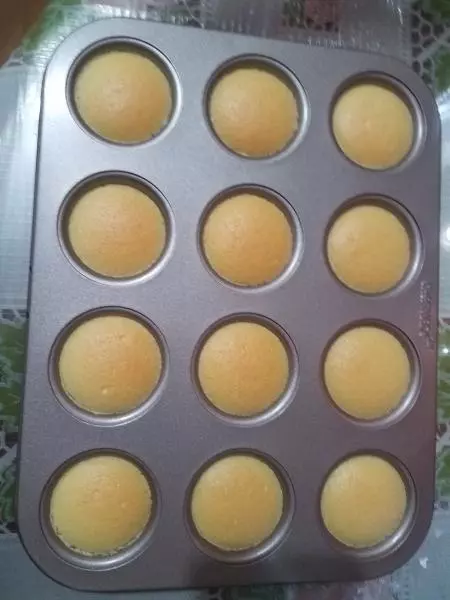
7加入模具後震出氣泡,然後用水浴法120度烤50-60分鐘,根據自己烤箱溫度調整,我的這個模具偏小,剩餘的麵糊還可以用別的小模具裝好一起烤,如果模具偏大的話,烘烤時間還要加長。
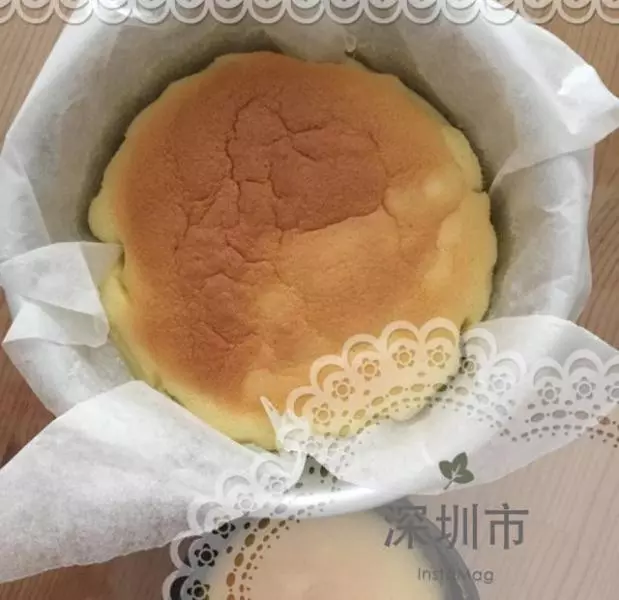
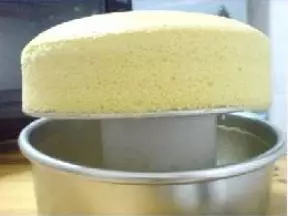
8時間到了不要馬上取出來,在烤箱內繼續放20分鐘後取出。
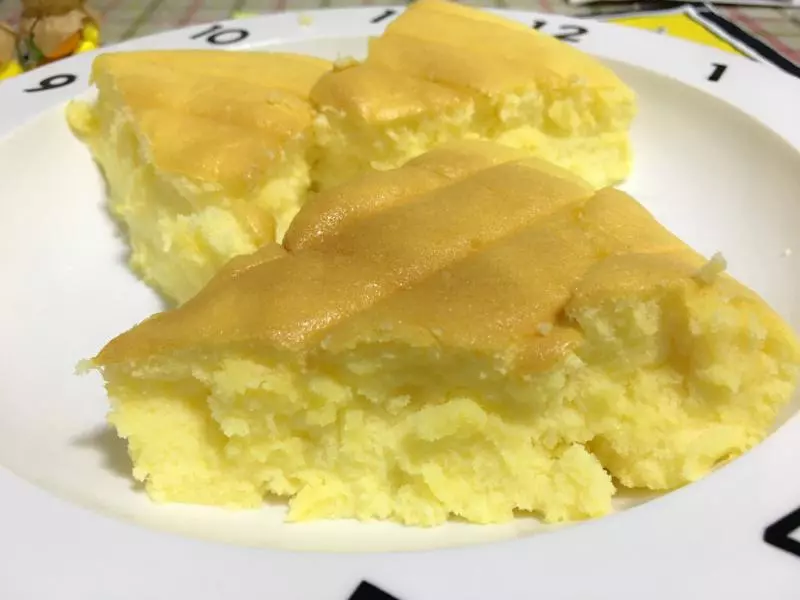
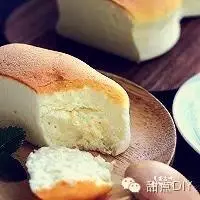
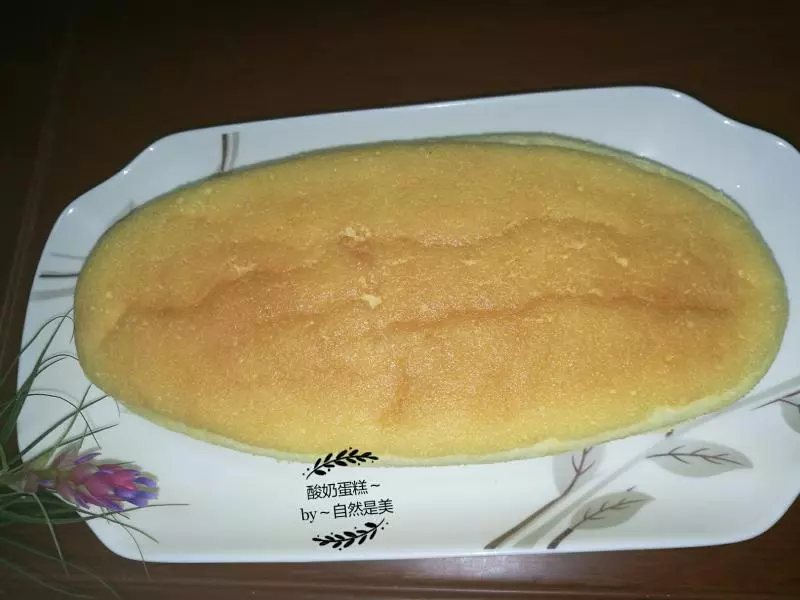
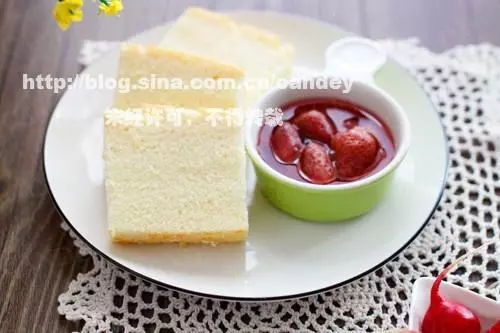
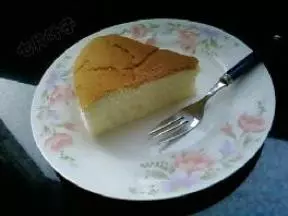
9蛋糕取出來後如果要包裝送人千萬不要這麼疊放,表面很容易傷。

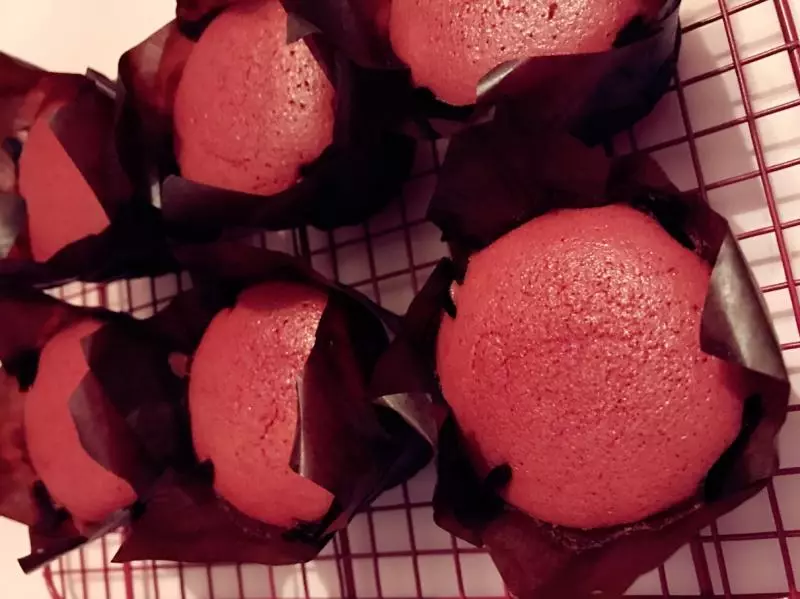
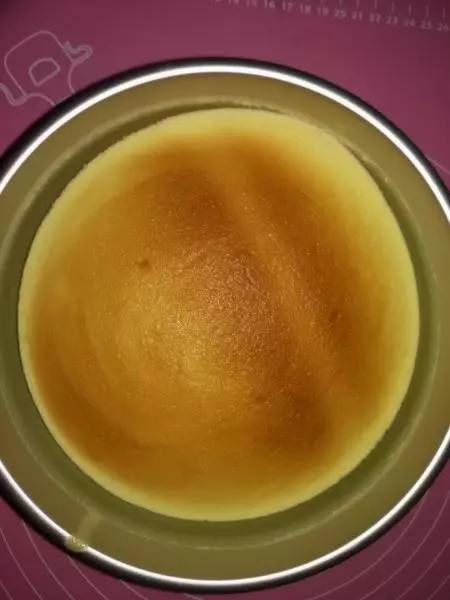
10剩餘的也很不錯。這次麵糊稍微多了一點。
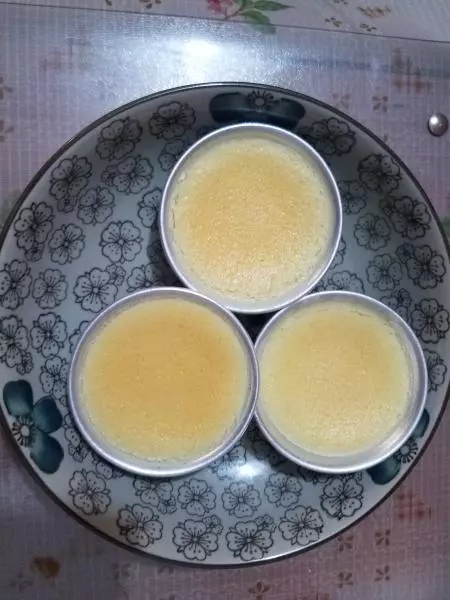
11打包送朋友很不錯的。

小技巧
這款小蛋糕是非常軟的,如果擔心脫模費勁的話,可以選擇墊個小紙托。