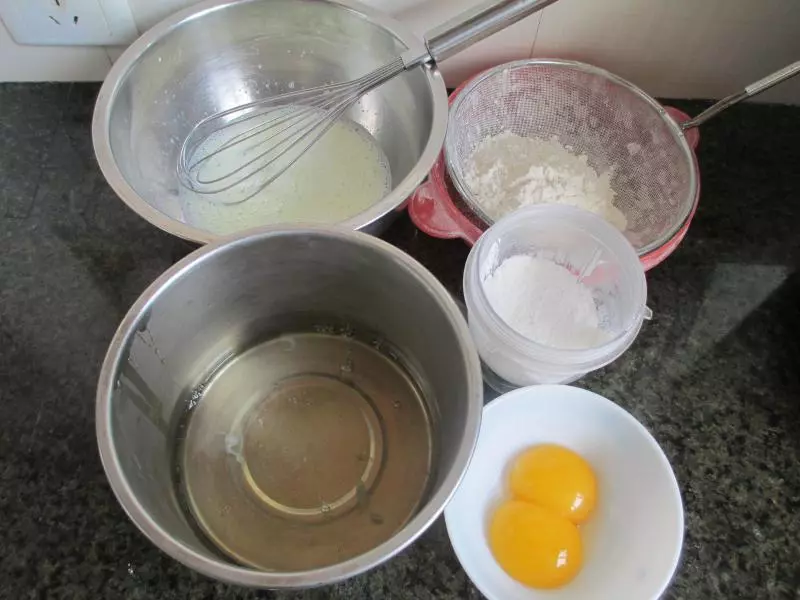
原料
蛋黃: 2個, 蛋清: 2-3個, 脫脂牛奶(純奶也行): 90ml, 細砂糖: 50克, 低粉: 75克, 檸檬汁(白醋): 5滴, 鹽: 1克, 6寸圓模: 1個
步驟
1準備材料,蛋黃蛋清分離,低粉過篩2-3遍,細砂糖和玉米澱粉混勻
2牛奶加熱至微沸,稍涼篩入低粉拌勻

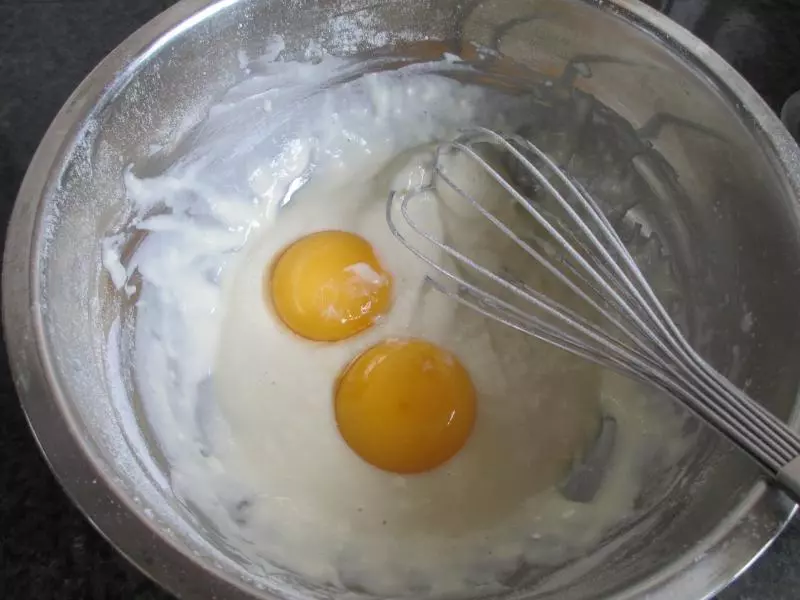
3加入蛋黃,拌勻
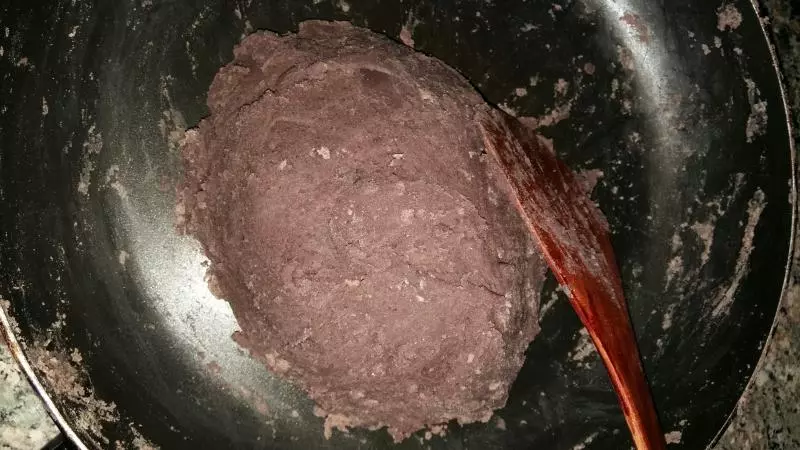
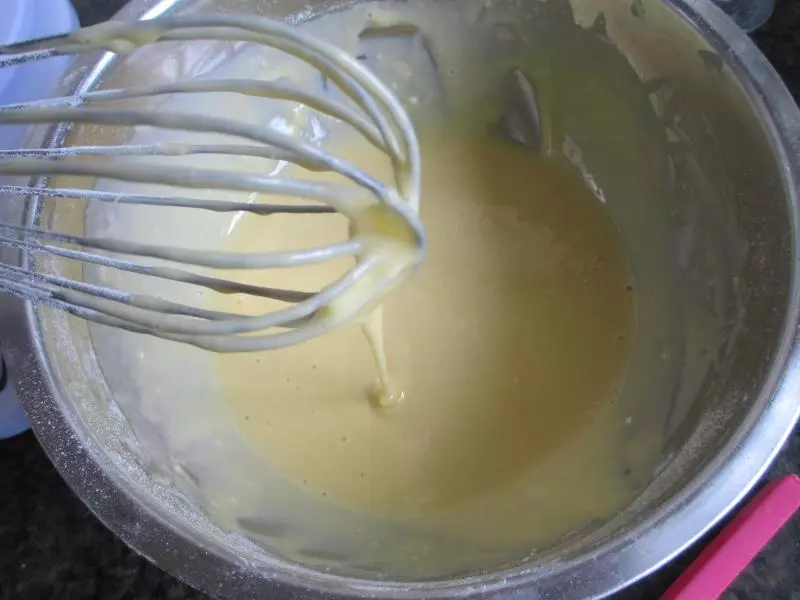
4拌好的蛋黃糊
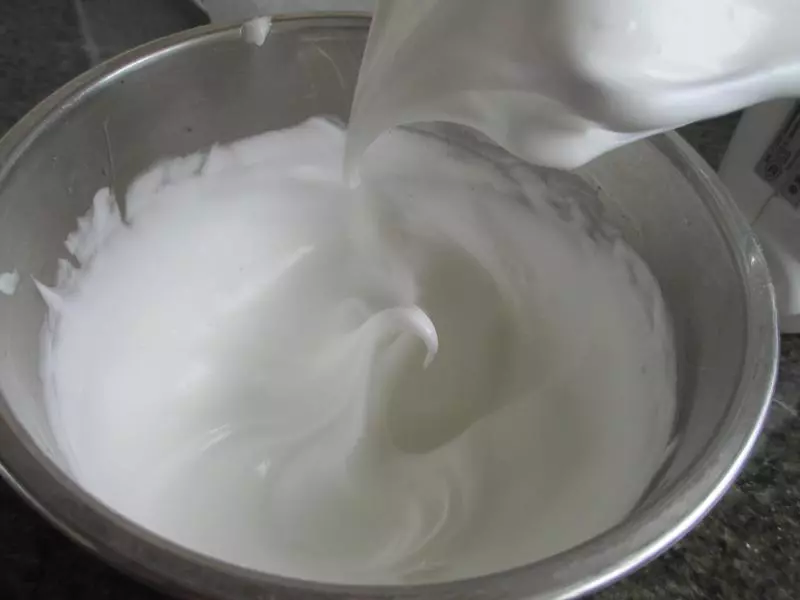
5蛋清加檸檬汁,鹽打發至體積增大,分次加細砂糖和玉米澱粉打發至如圖狀態,烤箱預熱160度
6先將少部分蛋白霜和蛋黃糊拌勻,再全部翻拌均勻

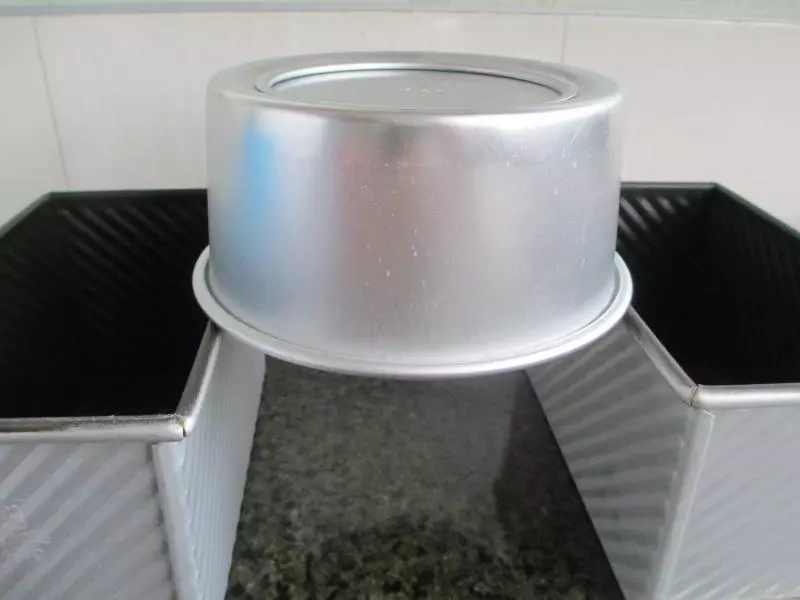
7從高處倒入模具,震出氣泡,烤箱調節至150度烤焙55-60分鐘

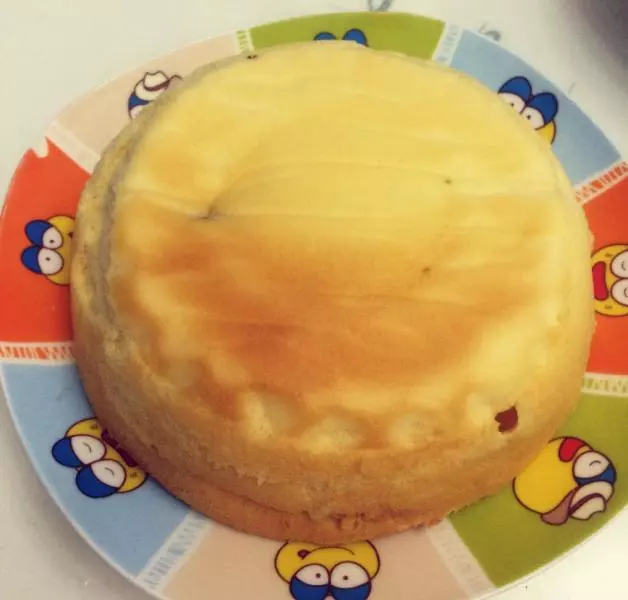
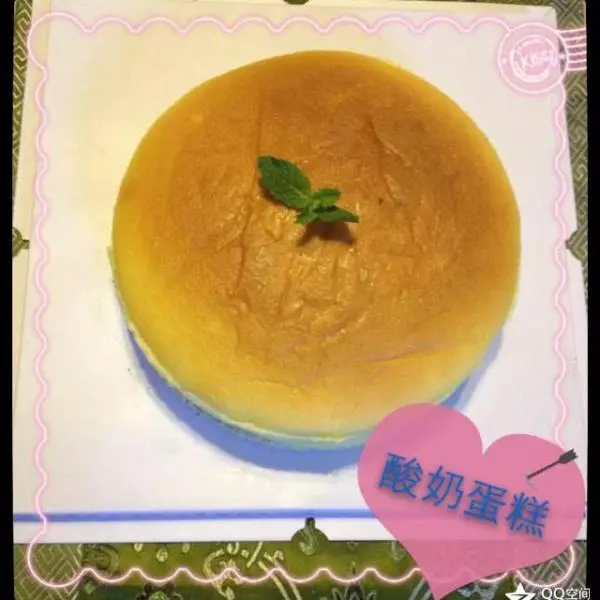
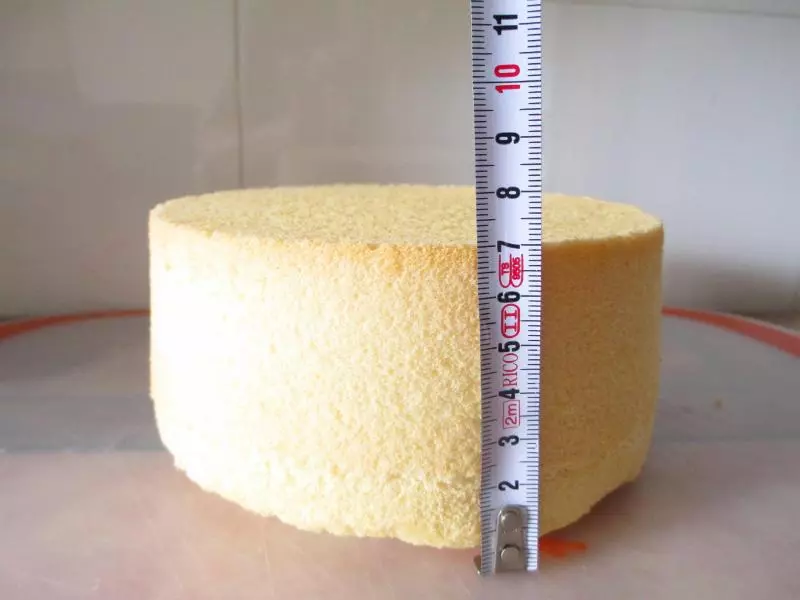
8震出熱氣,倒扣晾涼,這樣倒扣不會破相
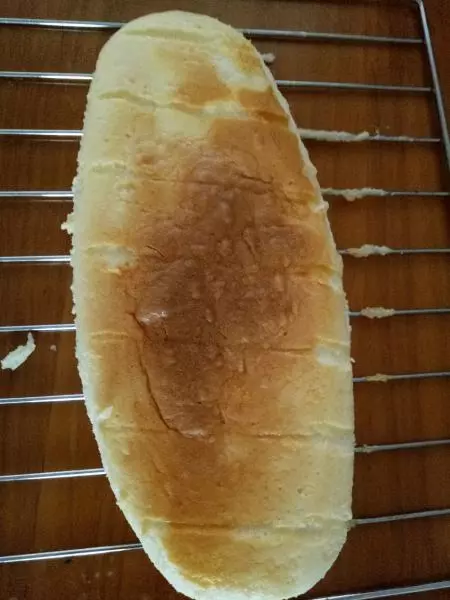
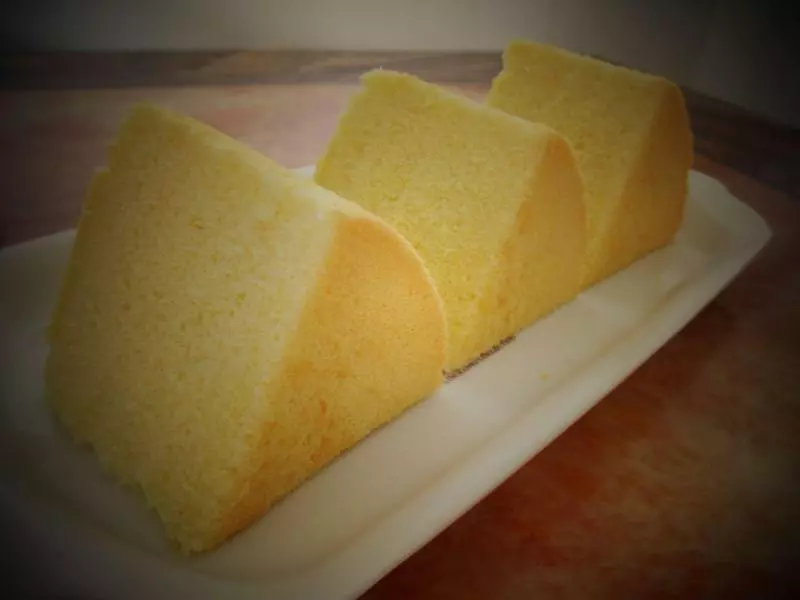
9脫模
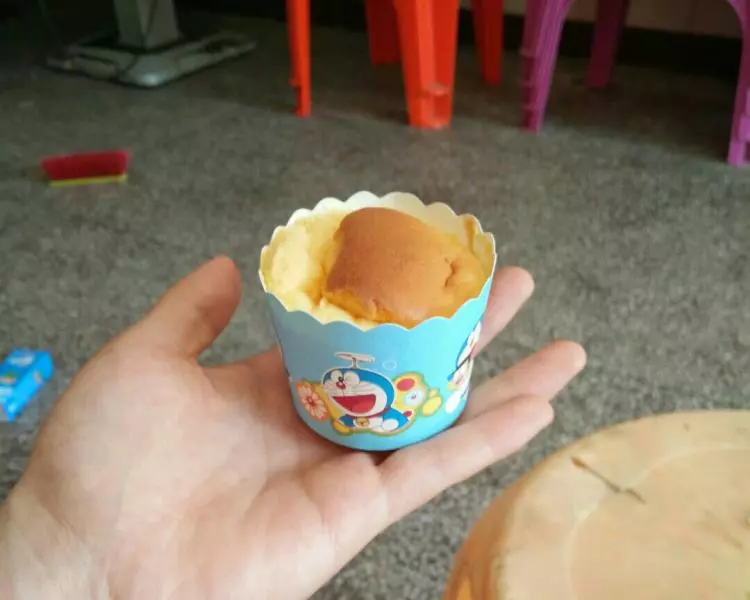
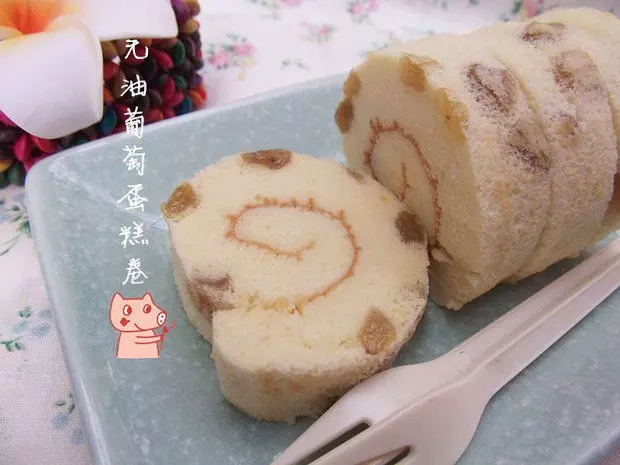
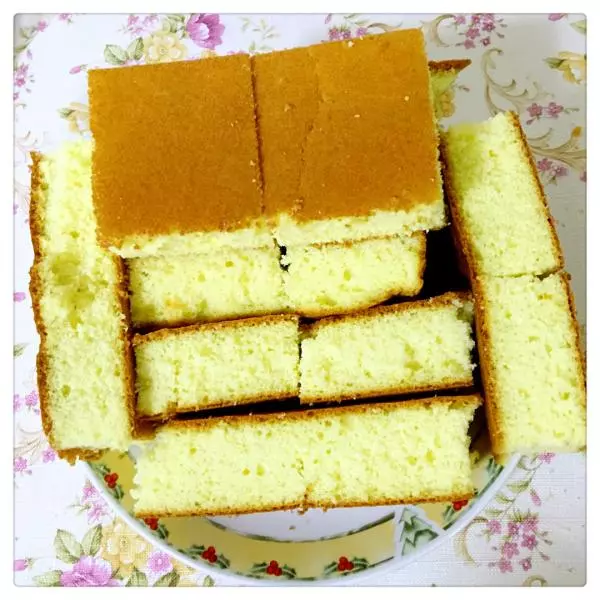
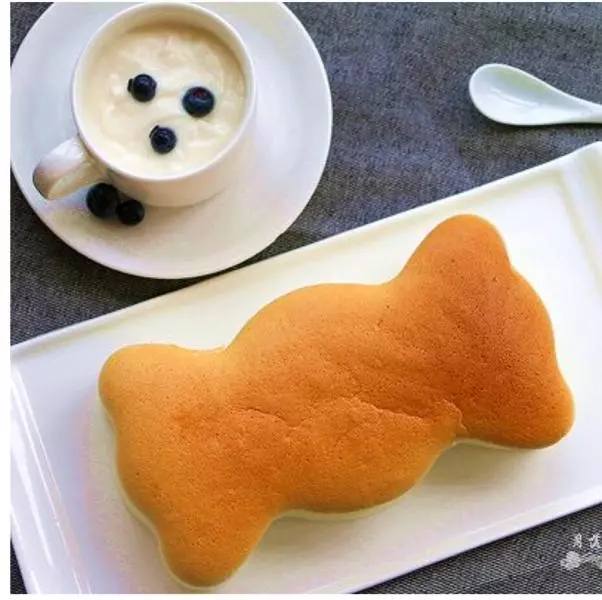
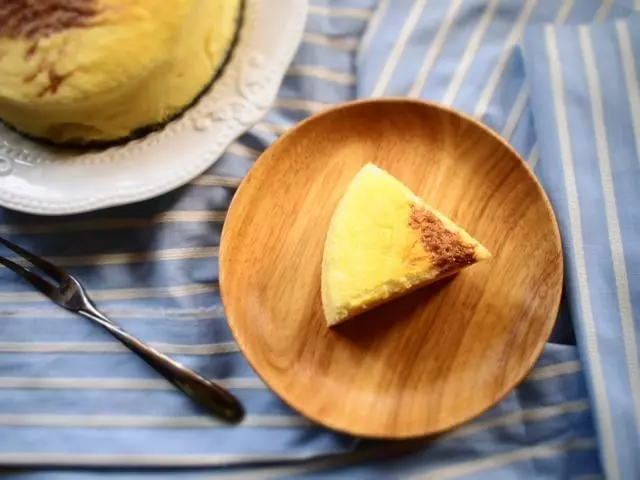
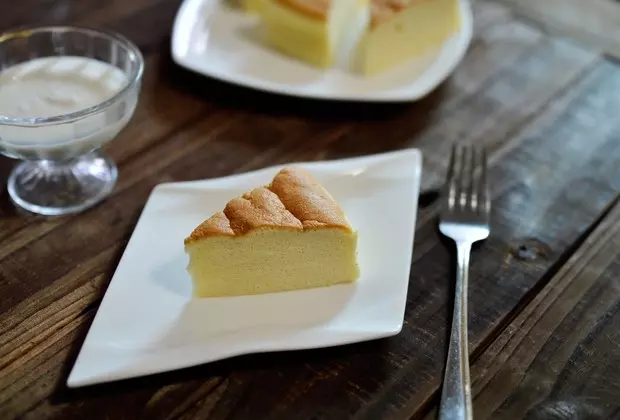
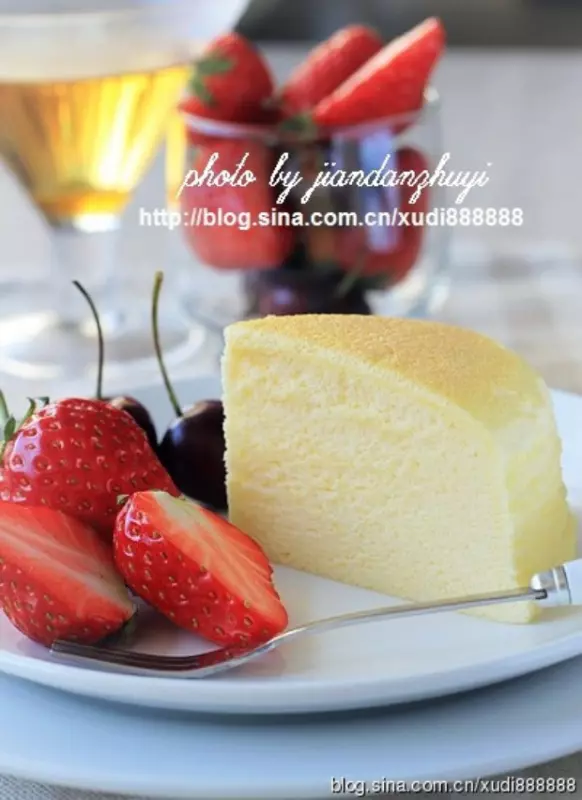
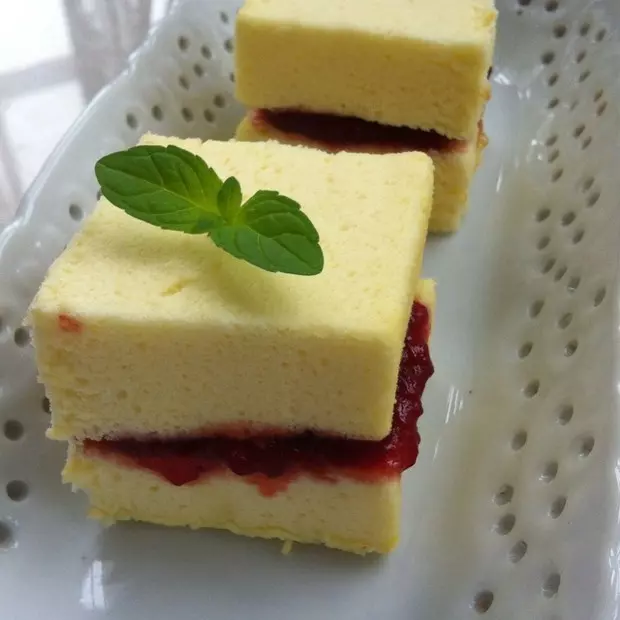
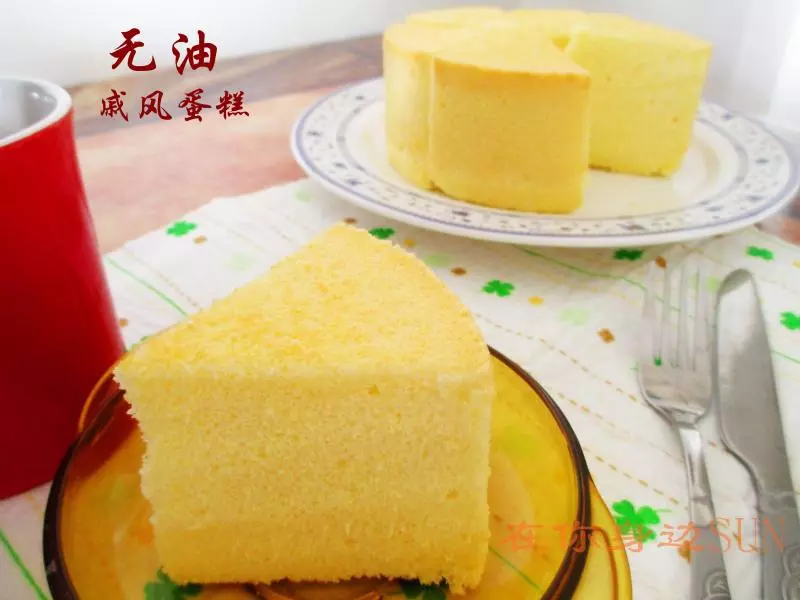
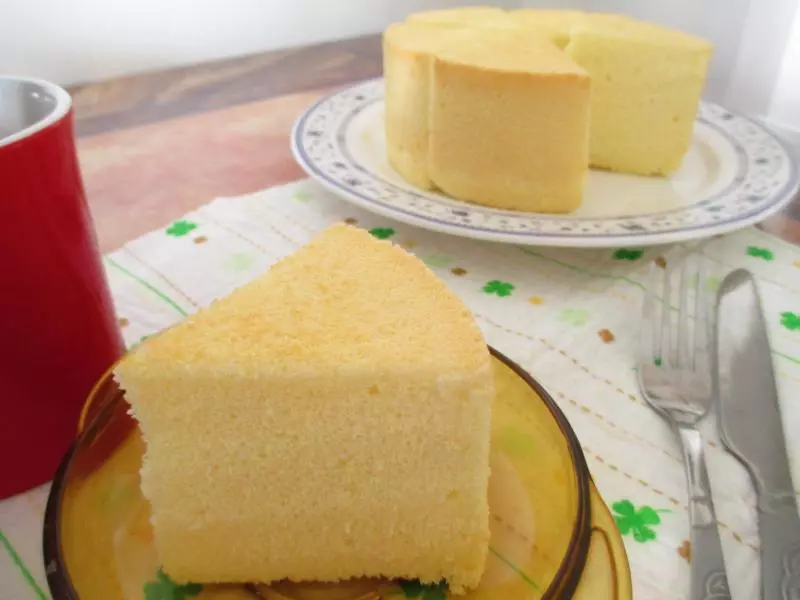
10切塊食用
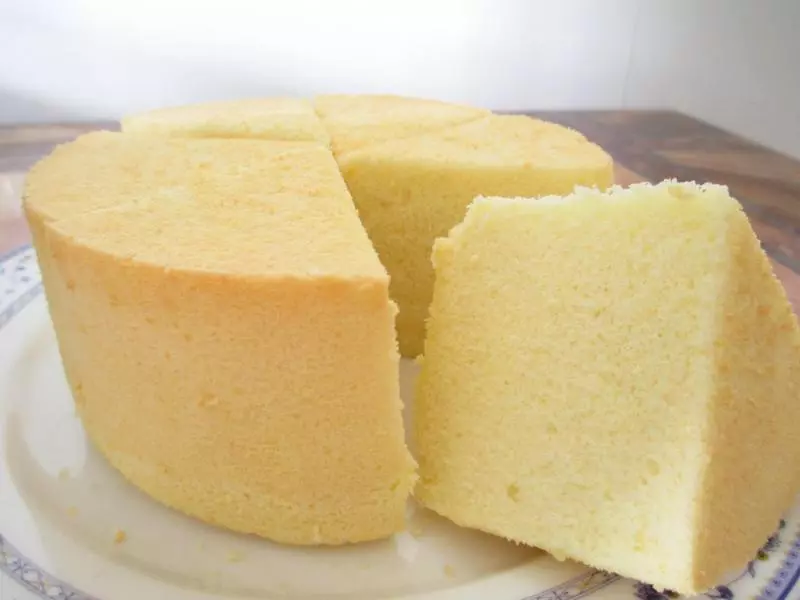
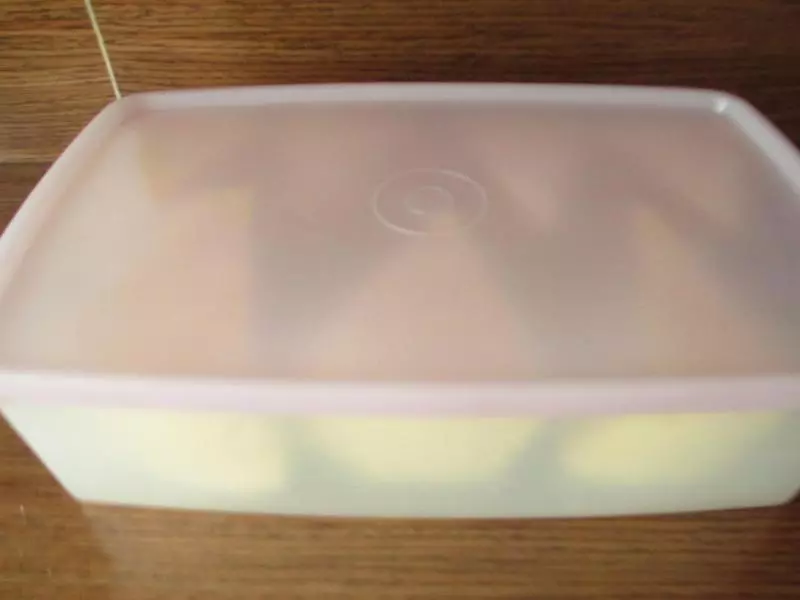
11無油微Q,口感不錯
12不塌不收腰也不厚皮,做基礎蛋糕不錯
13吃不完切塊密封冷藏保存