简介
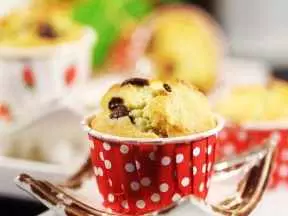
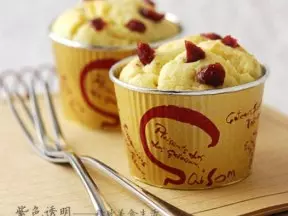
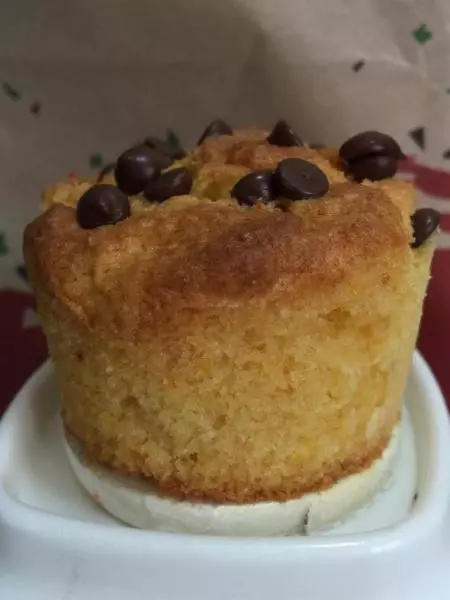
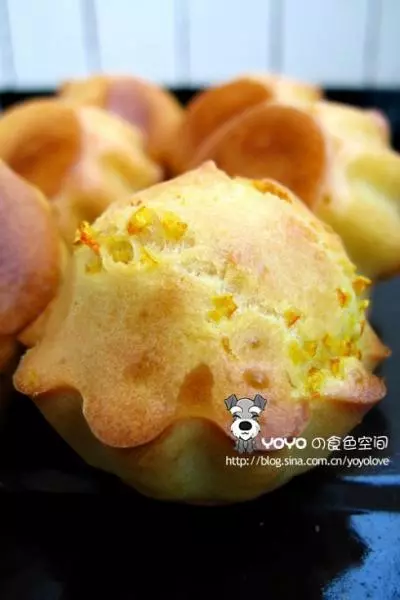
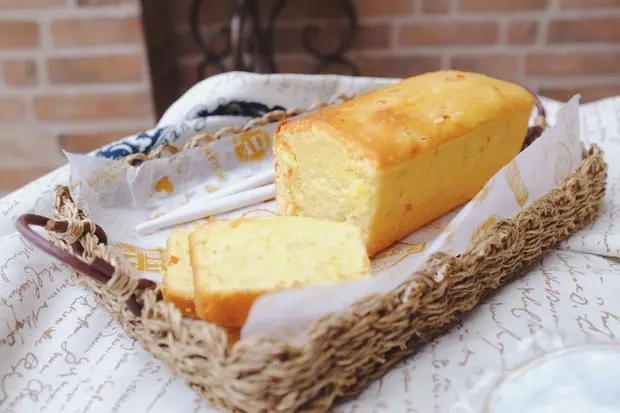
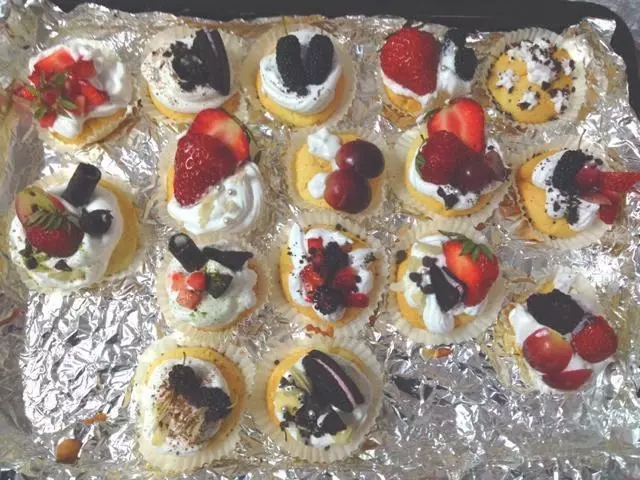
一个超级简单的制作>橙香乳酪杯子蛋糕 只要你跟着步骤包你一定成功.. 小孩最爱吃的~
原料
用料 , , 蛋糕体原料 , , 无盐黄油 120克, , 糖粉 65克, , 蛋黄 120克, , 蛋白 120克, , 细砂糖 65克, , 低筋面粉 120克, , 橙香奶油乳酪霜 , , 奶油乳酪 60克, , 黄油 100克, , 糖粉 30克, , 新鲜压榨橙汁 2小勺, , 橙皮屑 一个橙子的量, , 橙香乳酪杯子蛋糕的做法
步骤
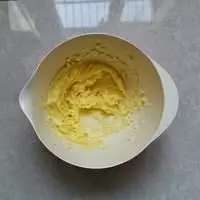
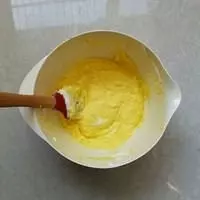
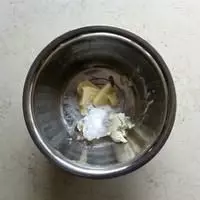
11.蛋糕的做法:室温软化的黄油加糖粉,用打蛋器打至蓬松颜色变淡。
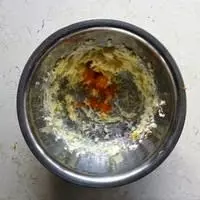
22.加入蛋黄液
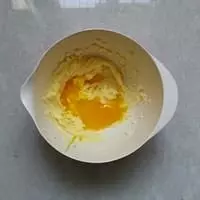
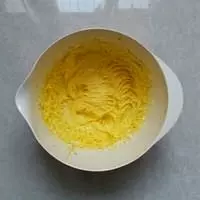
33.用打蛋器搅打均匀。
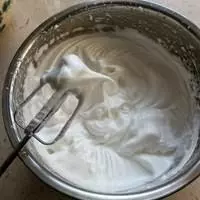
44.蛋白用电动打蛋器打至粗泡状,再分三次加入细砂糖,将蛋白打至捞起后不滴落并有小弯钩的状态。
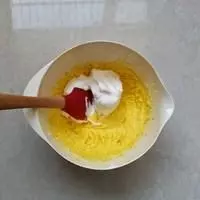
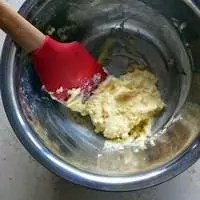
55.取1/3量的蛋白加入做法3的蛋黄奶油煳中。
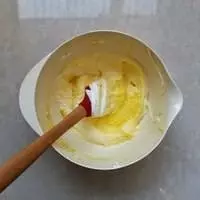
66.用刮刀拌至8分匀。
77.加入1/3量的低筋面粉。
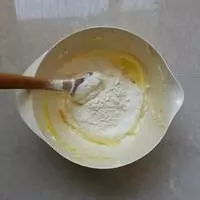
88.起底翻拌均匀。
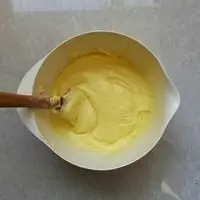
99.再将剩余的蛋白霜和粉料分别交错加入。

1010.起底翻拌成均匀的面煳。
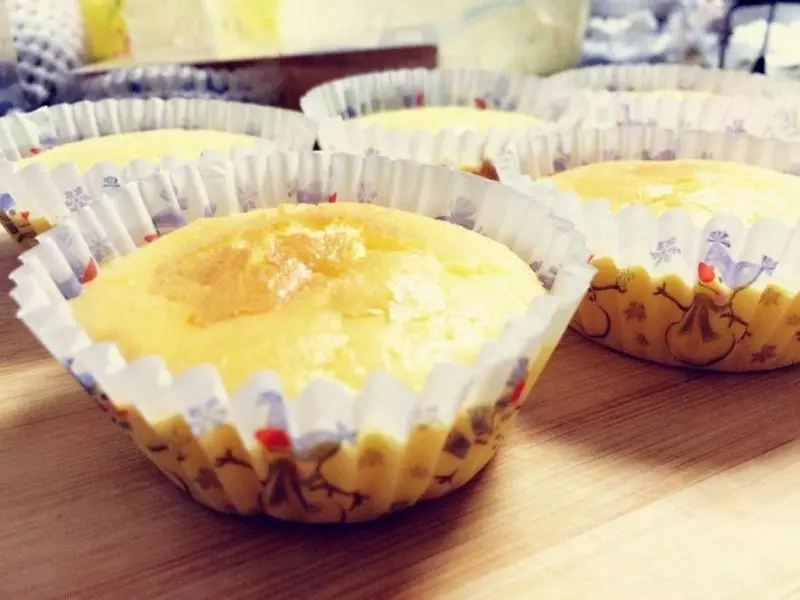
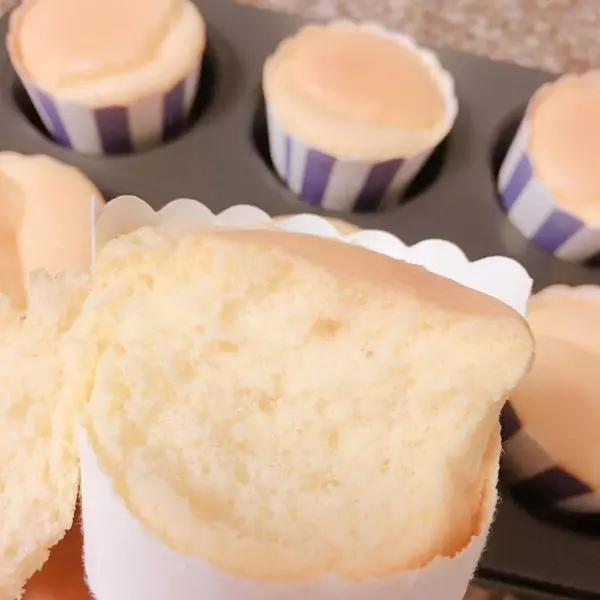
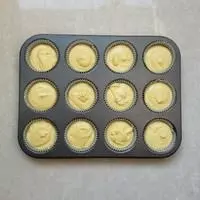
1111.将面煳装入裱花袋,挤入纸模内约8分满。
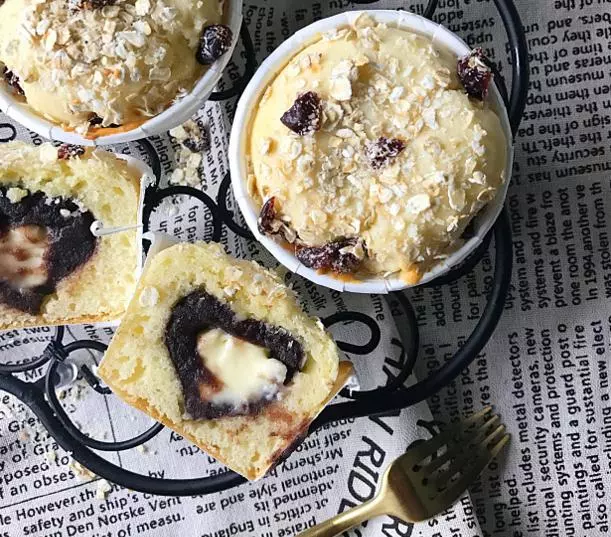
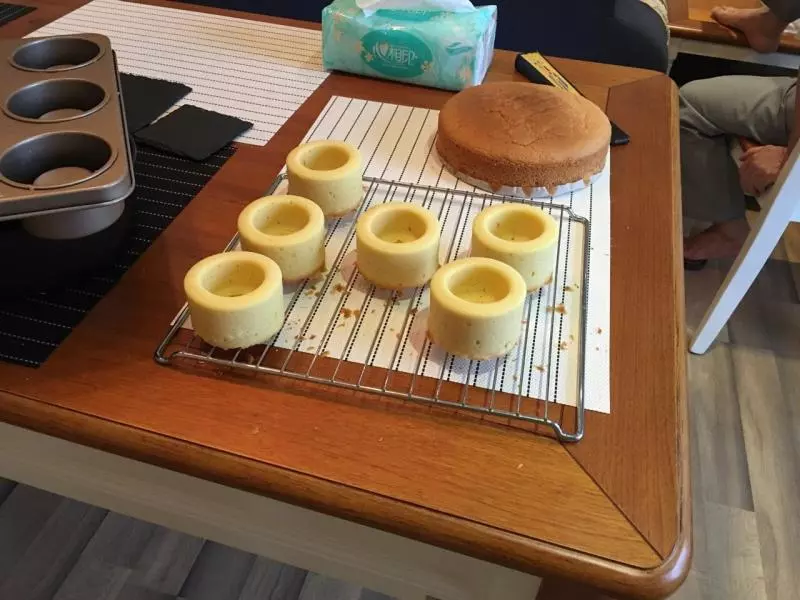
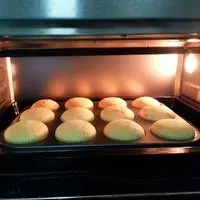
1212.预热好的烤箱,170℃20分钟,出炉冷却备用。
1313.香橙乳酪霜的做法:室温软化的黄油和奶油乳酪,加入糖粉。
1414.打蛋器打至颜色变浅,成为松发的奶油乳酪煳。再加入橙汁打匀,最后加入橙皮屑拌匀。
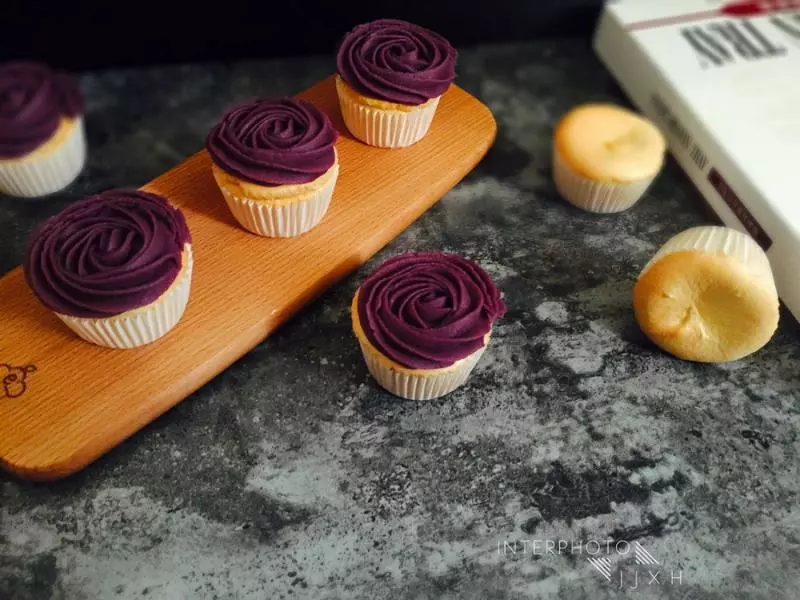
1515.即成香橙奶油乳酪霜。
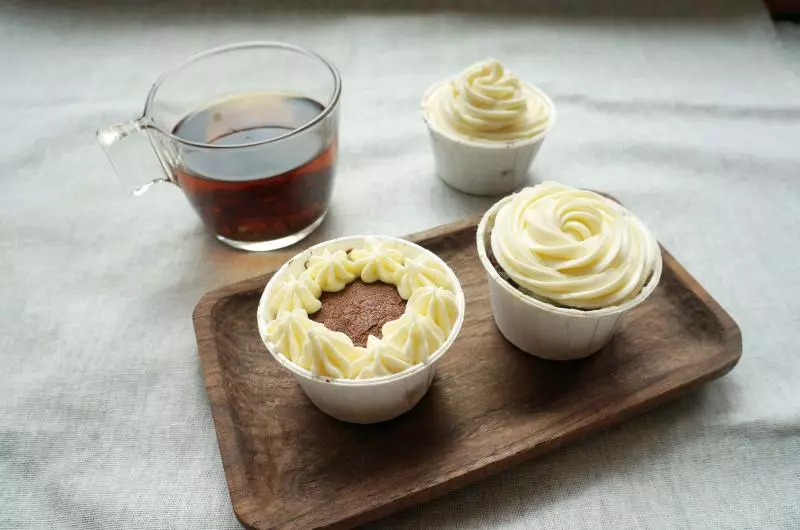
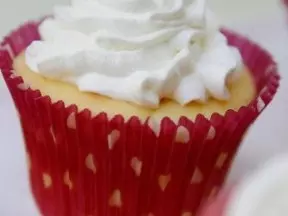
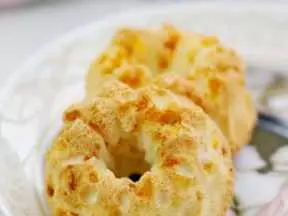
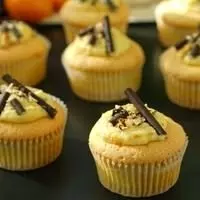
1616.将橙味奶油乳酪霜装入裱花袋,挤适量在蛋糕表面,并适当装饰。
小技巧
小贴士
1.刨橙皮屑时,避免刨到内层白色部分,否则会有苦涩感。
2.帖子中给的奶油乳酪霜量是配12个蛋糕的量,如果想方便 可以不做,直接吃蛋糕。
3.有表面装饰的蛋糕需冷藏保存。因蛋糕中含大量黄油,冷藏会变硬,吃前回温就会变软。
4.如果没有表面装饰,建议室温下密封放置一两天回软后再吃,口感会更加柔软湿润。