原料
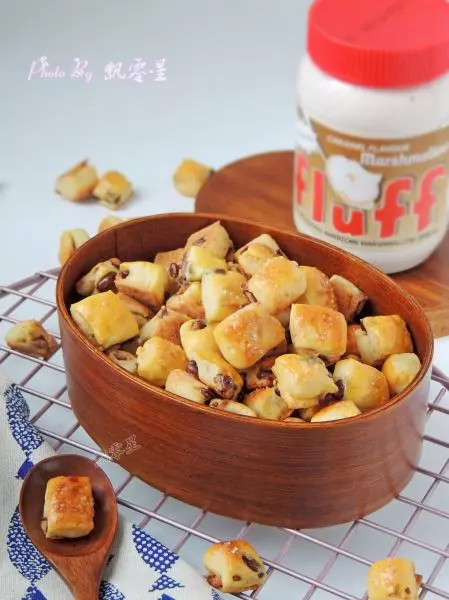
蛋清: 165g(5个), 蛋黄: 75g(5个), Fluff棉花糖: 50g, 纯牛奶: 75g, 食用油: 65g, 低筋面粉: 70g, 红曲粉: 5g, 可可粉: 3g, 淡奶油: 200ml, Fluff棉花糖: 10g
步骤
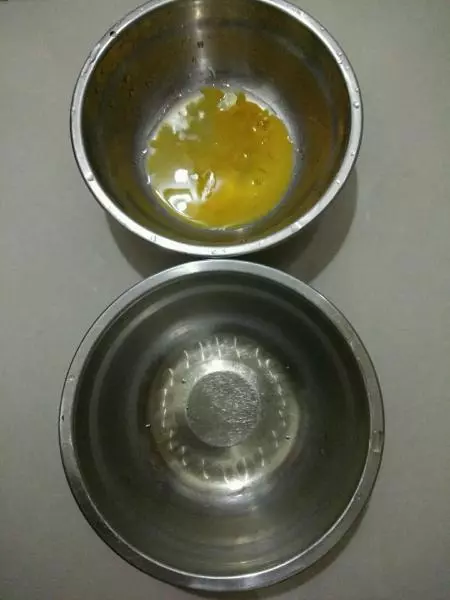
1将蛋黄、蛋白分离,蛋白要放在无油无水的干净容器里。
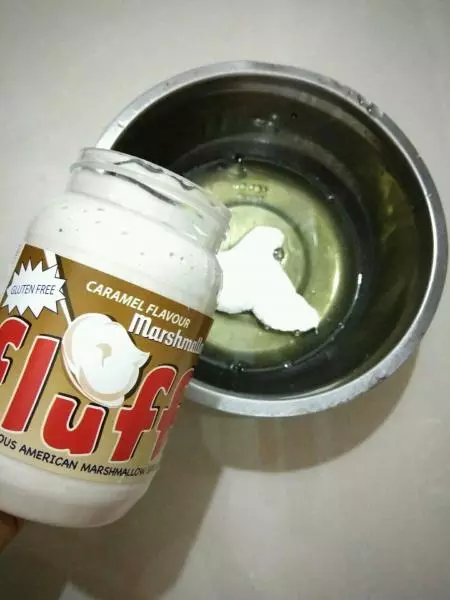
2蛋白里加入fluff棉花糖。
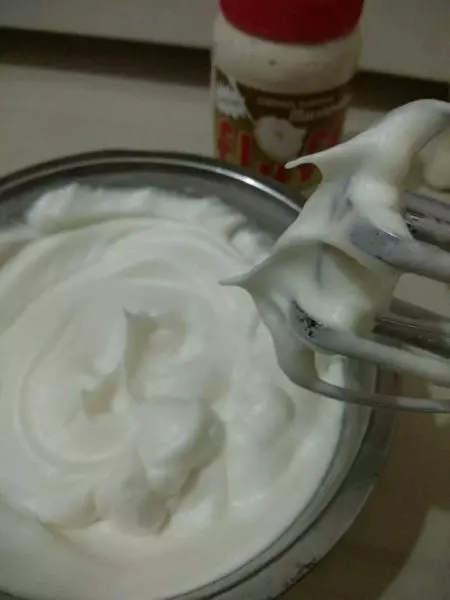
3低速打发至中性发泡,提起打蛋器,蛋白呈直立尖角,如图所示。
4预热烤箱,上下火140度。蛋黄中加入水和食用油,搅拌均匀。
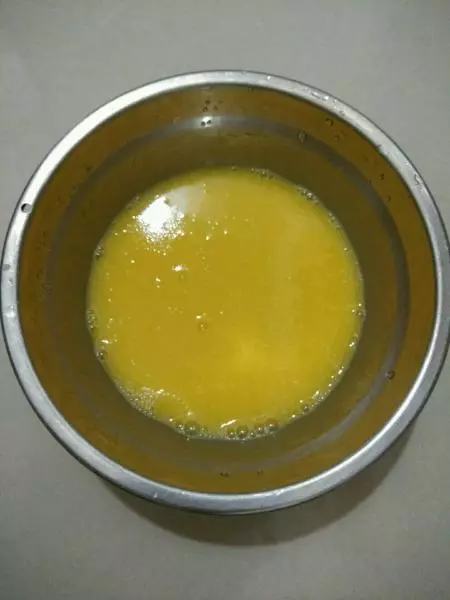
5将水和油倒入蛋黄中,搅拌均匀,面粉、红曲粉和可可粉过筛到蛋黄里,搅拌均匀,搅拌好的蛋黄糊是细腻的,有粘性,无颗粒,这样蛋黄糊就做好了。
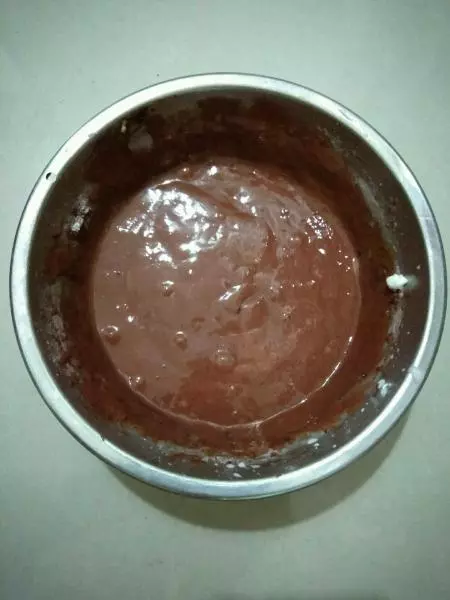
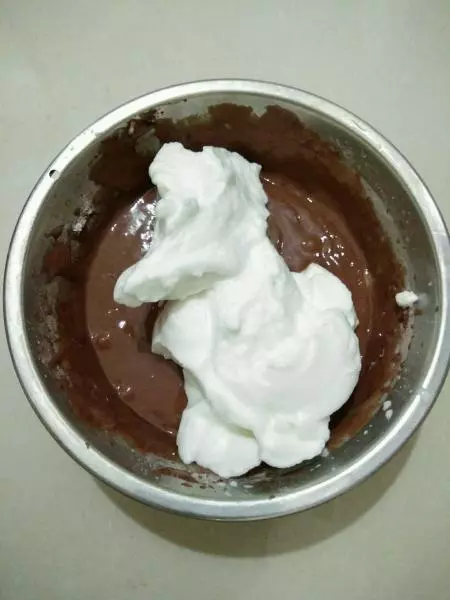
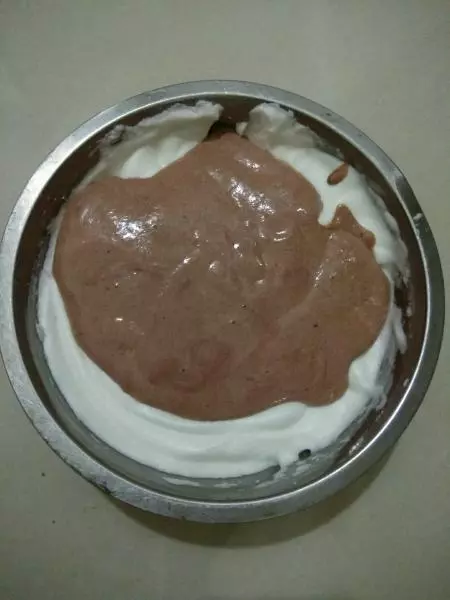
6将1/3蛋白霜倒入蛋黄糊中,自碗底从下到上翻拌均匀。
7将步骤5的面糊全部倒入剩下的蛋白霜里,自碗底从下到上翻拌均匀。
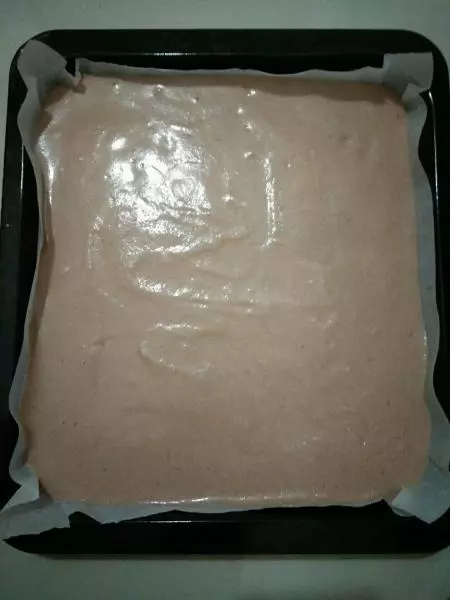
8将拌匀的蛋糕糊倒入铺了油纸的烤盘里,送入预热好的烤箱,上下火140度,中层,15分钟。即使同品牌同型号也会有温差,时间只是一个参考,时间上下浮动10分钟都是可以的。(可以插根牙签进去,牙签上没有面糊就表示烤好了)。
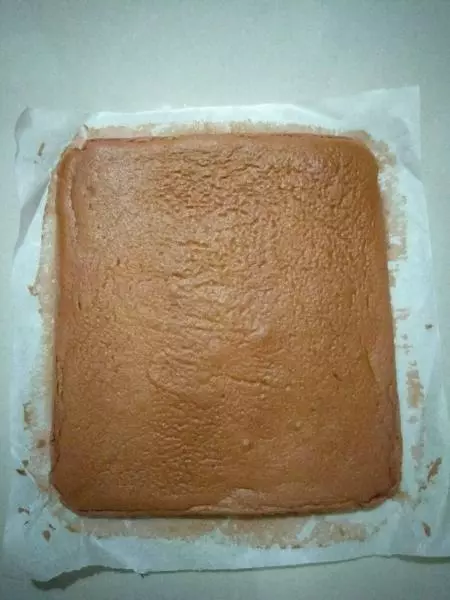
9烤好的蛋糕轻震两下,撕掉四边的油纸,然后放到烤网上,静置放凉直到表面不再感觉有热气散出,撕去底部油纸。
10蛋糕晾凉的时候,我们来打发淡奶油,fluff棉花糖加入淡奶油中。

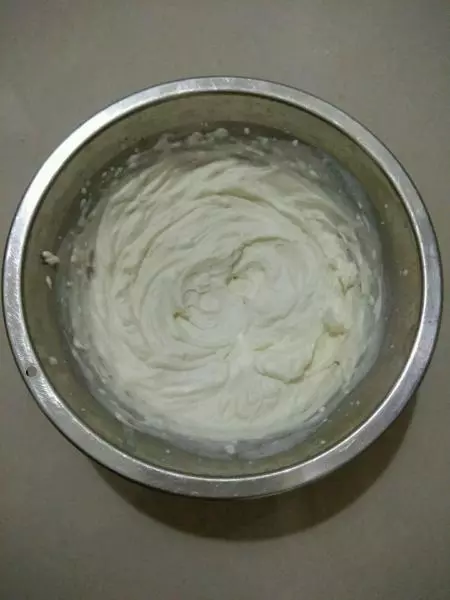
11隔冰水打发至可以裱花的8、9分发状态,如图示。
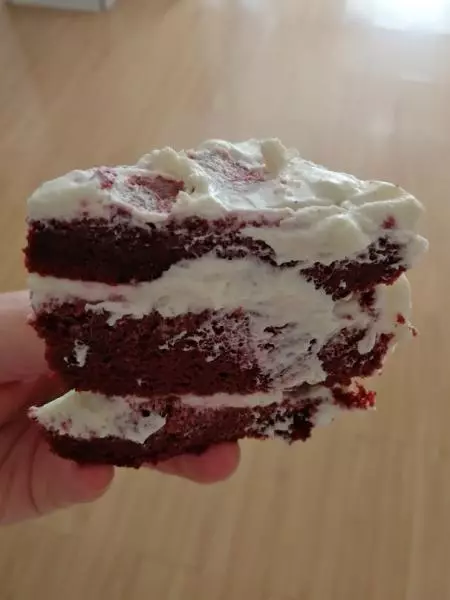
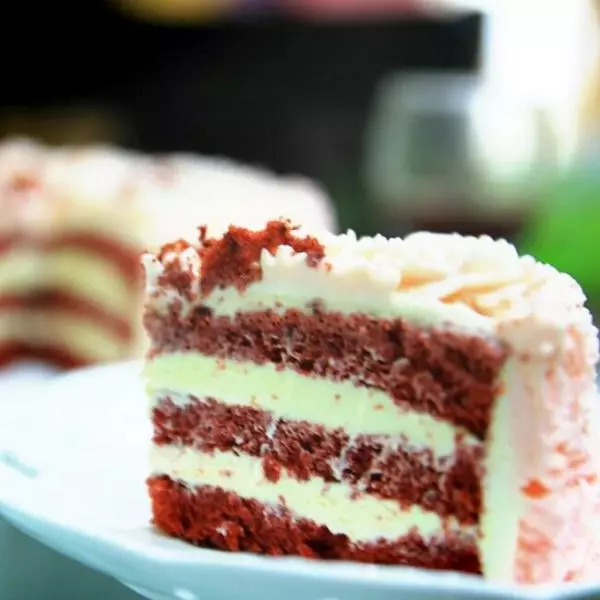
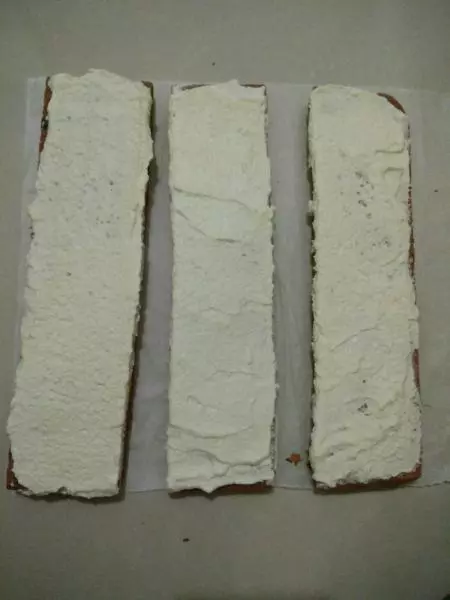
12用刀切去蛋糕的四边,抹上奶油,平均切成3份,如图示。
13先将其中一条卷起,竖放在盘上,再将其余的一条接一条首尾相连地卷起,最后的收口处斜切一下做为收尾。
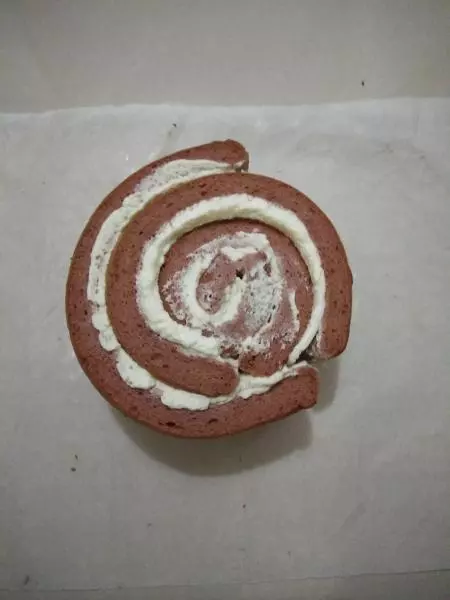
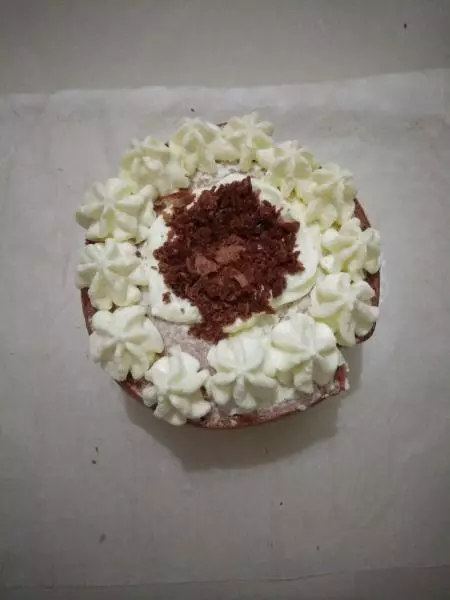
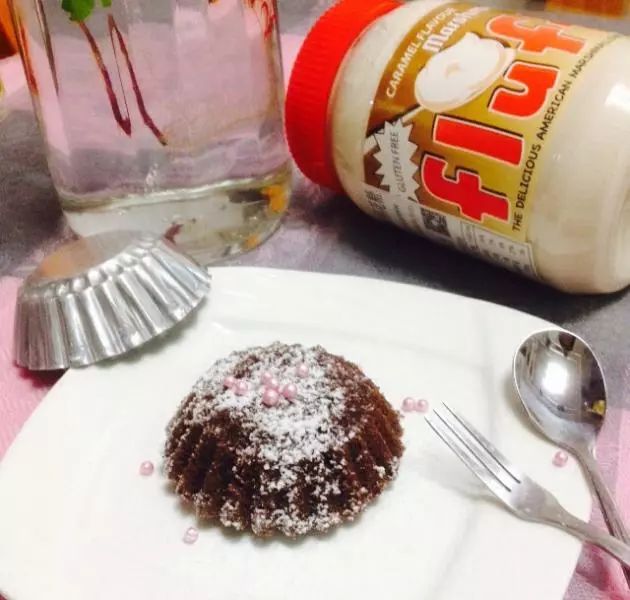
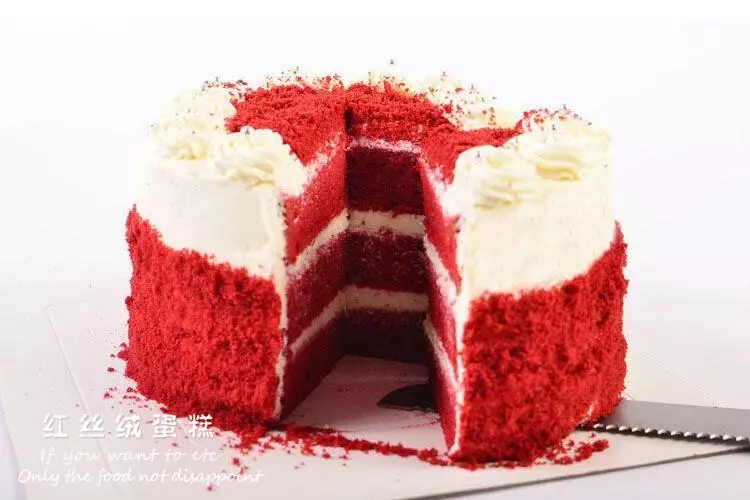
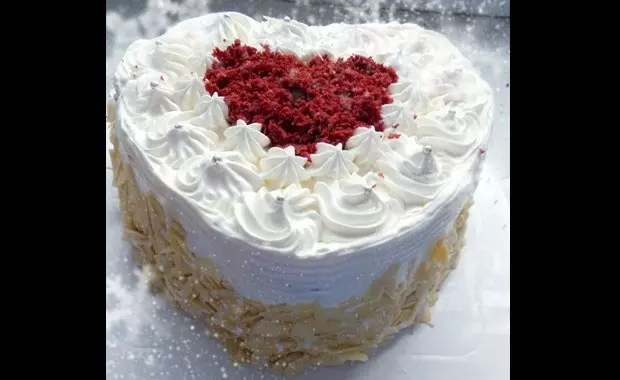
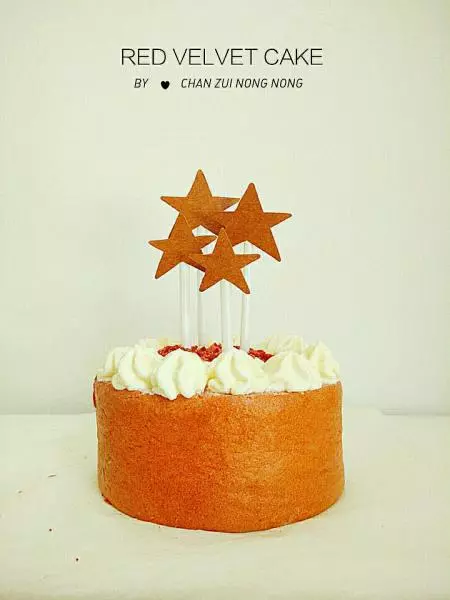
14用剩余的奶油将蛋糕表面抹平,将奶油装入裱花袋,用挤出花纹,中间放上蛋糕碎装饰,然后插上星星装饰即可。