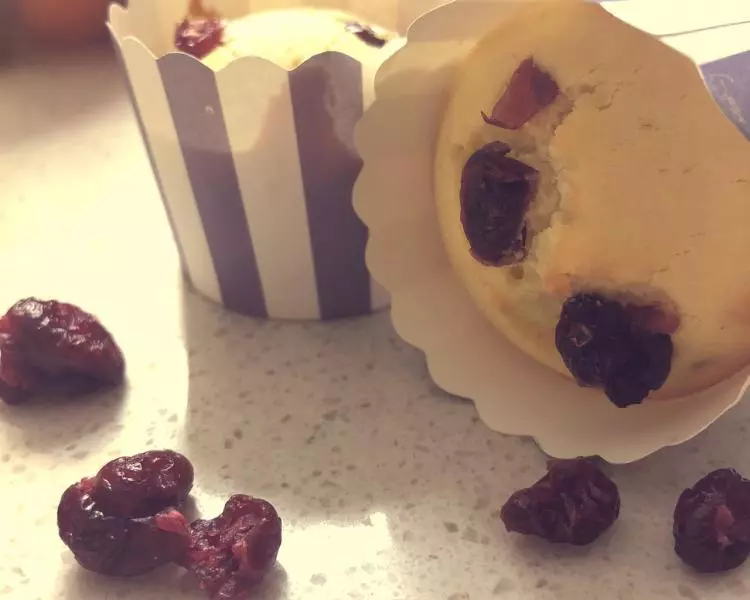
原料
蔓越莓: 45克, 低筋面粉: 100克, 黄油: 80克, 奶油: 80克, 泡打粉: 3克, 糖分: 50克, 鸡蛋: 80克〈两个小的家鸡蛋〉
步骤
11、黄油室温软化加入糖粉打蛋器低速搅拌,黄油变白。 tips:加入糖粉后可以用刮刀先压一压,防止打发时糖分飞溅。

22、鸡蛋打散分次加入黄油中,每一次加入后搅拌均匀在加入。tips:鸡蛋要用常温的,冷藏过的鸡蛋会导致水油分离。蛋液要分次加入,一次性加入也会水油分离,加入次数可自己定。加入一次后一定要混合均匀后在加入下一次。

33、加入过筛的低筋面粉和泡打粉,拌匀。 搅拌无干粉即可,不要过度搅拌

4加淡奶油搅拌均匀

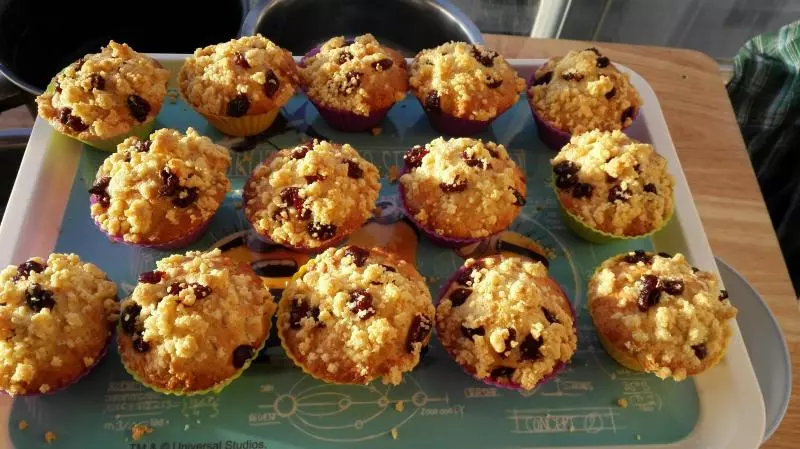
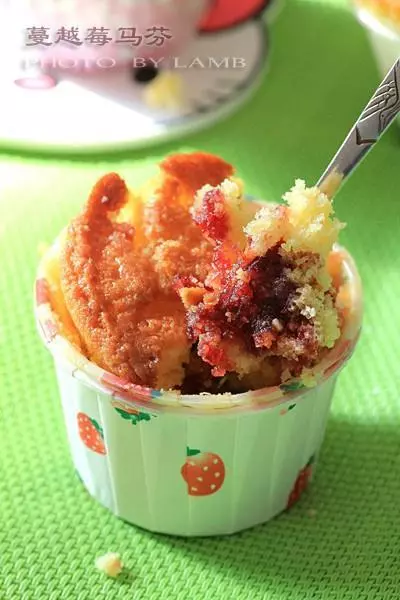
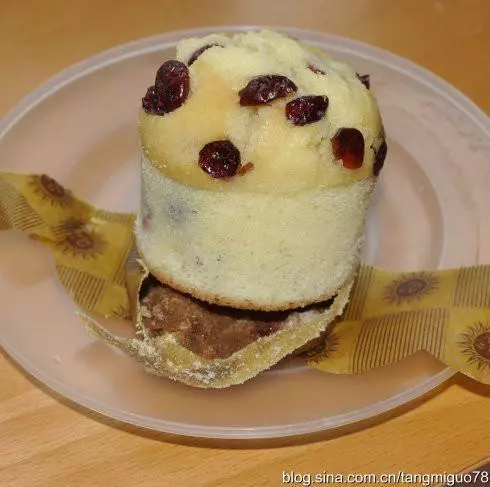
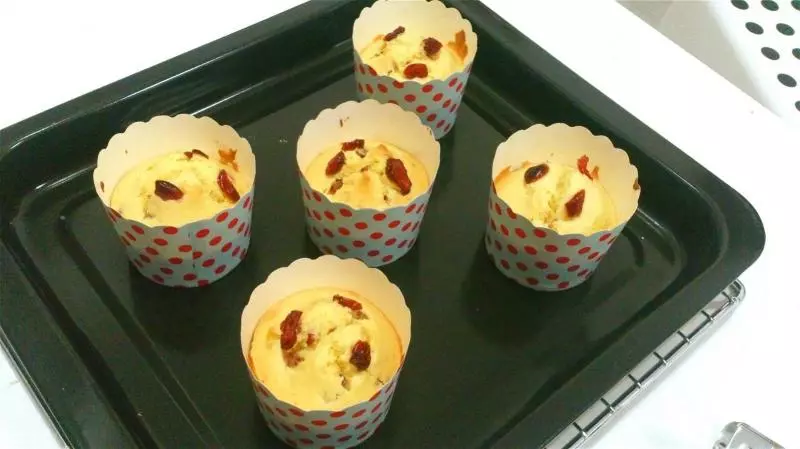
5加蔓越莓搅拌均匀。 6、装入裱花袋,挤入马芬模具。8分满即可。 ps:我用了马芬蛋糕纸杯,所以没有做防粘处理。如果直接挤入模具,先涂一层黄油在筛上点点面粉,防粘也能保护模具。 7、烤箱中下层180度30分钟。喜欢外面脆脆的时间可以考的更久一点。

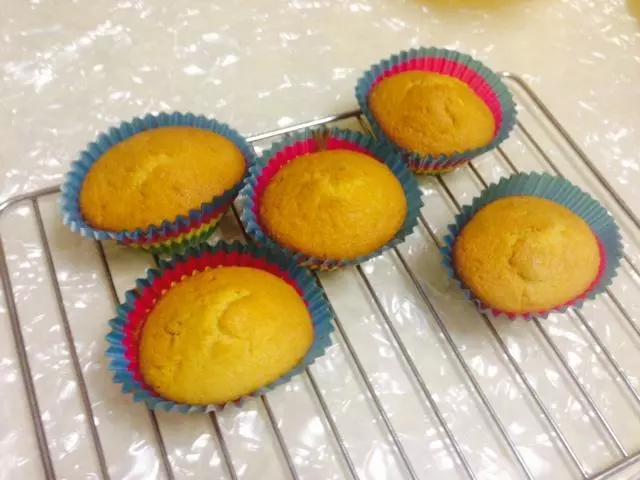
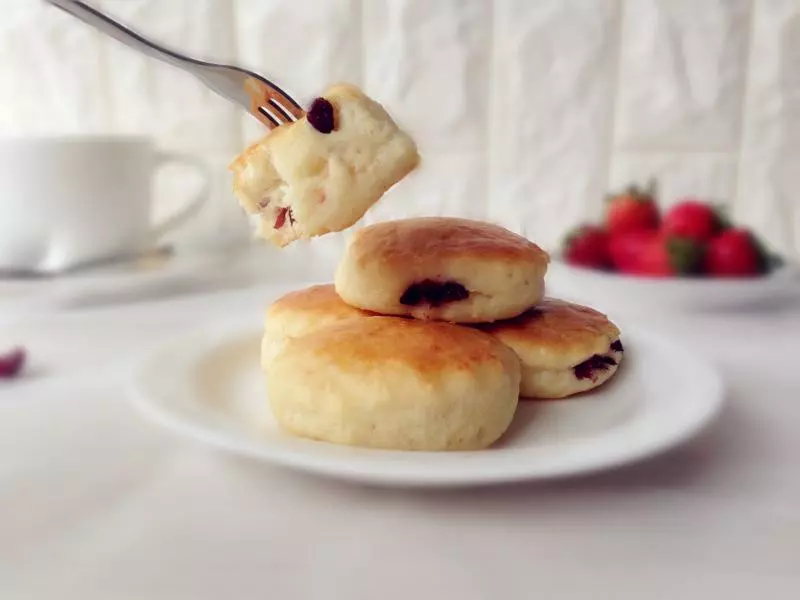
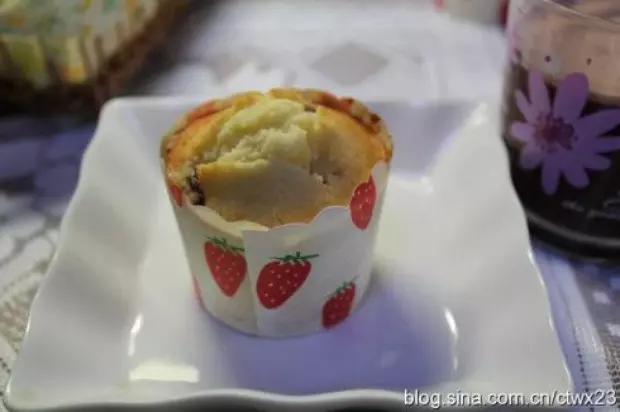
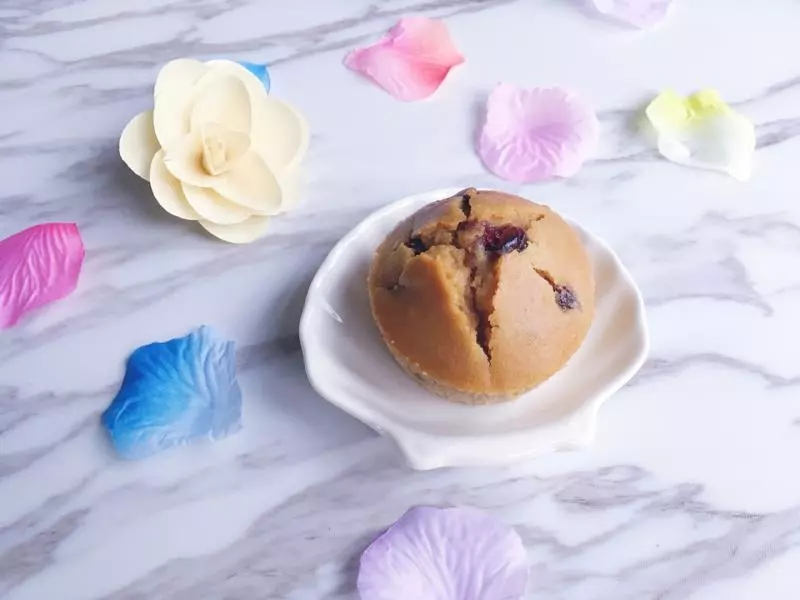
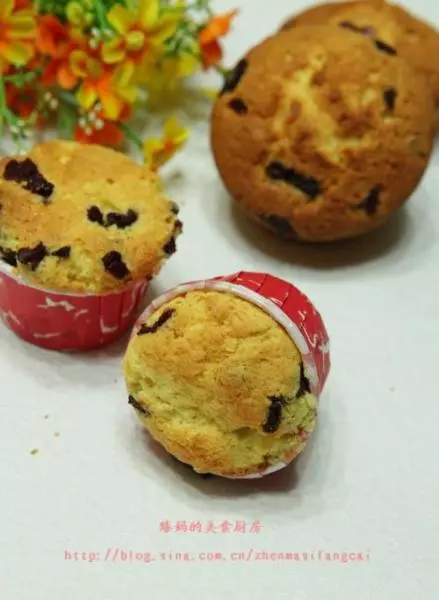
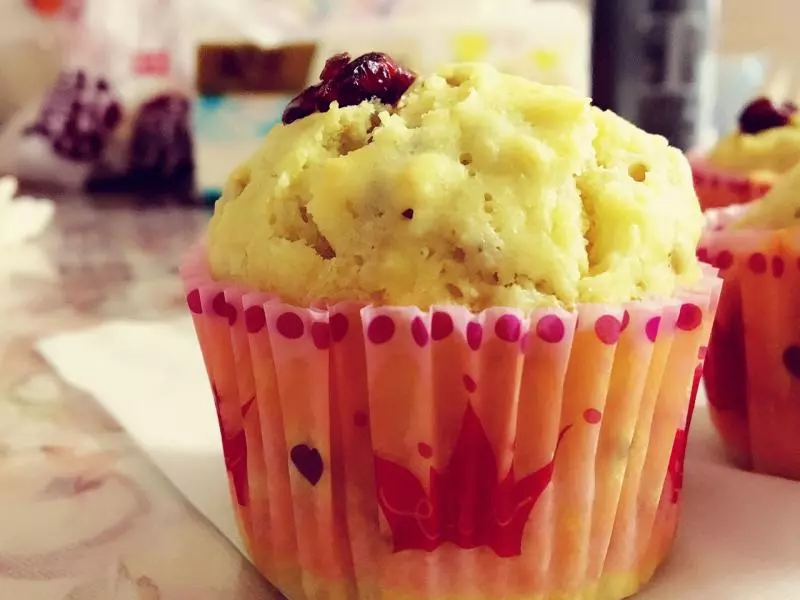
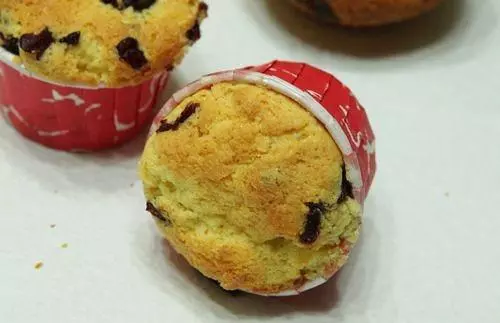
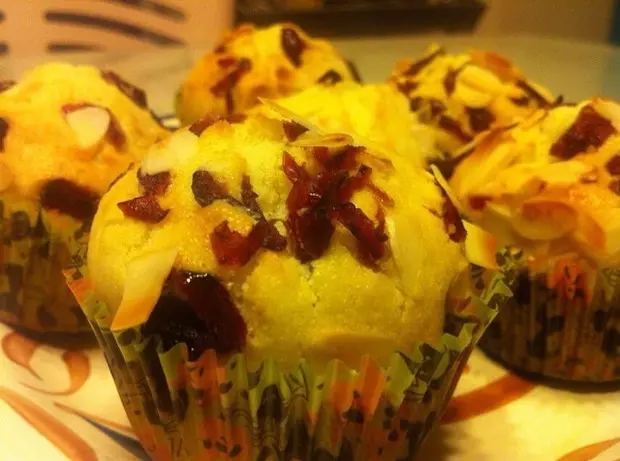
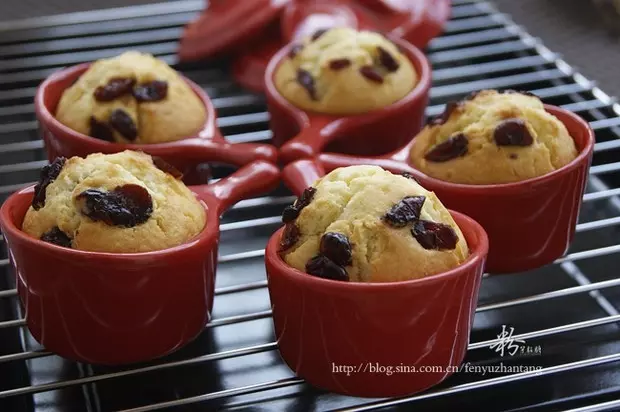
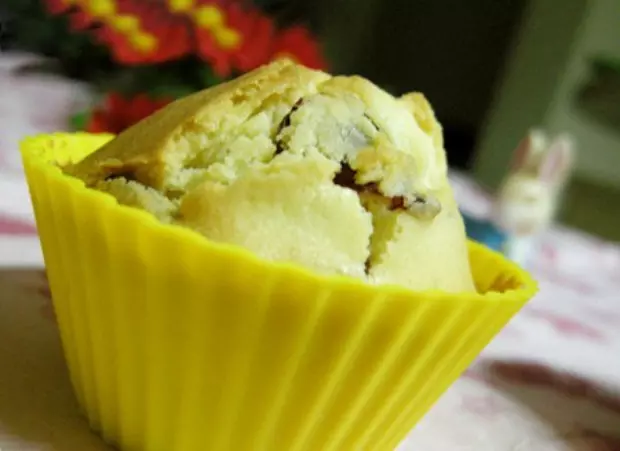
6成品