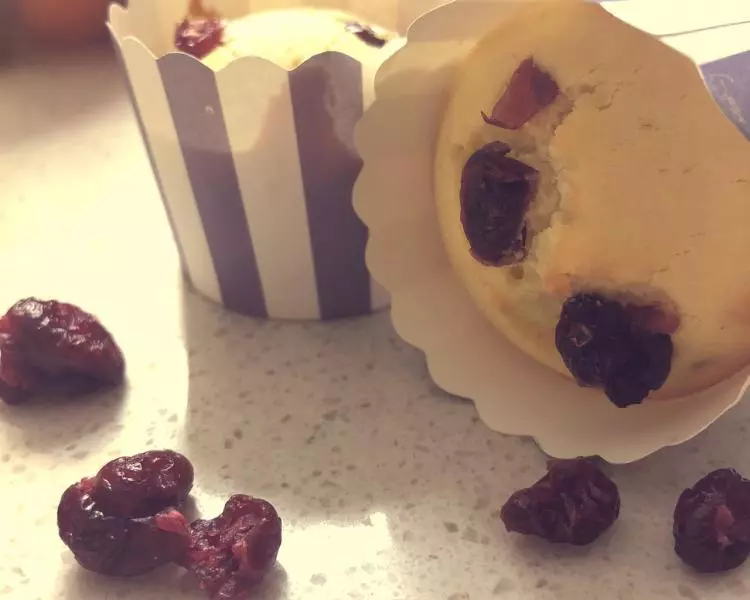
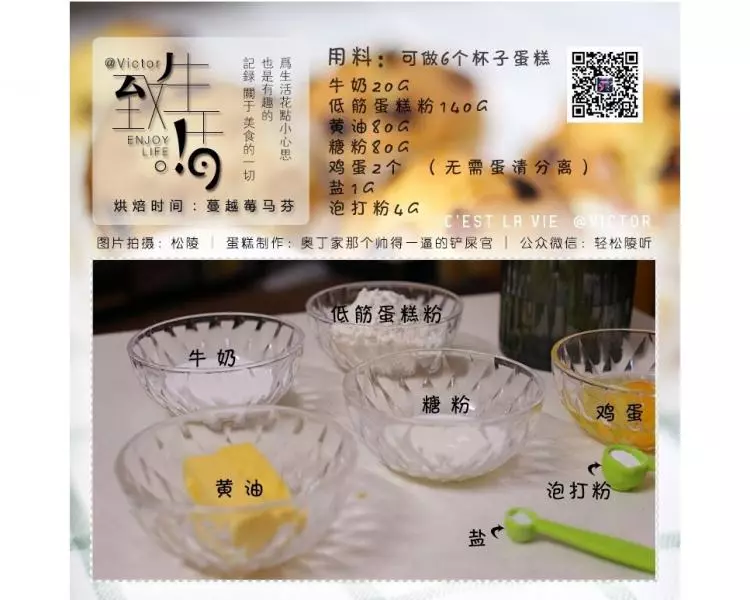
原料
蔓越莓: 适量, 鸡蛋: 2个, 低筋面粉: 140克, 泡打粉: 4克, 牛奶: 20克, 黄油: 80克, 糖粉: 80克, 盐: 1克
步骤
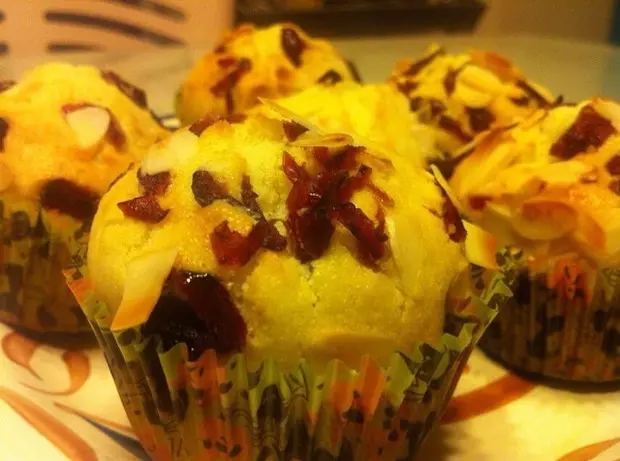
1如果不喜欢蔓越莓的朋友可以选择花生碎、杏仁片等其他食品! 没有糖粉的朋友也可以用砂糖代替,不影响口感。
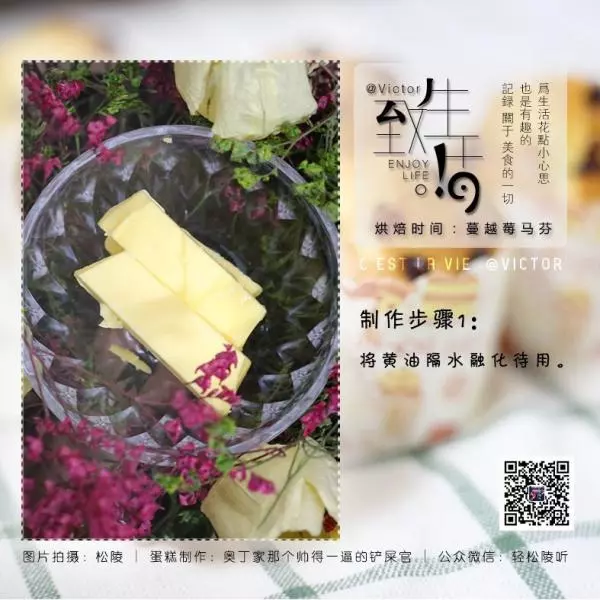
2提前将黄油隔温水融化待用!
3将鸡蛋放入打蛋盆中低速打匀即可。

4将泡打粉、盐倒入低粉中搅拌均匀“注:一定细心将泡打粉充分搅匀至低粉中,这样烤出来的蛋糕才会很均匀”

5将糖粉倒入之前打好的蛋液中充分搅匀,至看不到糖粉颗粒为佳(糖粉比较容易溶解,砂糖需要的时间稍微久一点,不影响口感)

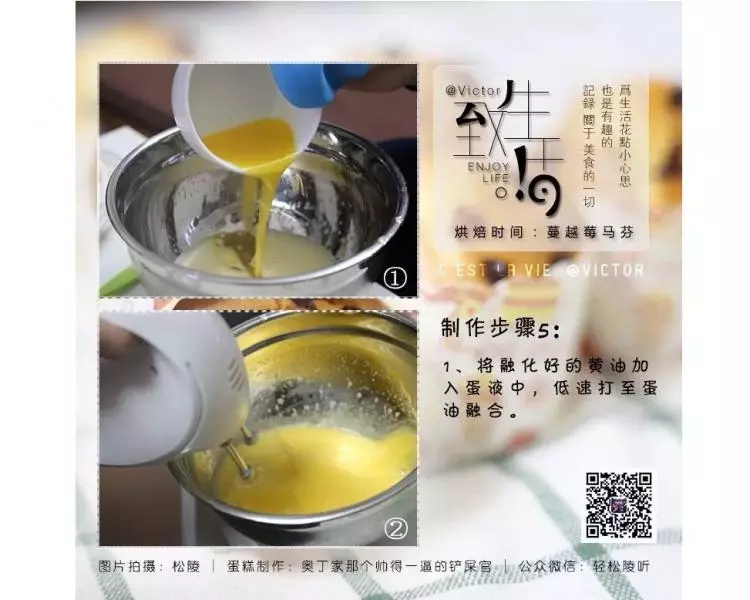
6将事先融化好的黄油加入蛋液中,搅拌至蛋油融合即可。使用打蛋器低速即可。
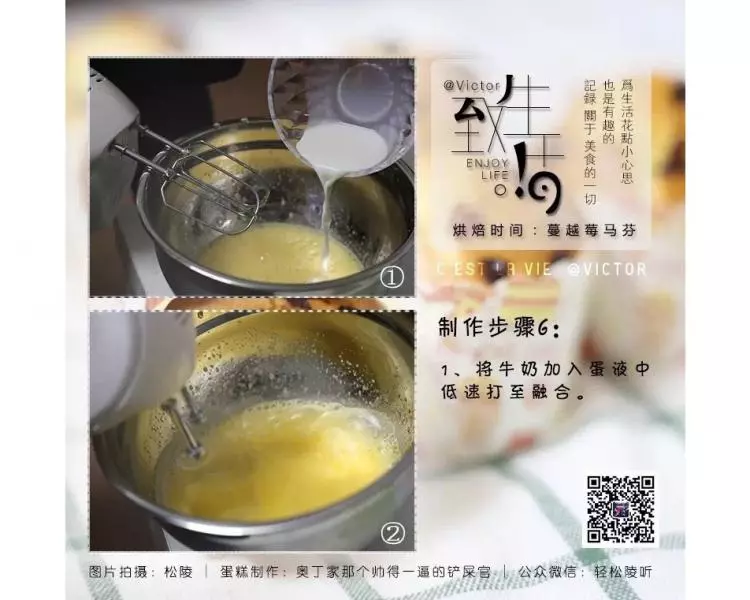
7将牛奶加入蛋液中,低速搅匀。
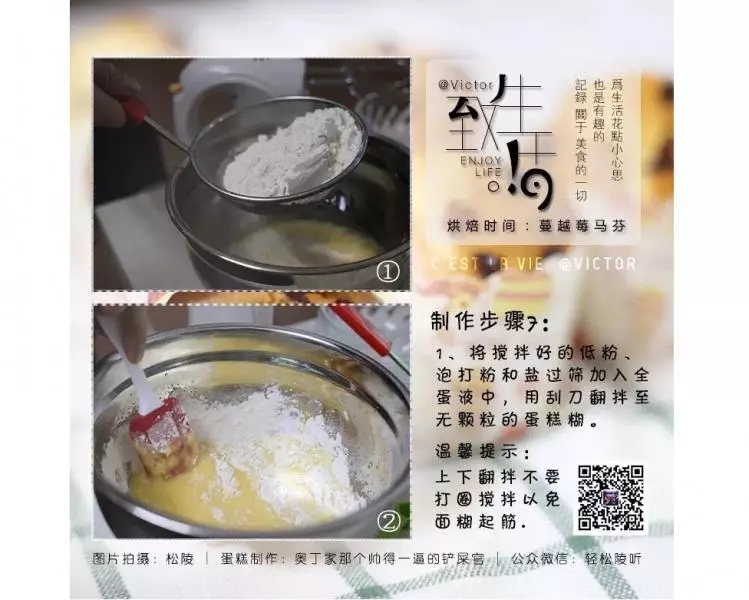
8将搅拌好的低粉加入蛋液中,用刮刀翻版至无颗粒的蛋糕糊。“注:一定是上下翻拌,不可以打圈的搅拌,避免蛋糕糊起劲。”
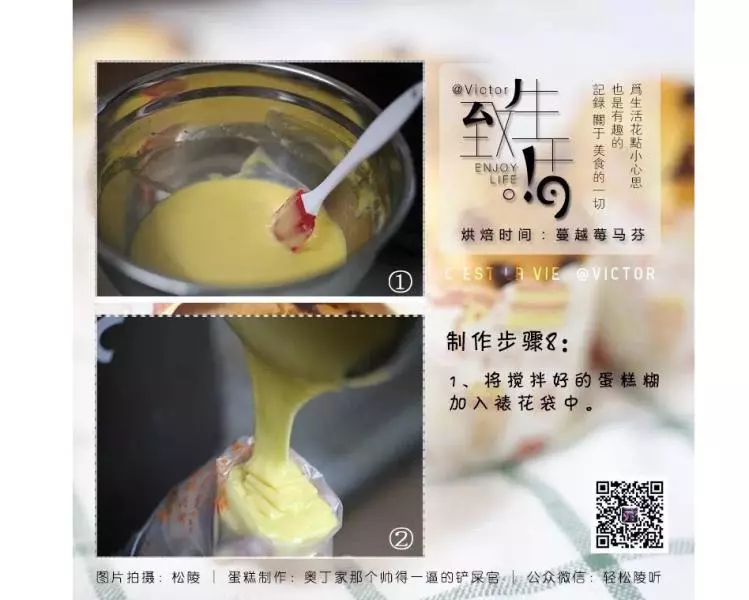
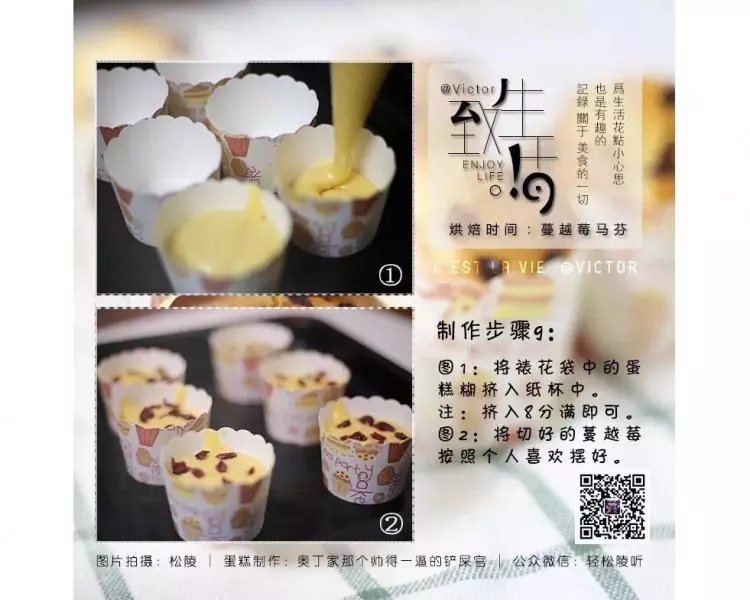
9将搅拌好的蛋糕糊倒入裱花袋中。(我用的是裱花袋,这样感觉比较方便!)
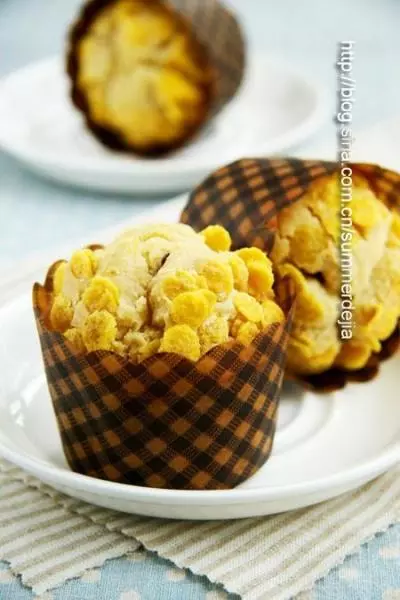
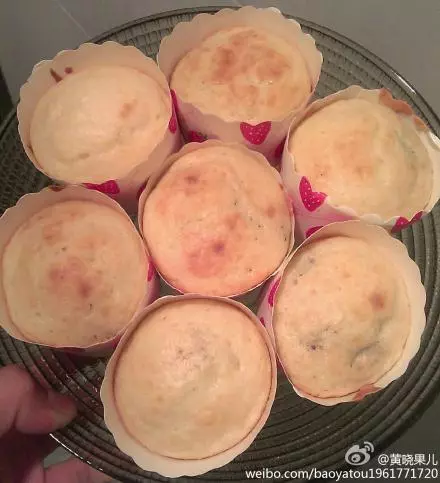
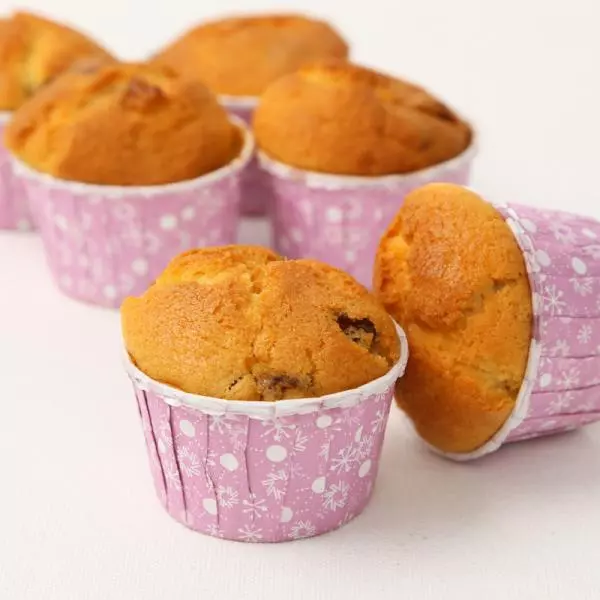
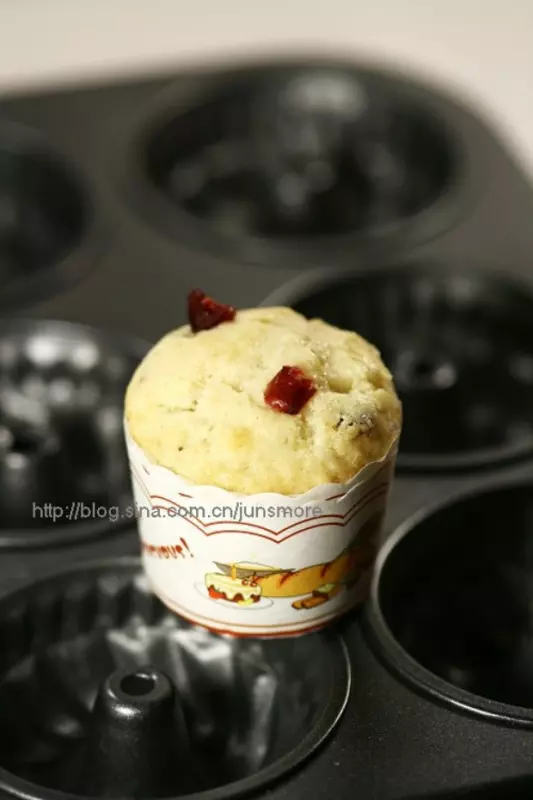
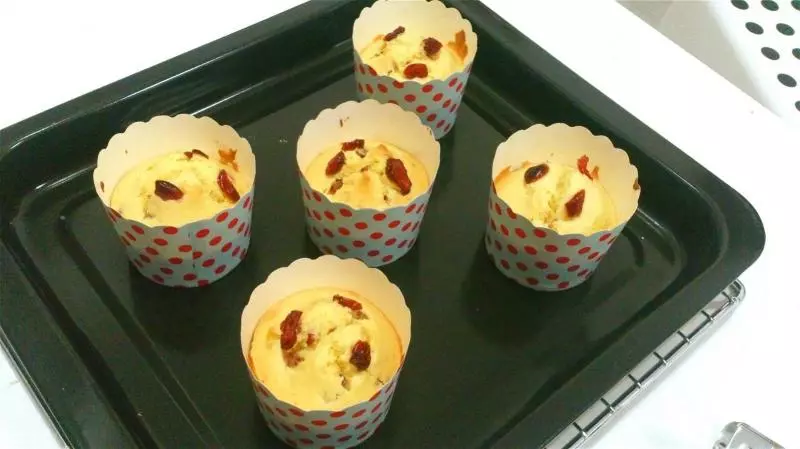
10摆好杯子,将蛋糕糊挤入杯子中,蔓越莓根据自己喜欢随便放即可。(杯子中挤入8分满即可。)
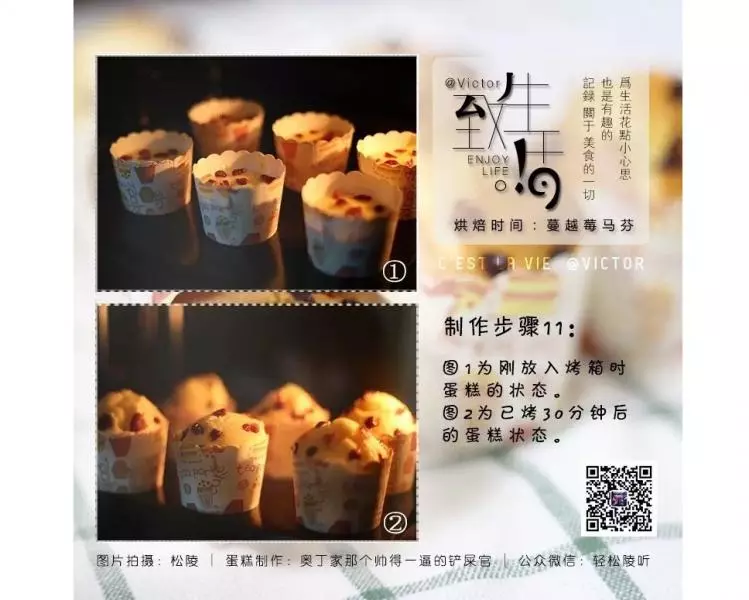
11烤箱150℃,将蛋糕放入烤箱中30分钟,见表面上色后将烤箱温度调至140℃在烤10分钟!(烤箱品牌不同或许会有一些出入,大家第一次烤的时候可以观察下)

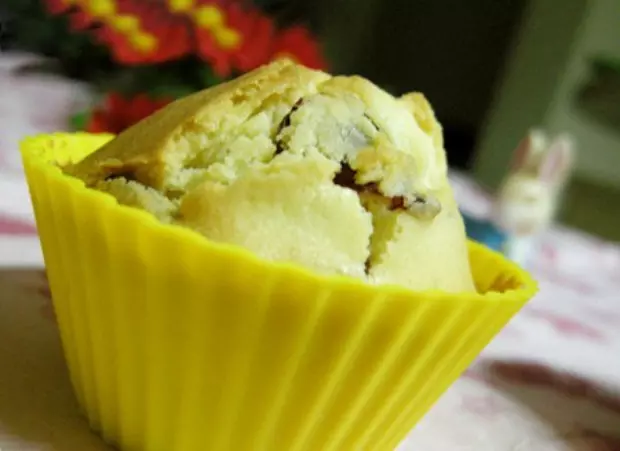
12这是我放入烤箱时和30分钟后的图片
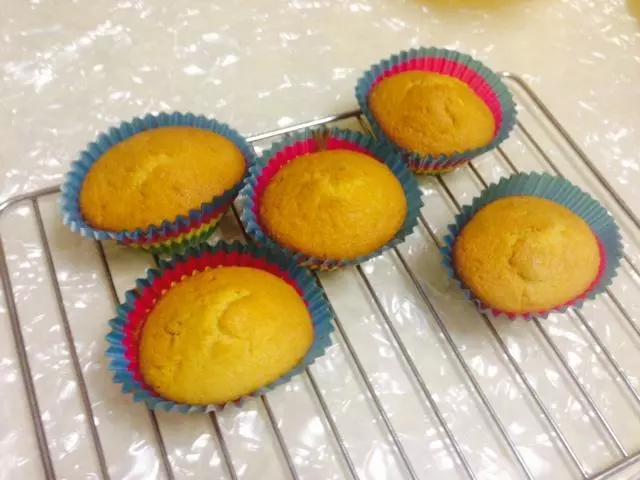
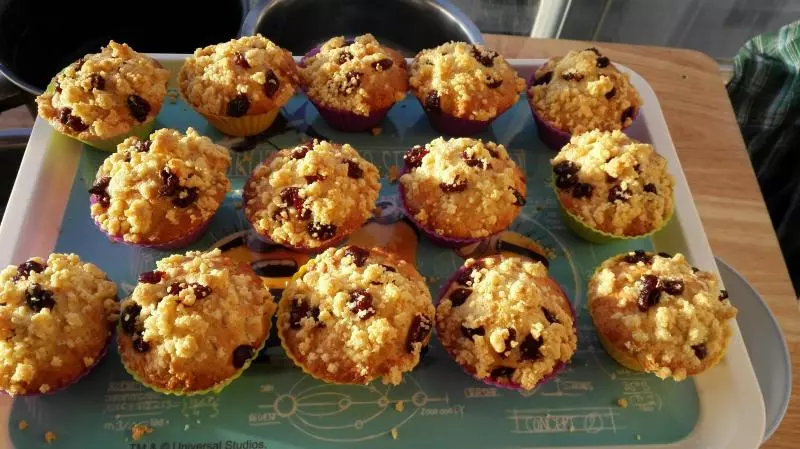
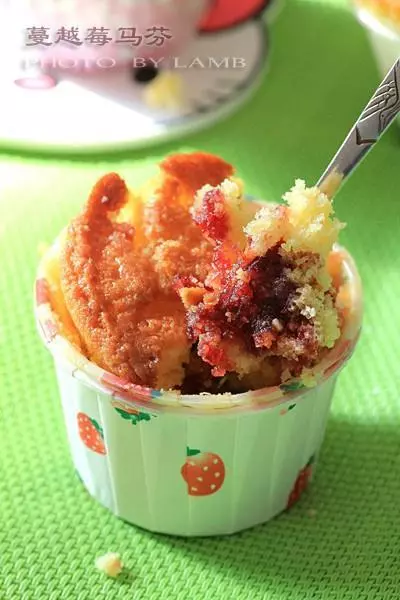
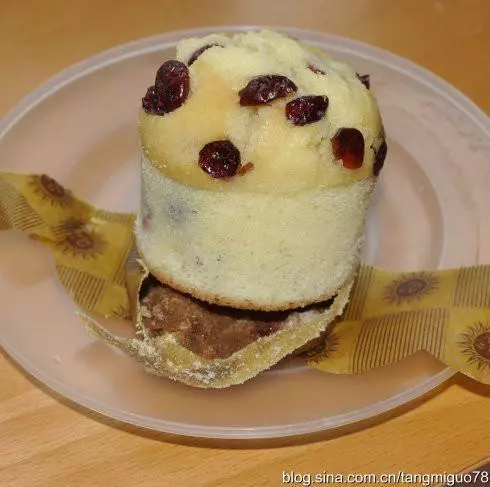
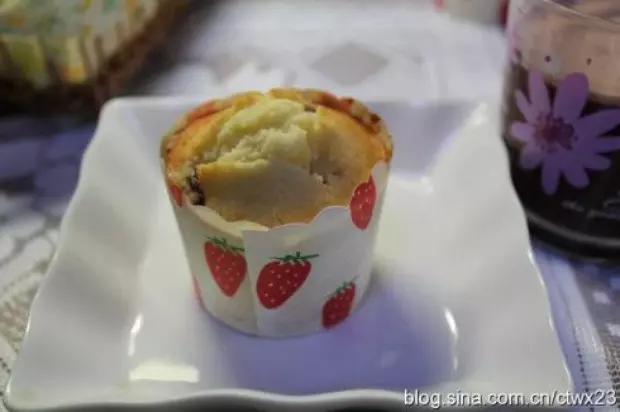
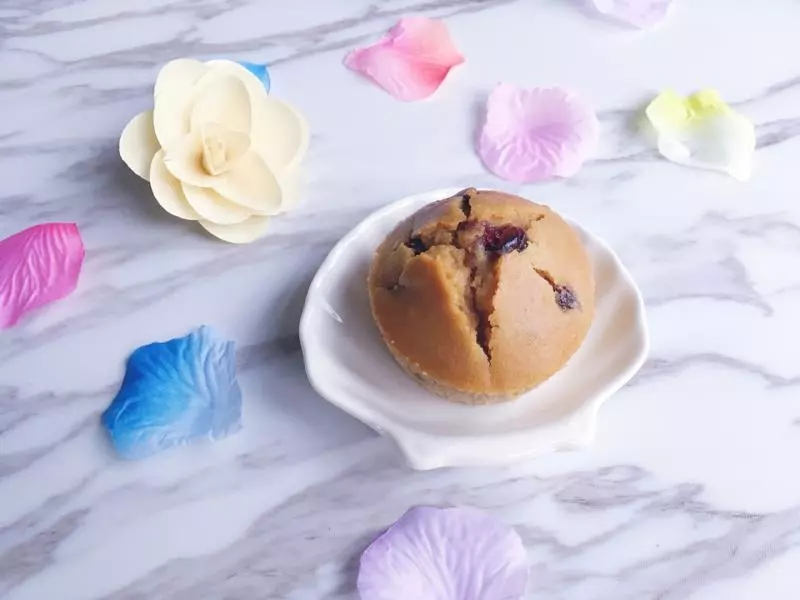
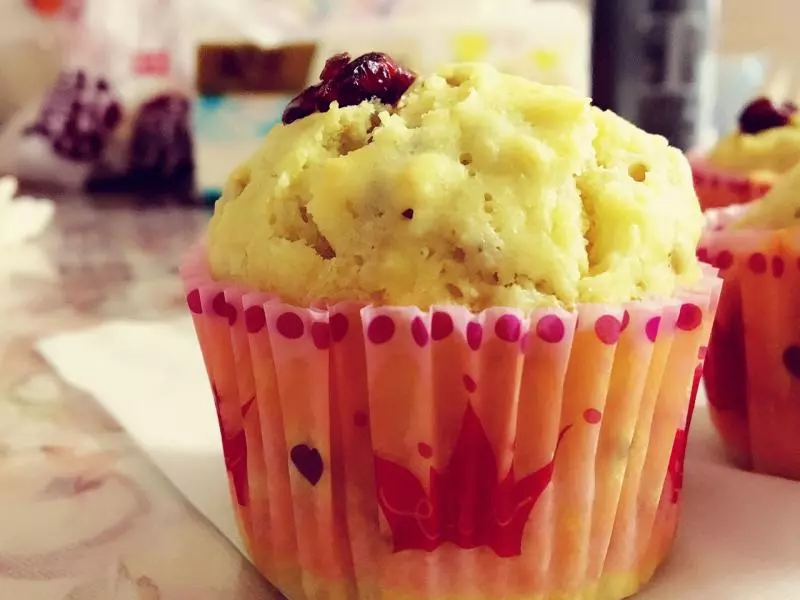
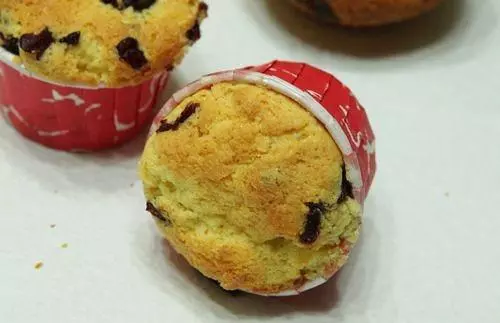
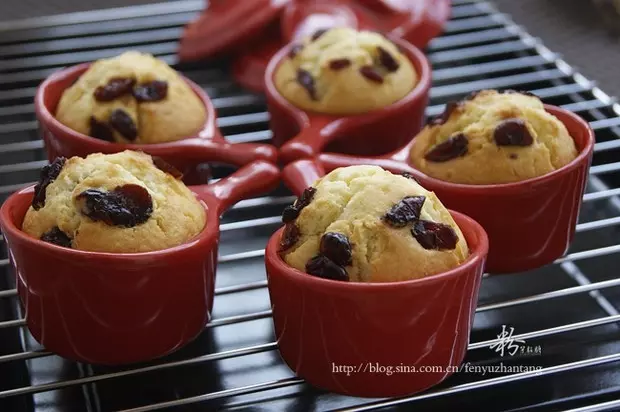
13完成啦!有没有很想吃?

14卖相!口感!都是棒棒的!!!个人觉得马芬蛋糕凉一点更好吃!

小技巧
搅拌时一定是上下翻拌,马芬比较简单没有打发的过程,所以新手非常适合!