原料
油皮:: , 普通中筋面粉: 115g, 猪油: 40g, 白糖: 14g, 水: 50g左右, 油酥:: , 低筋面粉: 90g, 猪油: 45g, 内馅:: , 咸鸭蛋黄: 12个, 豆沙: 300g, 其他:: , 黑芝麻或白芝麻: 适量, 鸡蛋黄: 1个
步骤
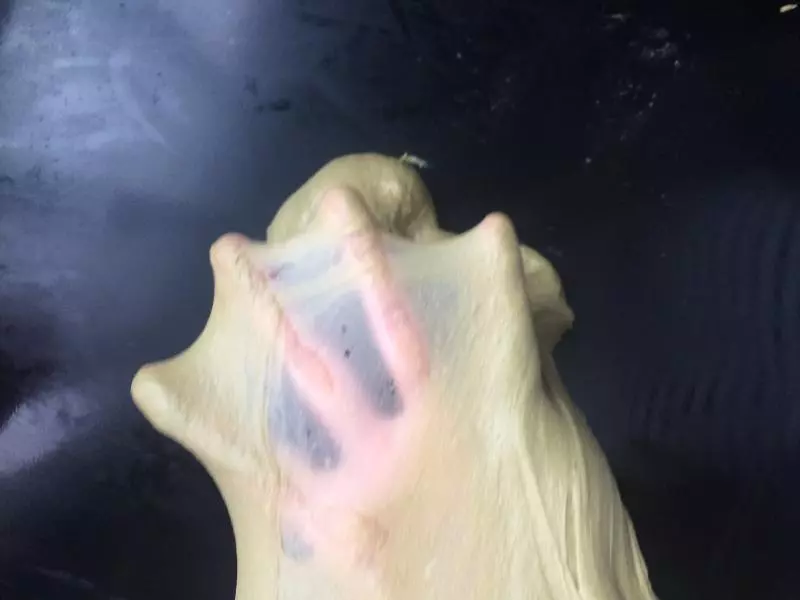
1面皮材料混合揉成光滑的面团,无需出膜。揉好的面团应该非常的柔软。包保鲜膜静置至少半小时。
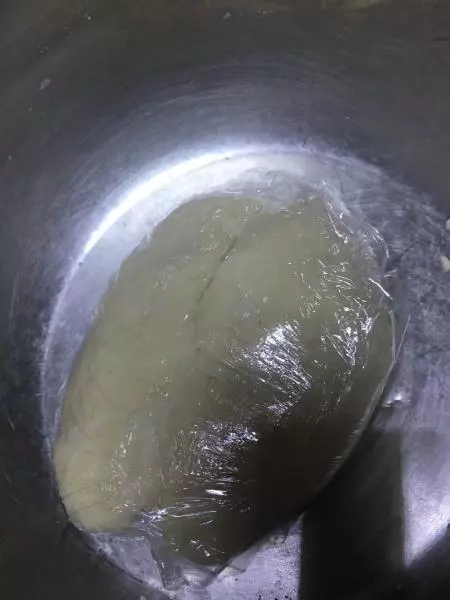
2油酥混合成光滑的面团,同样保鲜膜盖好。
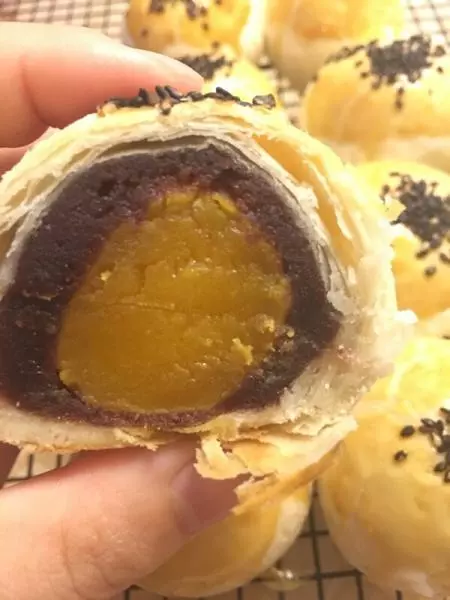
3选用生的咸蛋剥出蛋黄口感会更好一些
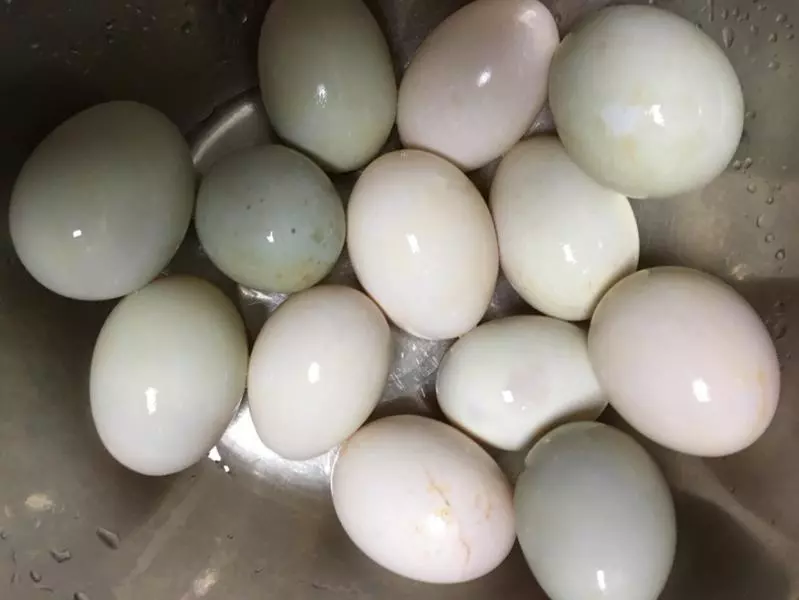
4不管是现剥的咸蛋黄还是真空的,最好都用油泡4小时以上
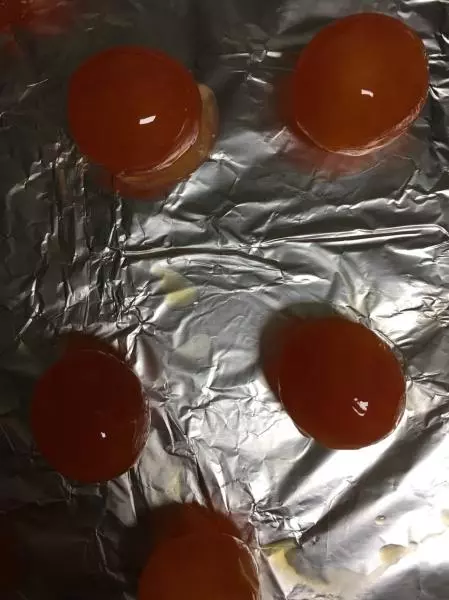
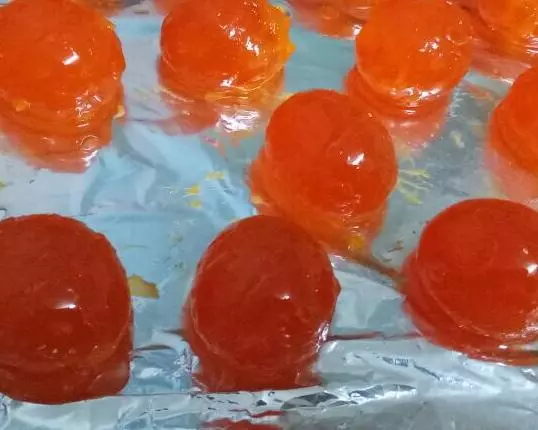
5蛋黄放烤盘垫油纸喷高度白酒170度烤5分钟,根据自家的烤箱温度,不要烤出油。
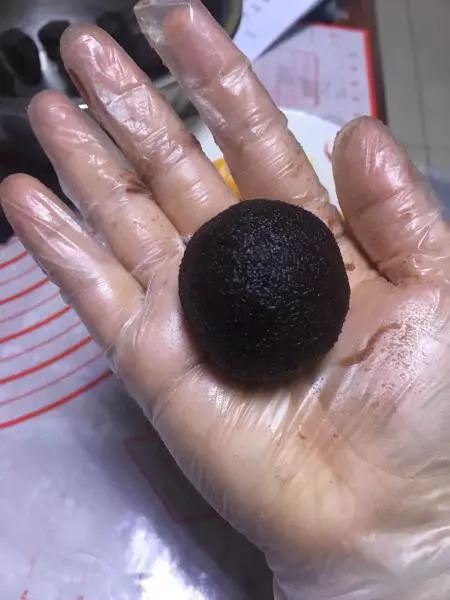
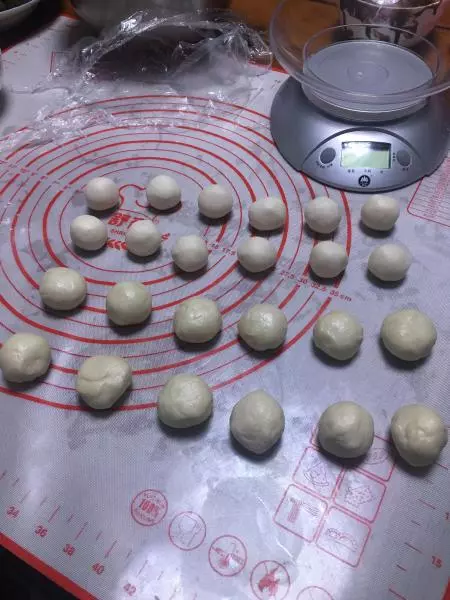
6豆沙分成12份揉成圆球,然后用手摁扁将烤好放凉的蛋黄包裹起来。
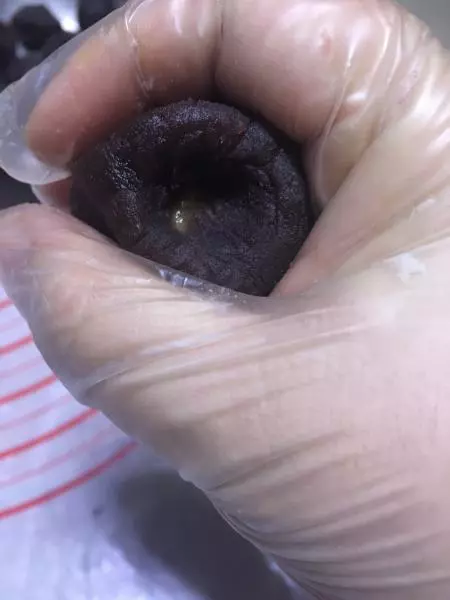
7滚成圆球。
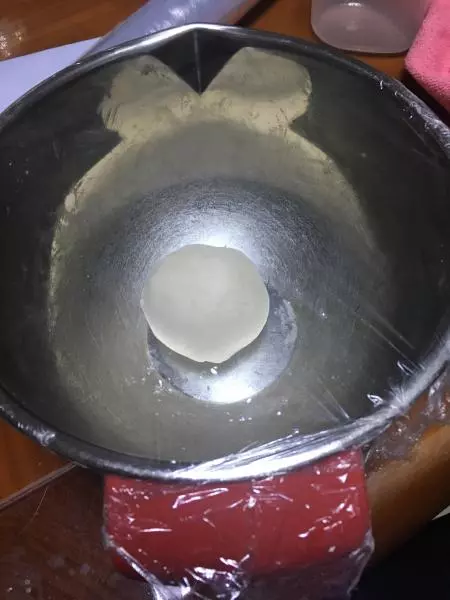
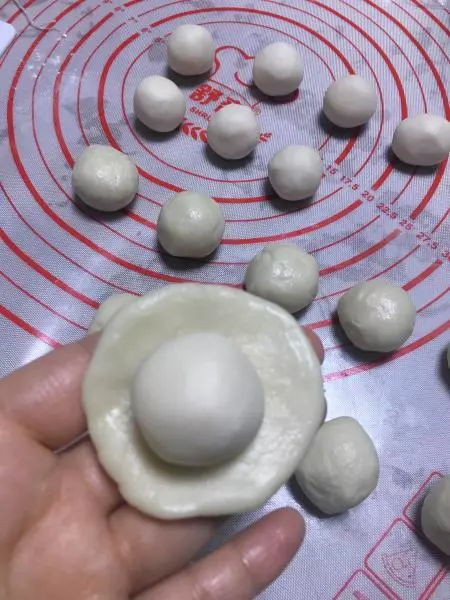
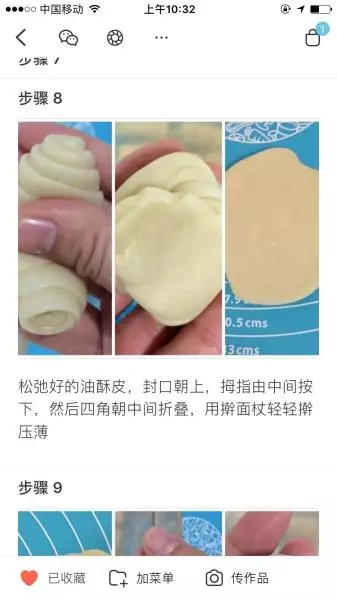
8油皮和油酥等分成12份……
9将油皮摁扁将油酥包裹起来……
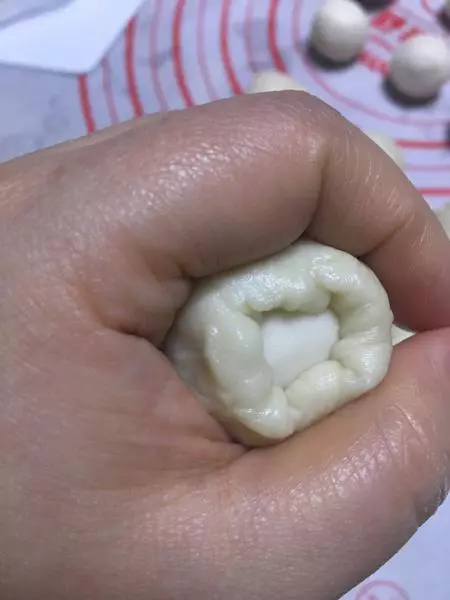
10用虎口收紧?
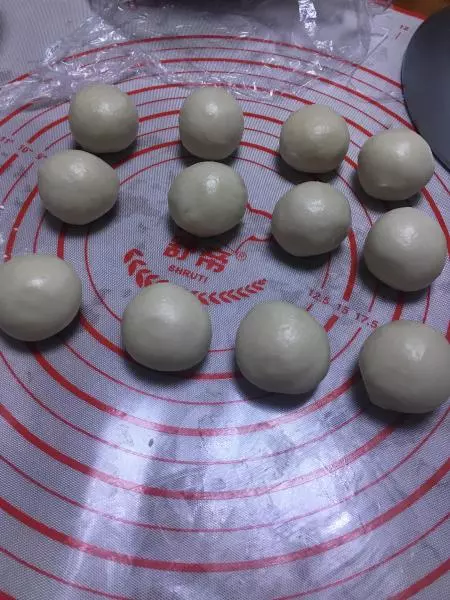
11将混合好的面团静置5分钟,盖好保鲜膜。
12将面团用擀面仗上下各擀一下,不要来回擀,动作要轻柔。
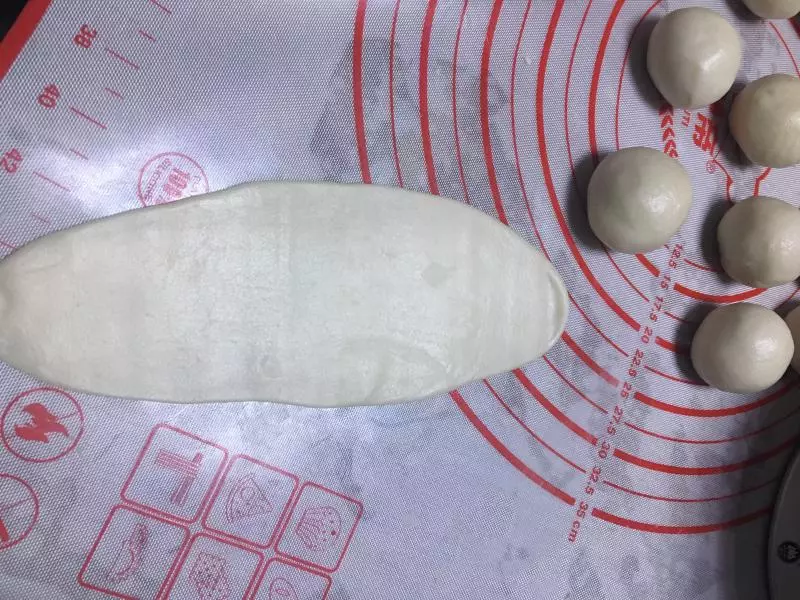
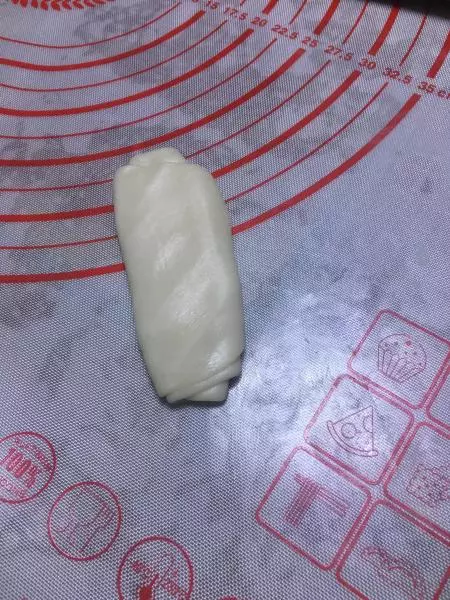
13然后卷起来……
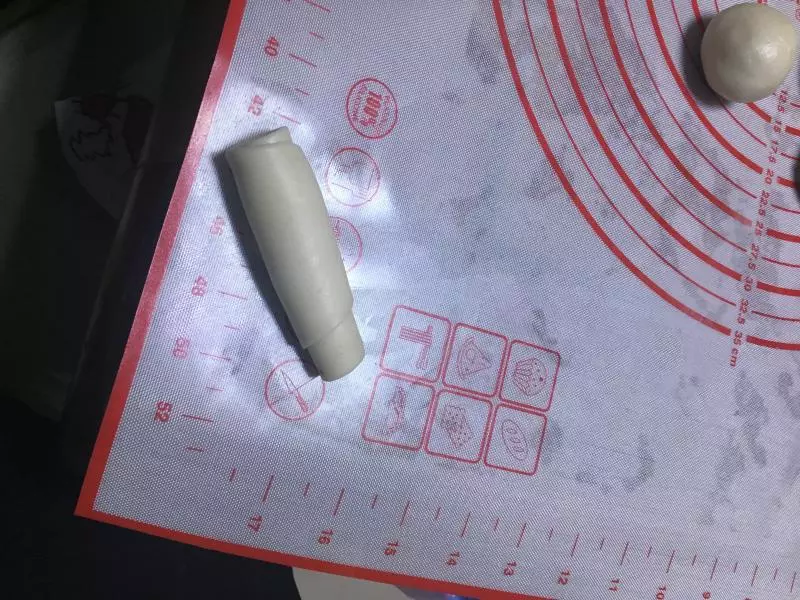
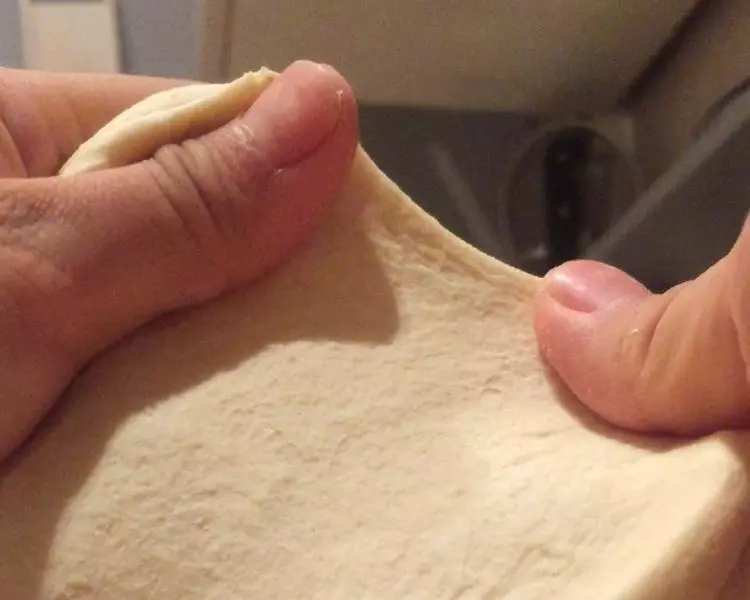
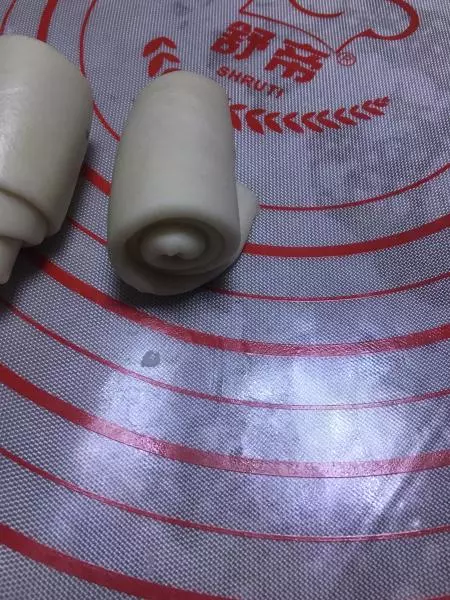
14用手压扁……
15再擀开卷起来,静置15分钟,注意保鲜膜覆盖。
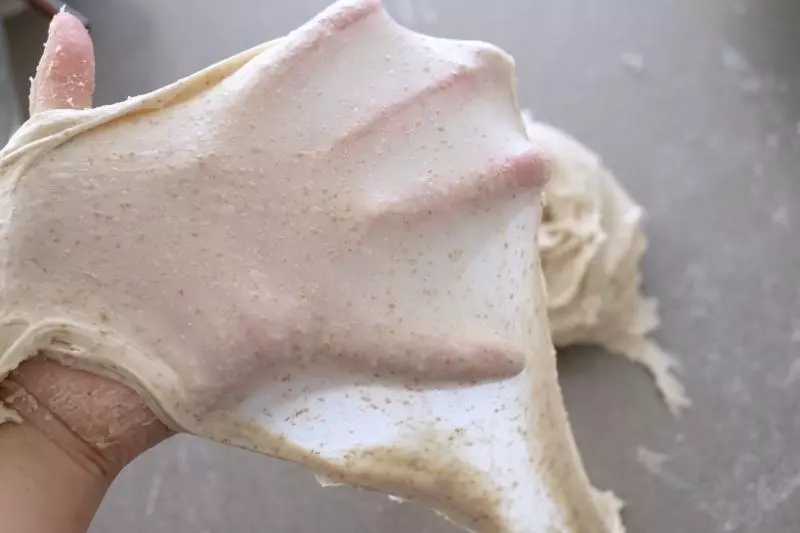
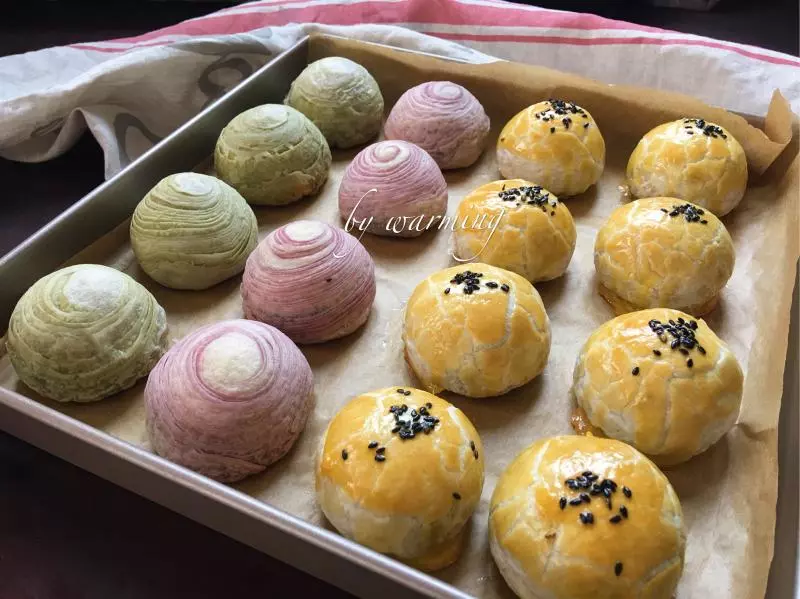
16这一步忘记拍照了,借用一下其他人的图片,将纹内压然后擀平。
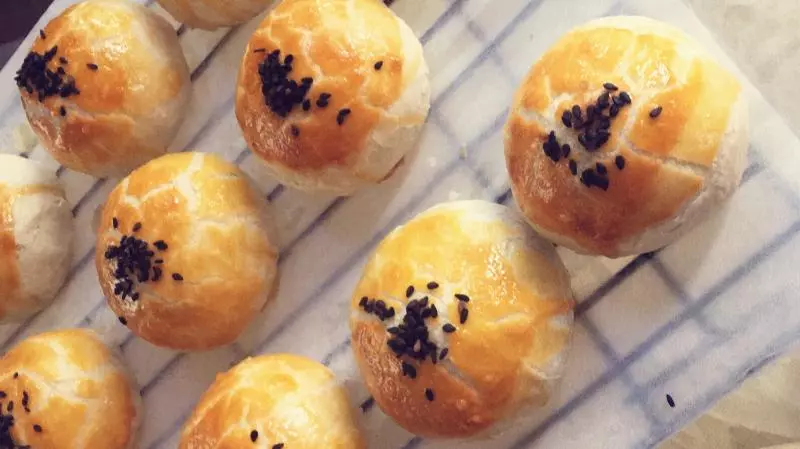
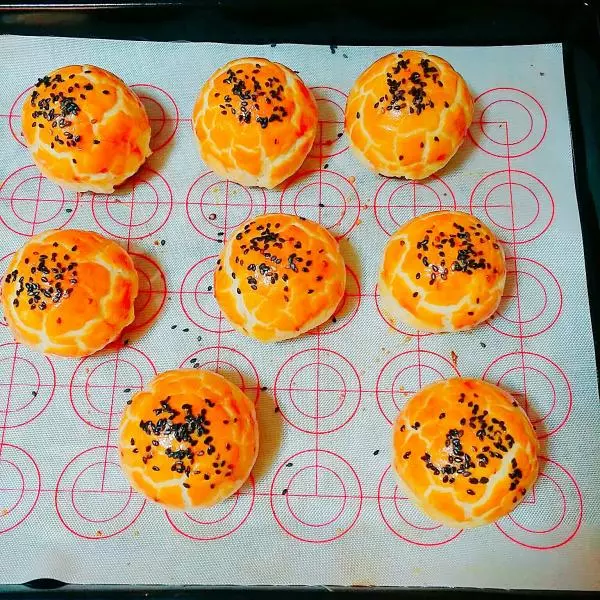
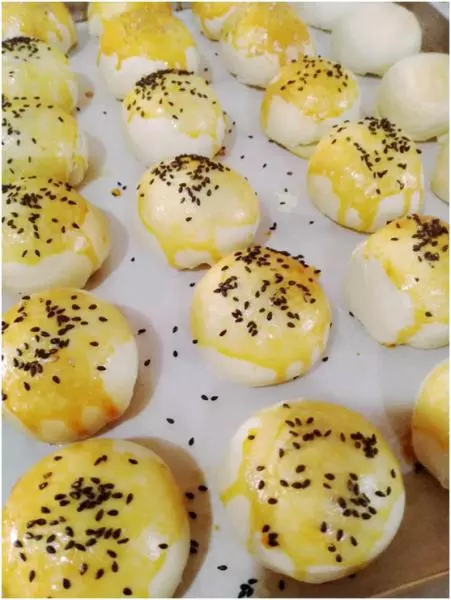
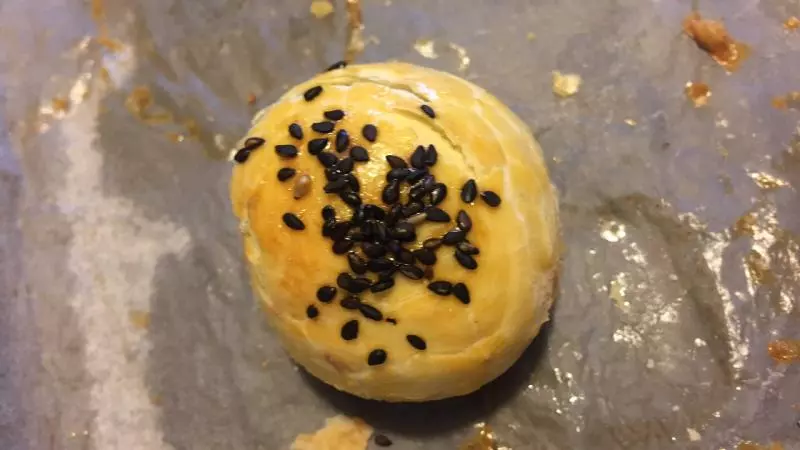
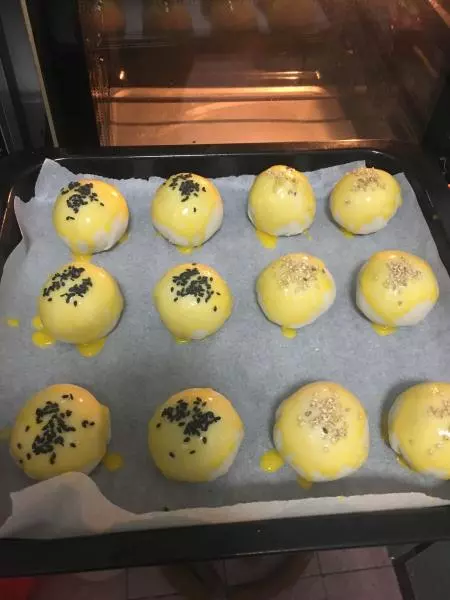
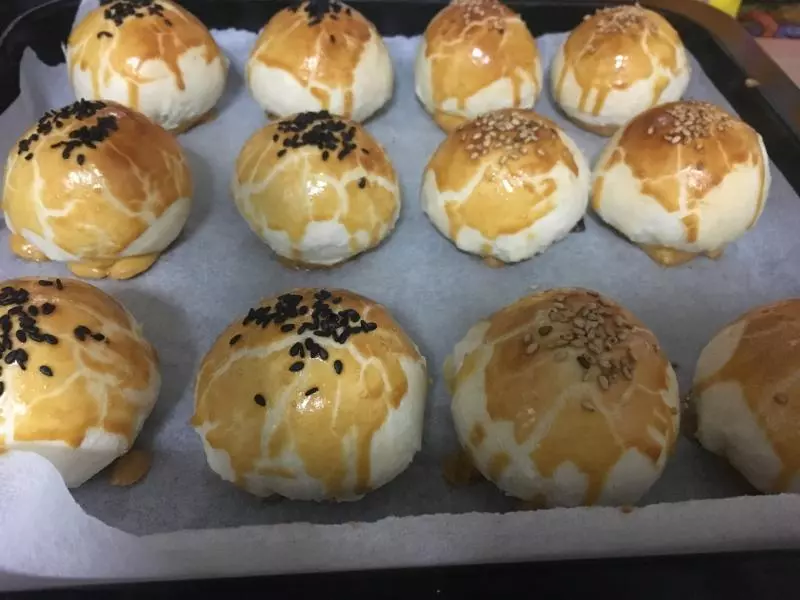
17包裹好内馅放在铺了油纸的烤盘内,反复拍3遍蛋黄液,用拍的更好看些,然后表面撒上芝麻。
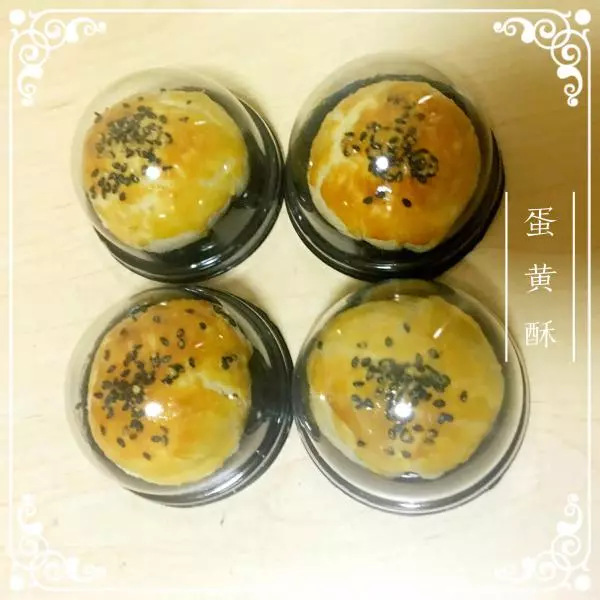
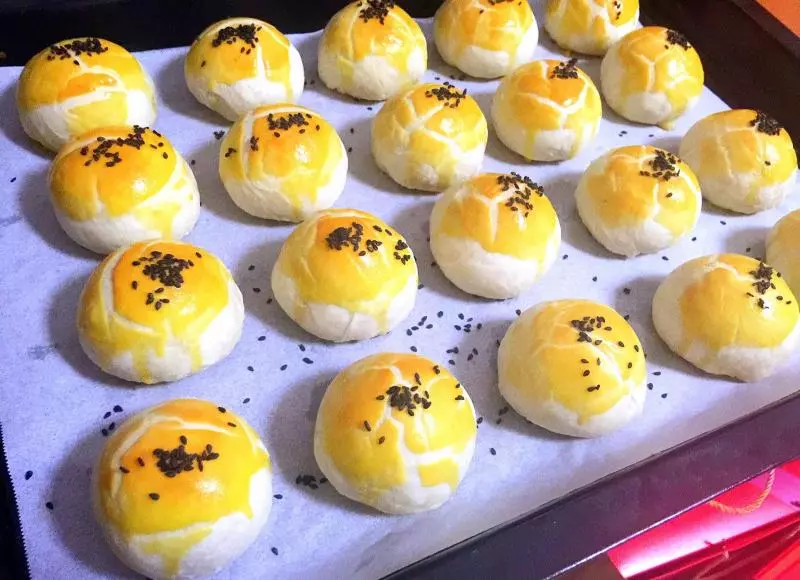
18烤箱180度预热5分钟,然后180度烤25至30分钟。
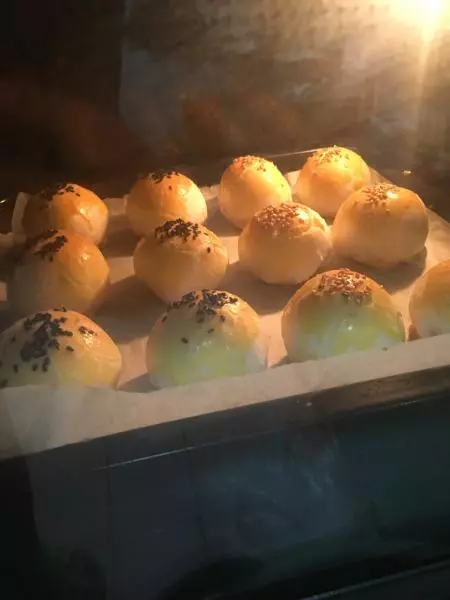
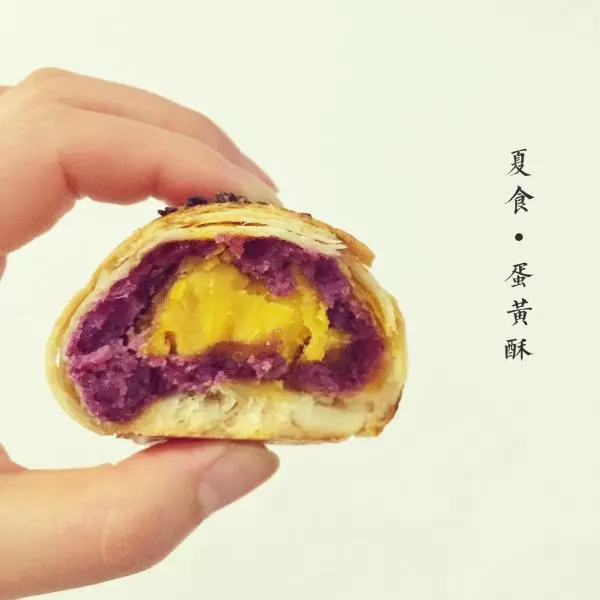
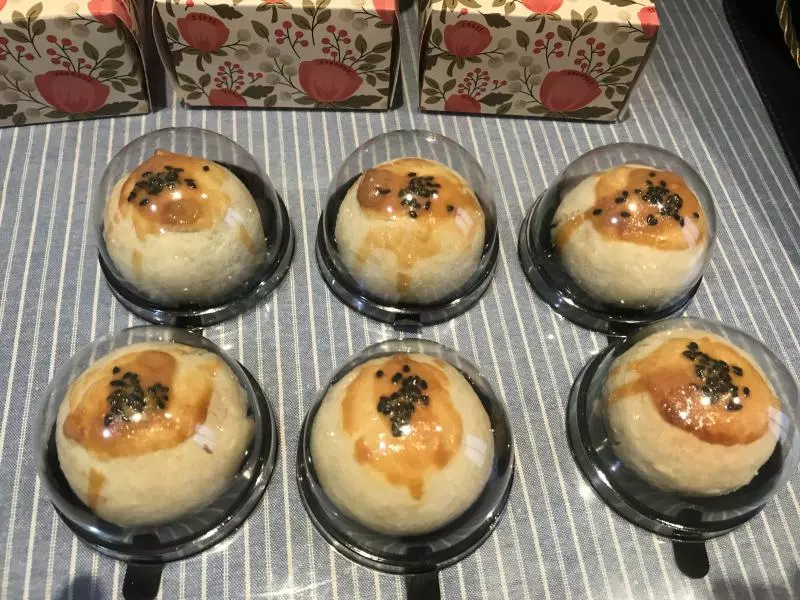
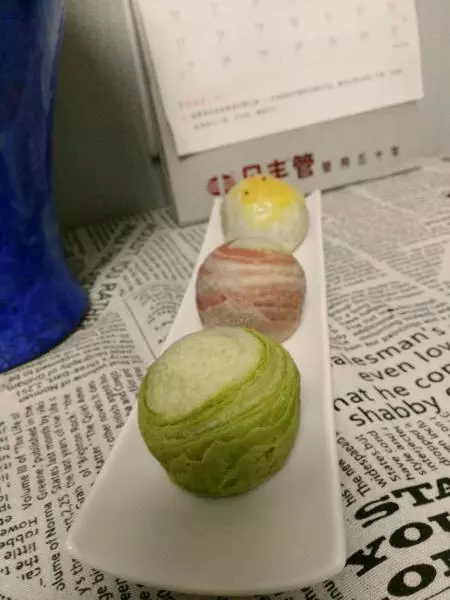
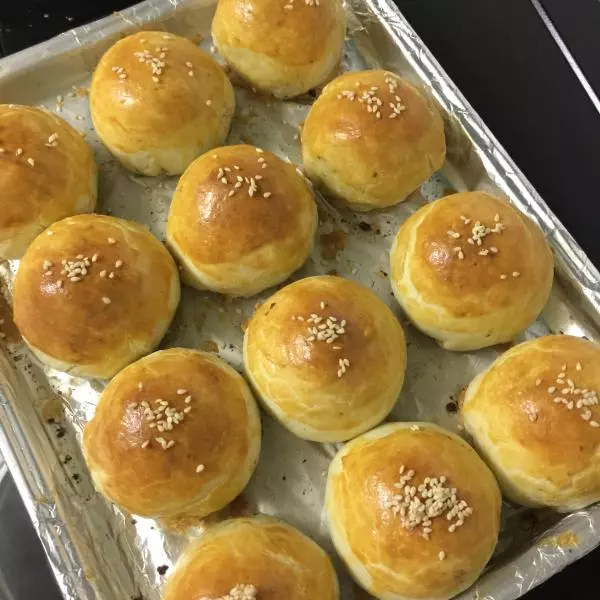
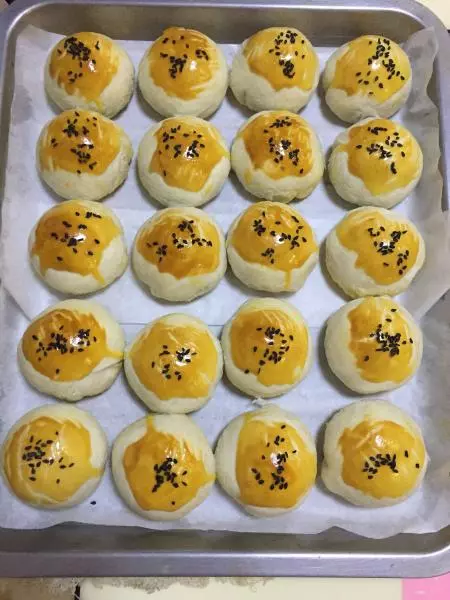
19表面蛋液微裂,嘶鸣声小了就可以了。
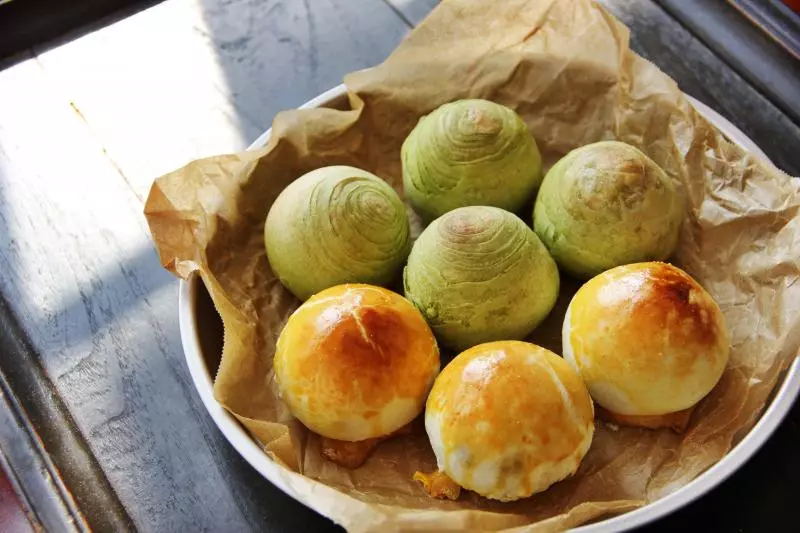
20烤好了?
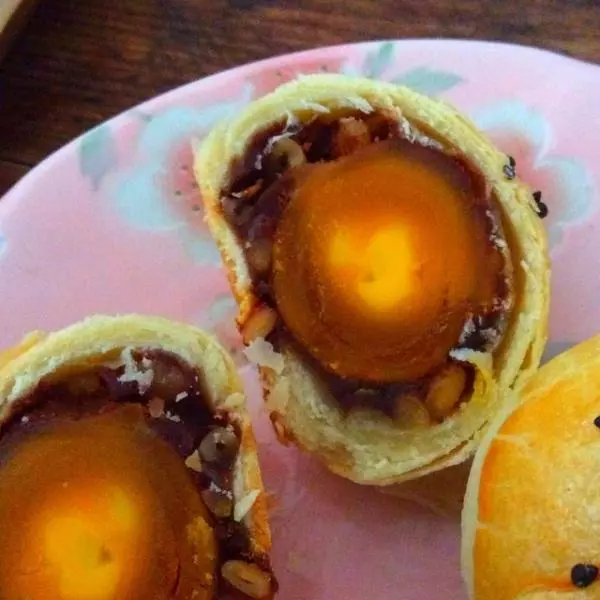
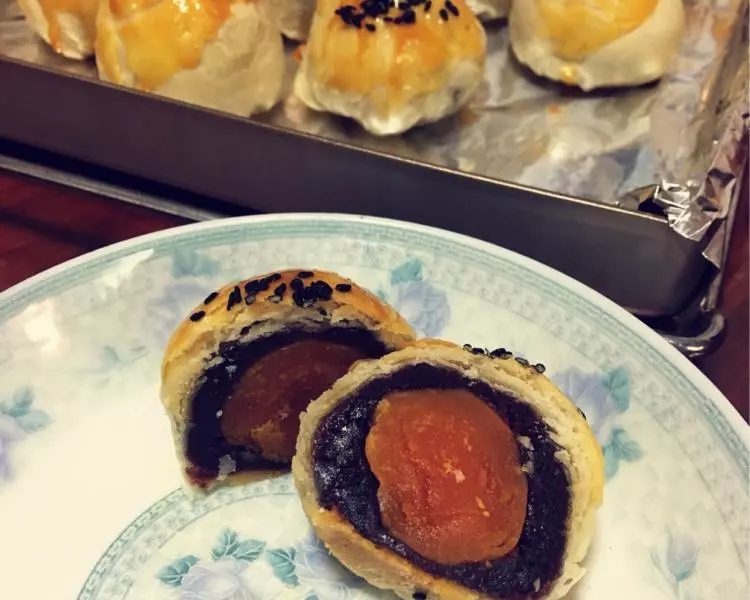
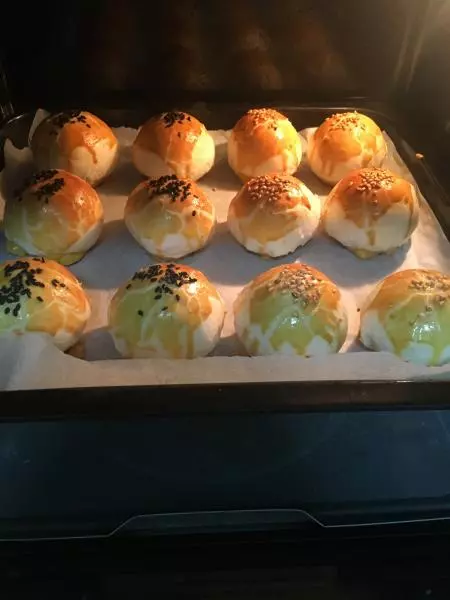
21起酥情况还不错,味道美极了,放凉了然后装在盒子里,想吃的时候来一个,美哉?