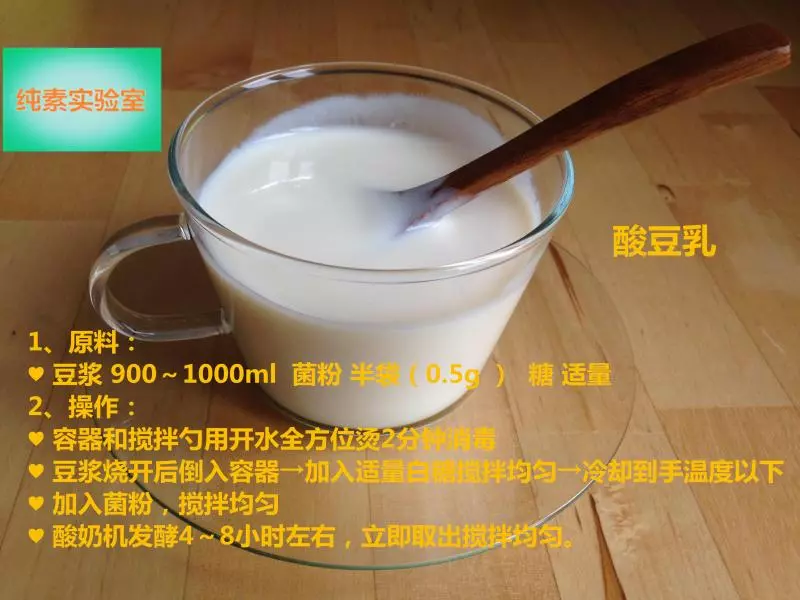
原料
鸡蛋: 5个, 细砂糖: 50克, 玉米油: 50克, 豆浆(牛奶): 50克, 低筋面粉: 60克, 奶油: 250克, 豆浆粉: 25克, 糖粉: 15克, 水果: 适量, 熟黄豆粉: 适量
步骤
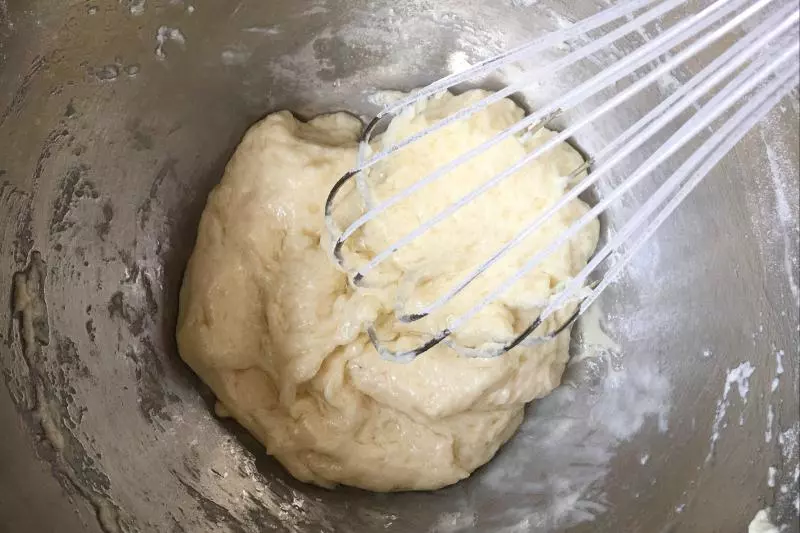
1豆浆(牛奶)和玉米油混合

2加入过好筛的低粉Z字形混合,不要画圈
3分离蛋白和蛋黄
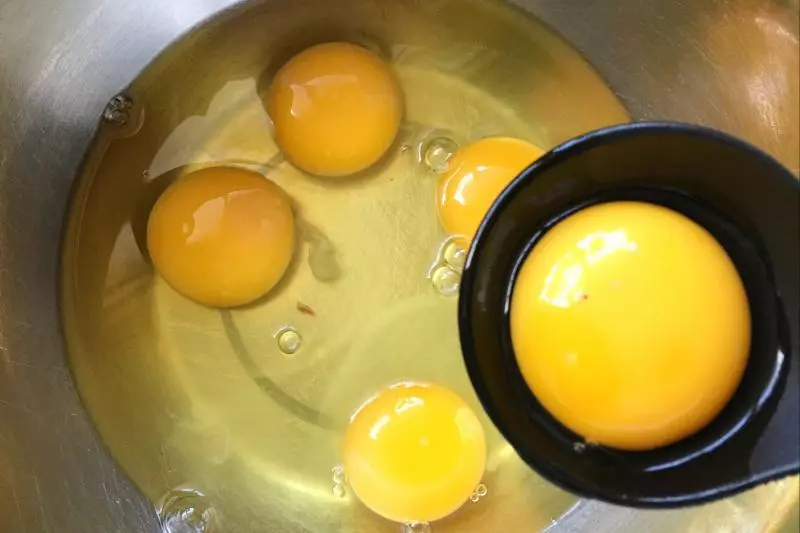
4把蛋黄加入步骤2里
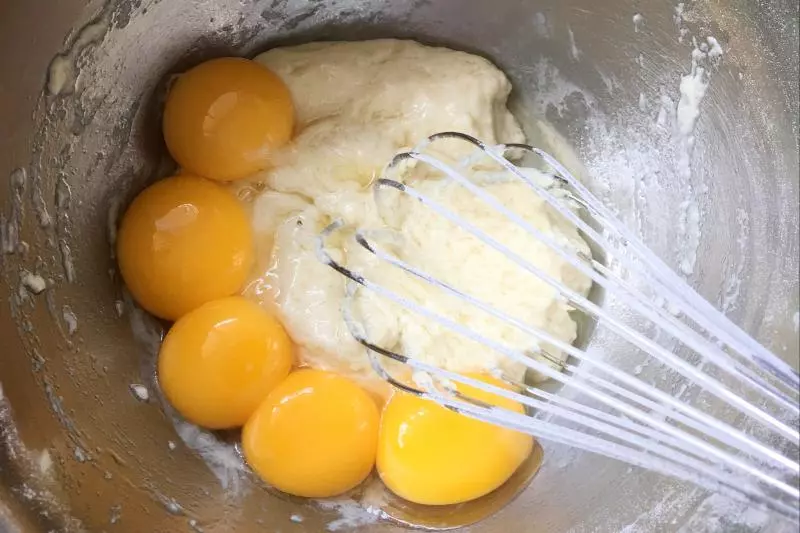
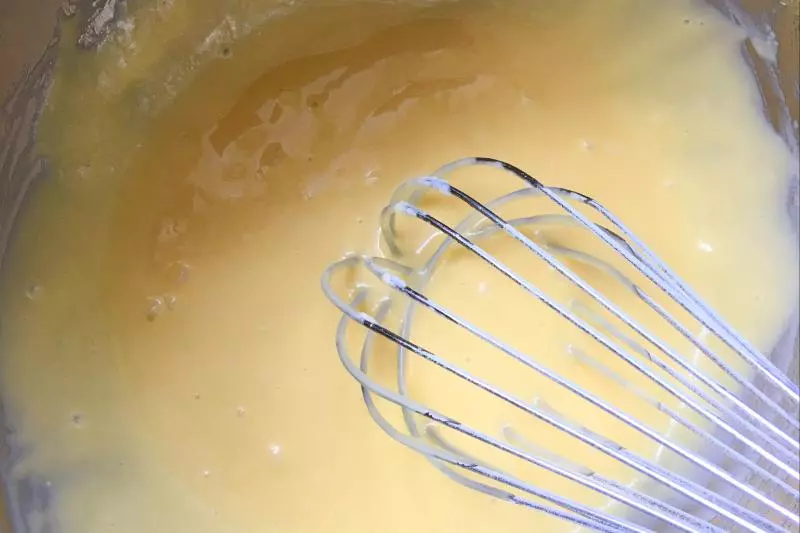
5同样Z字形拌匀面糊
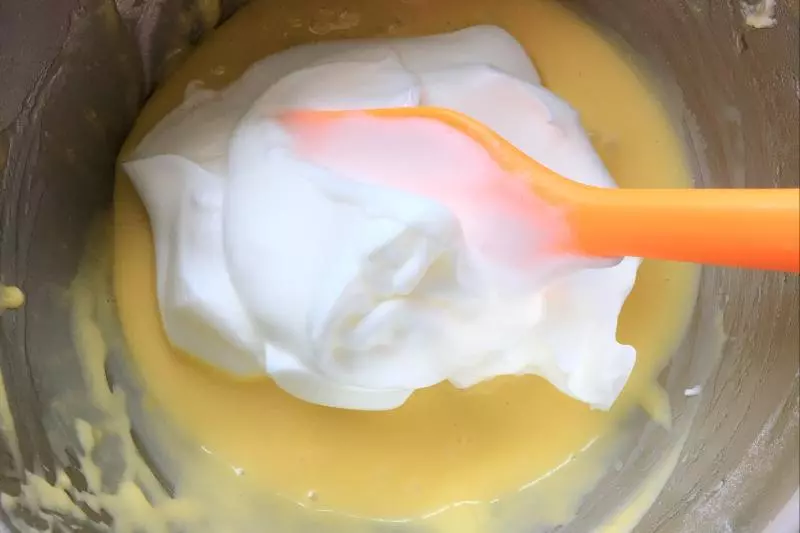
6蛋白分三次加入细砂糖打至大弯钩

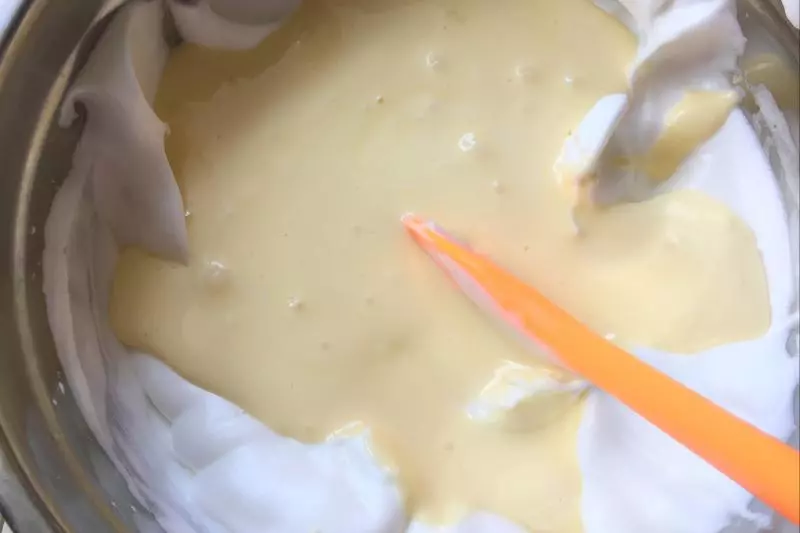
7在蛋黄糊中加入3分之1的蛋白霜翻拌均匀
8继续加入剩下3分之2的蛋白霜翻拌均匀
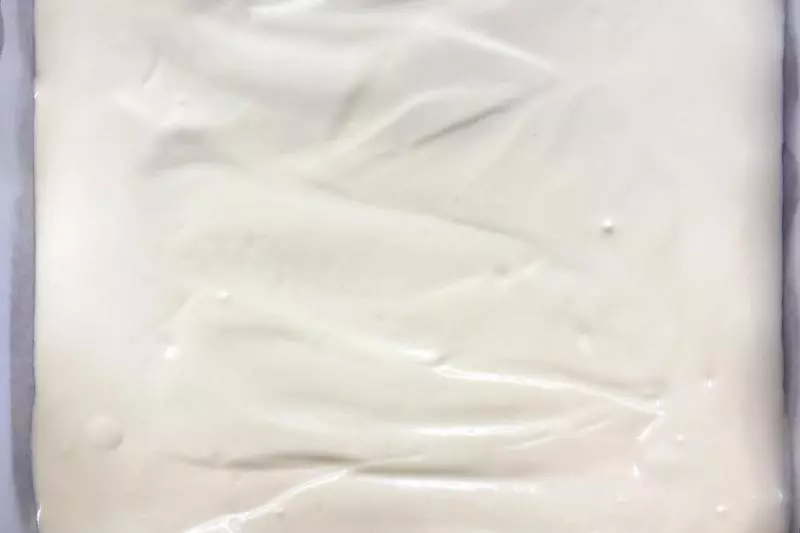
9倒入铺好油纸或者油布的烤盘抹匀,轻轻震出气泡
10放入预热好的烤箱170度烤20分钟左右
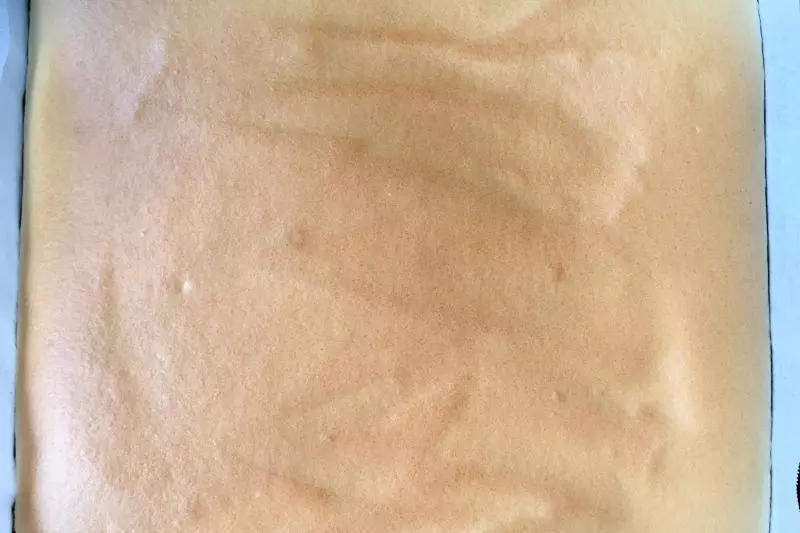
11出炉倒扣在垫着油纸的晾网上,揭开蛋糕上的油纸晾凉

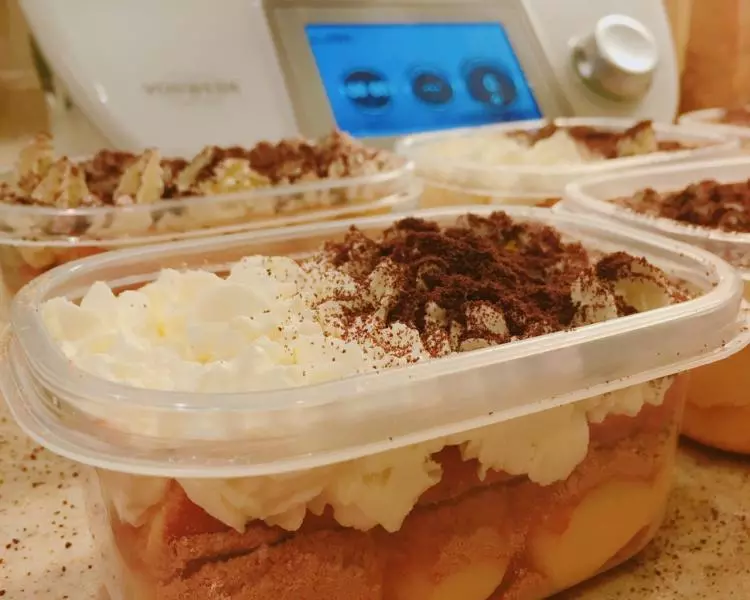
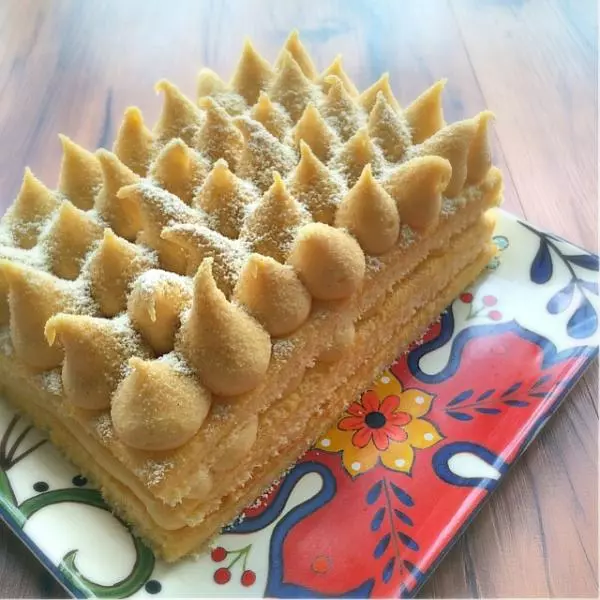
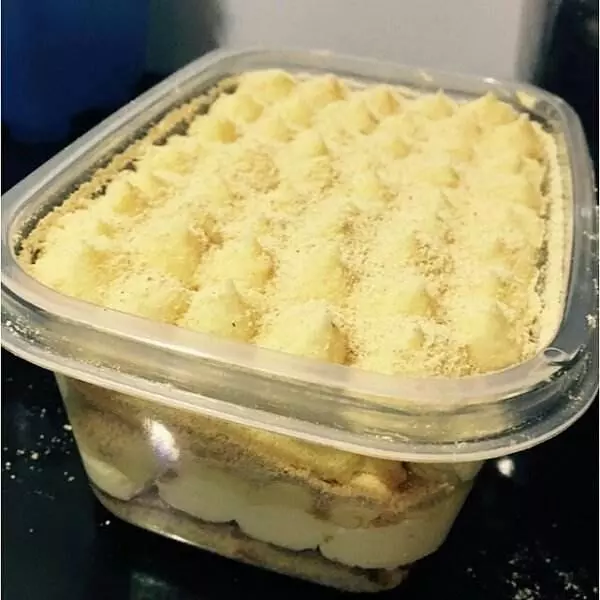
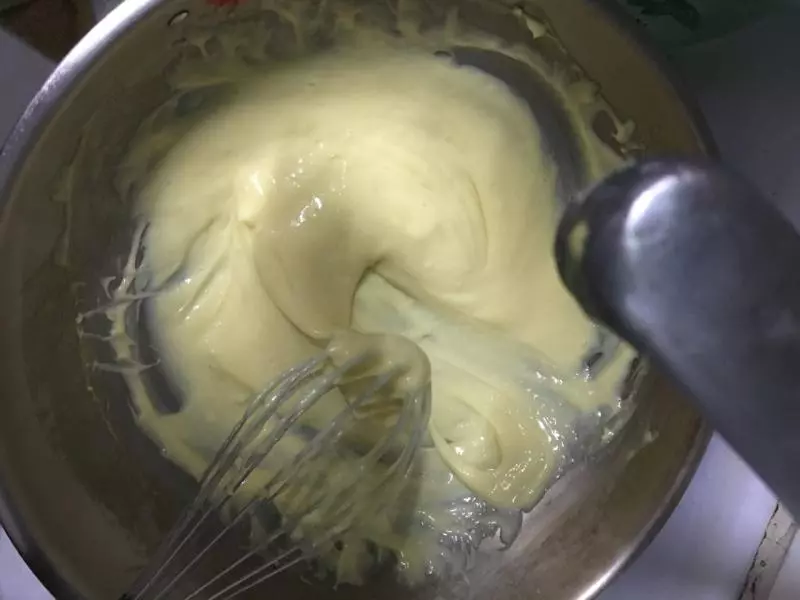
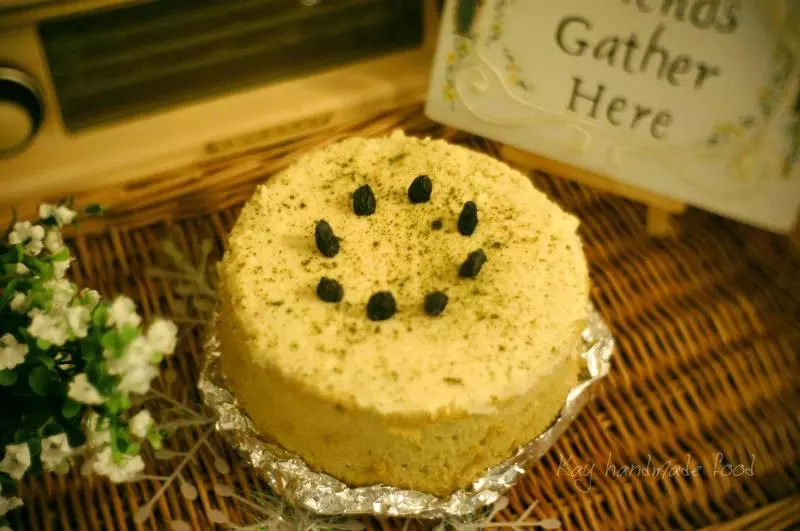
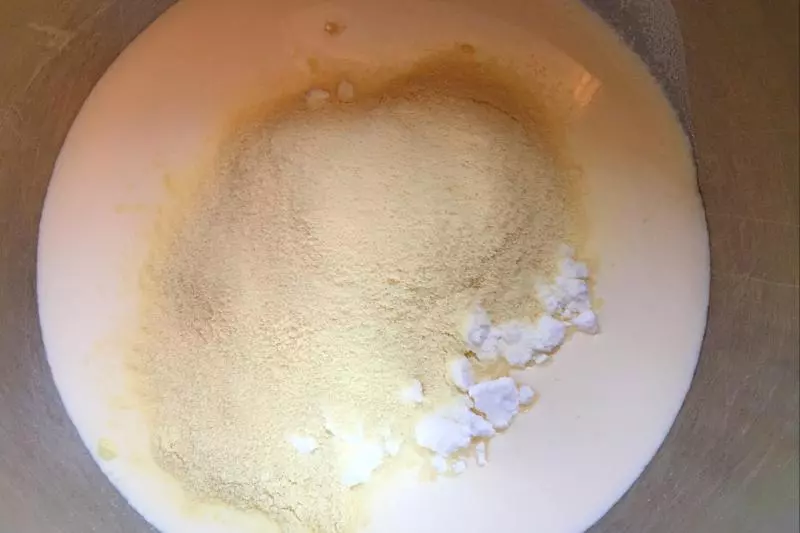
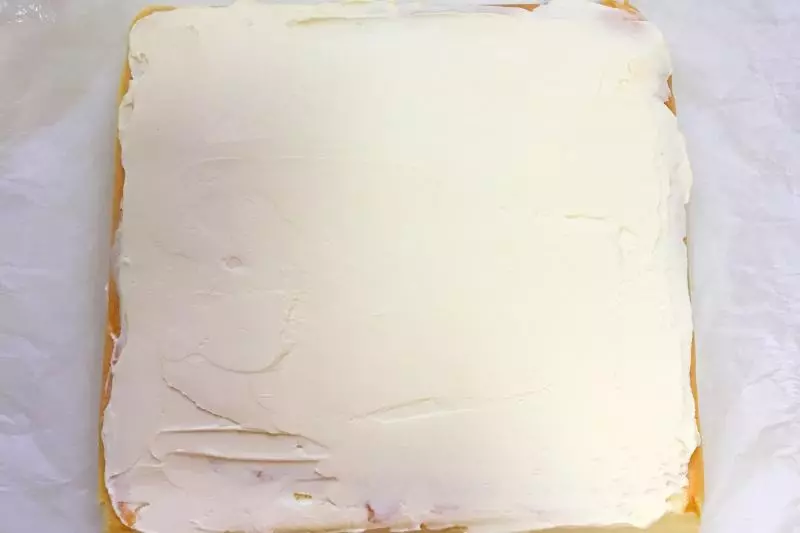
12淡奶油里面加入豆浆粉和糖粉
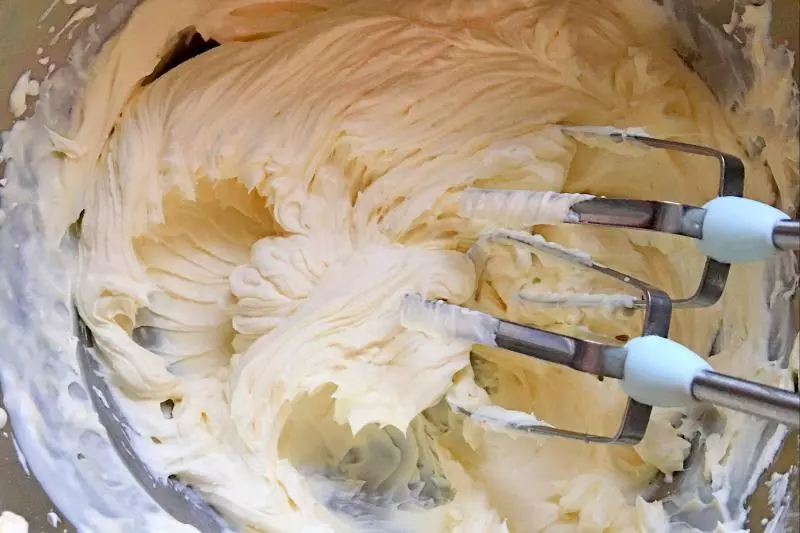
13打至9分发
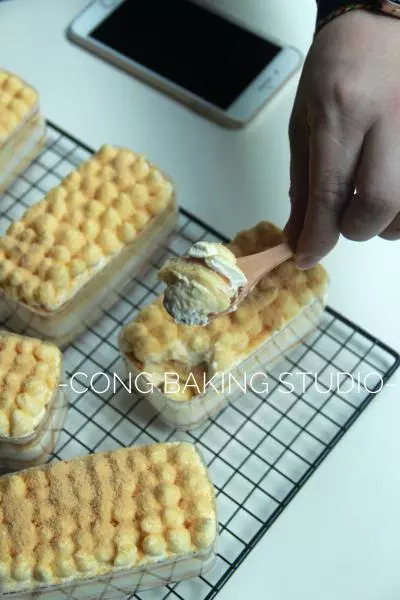
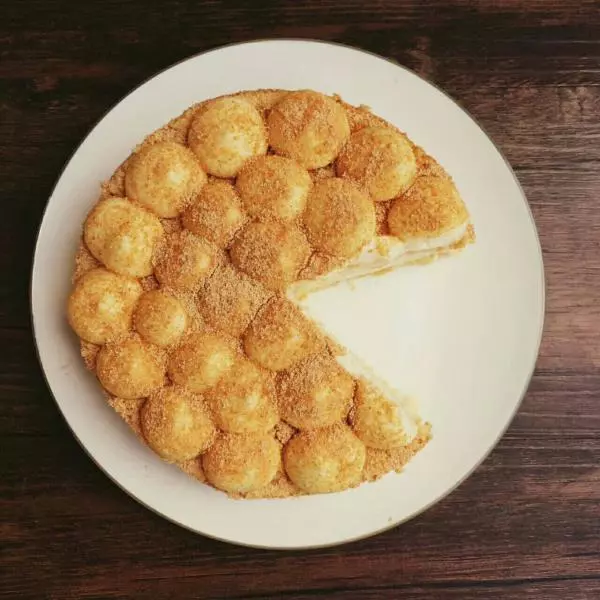
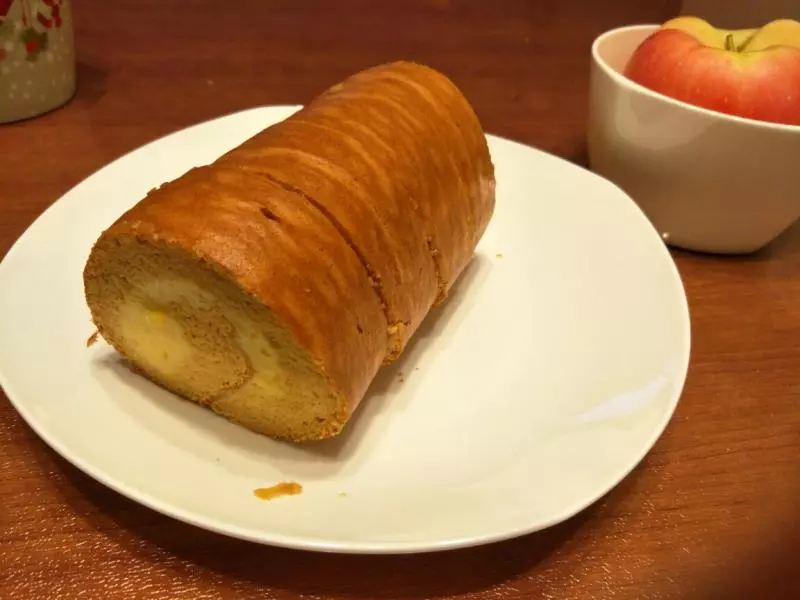
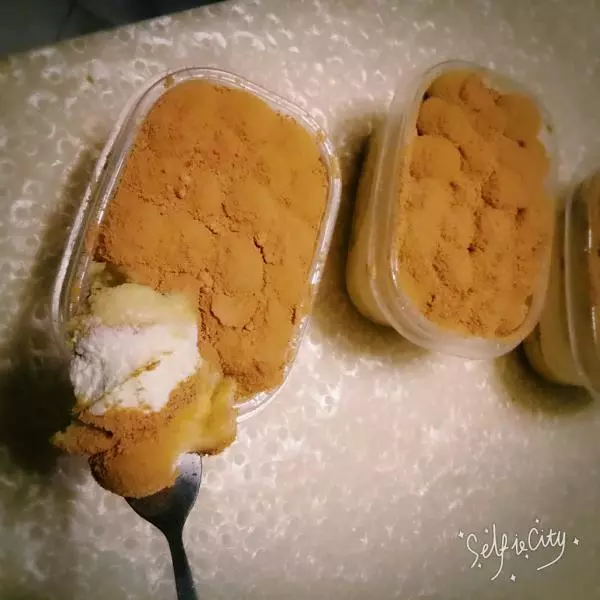
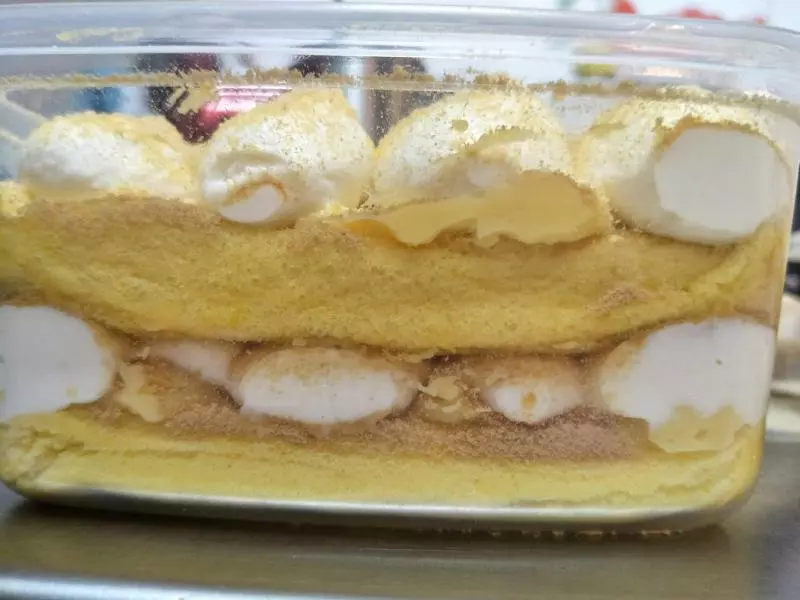
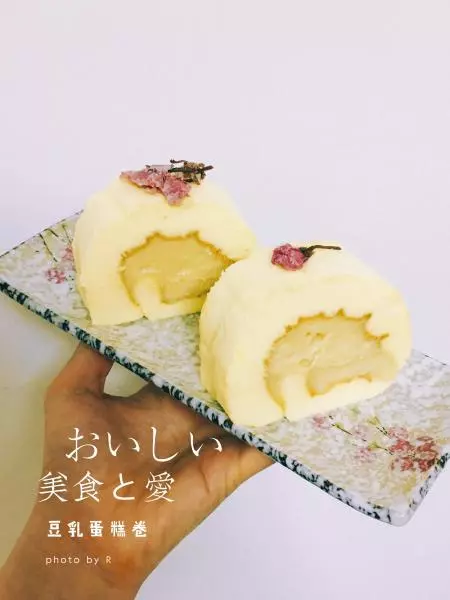
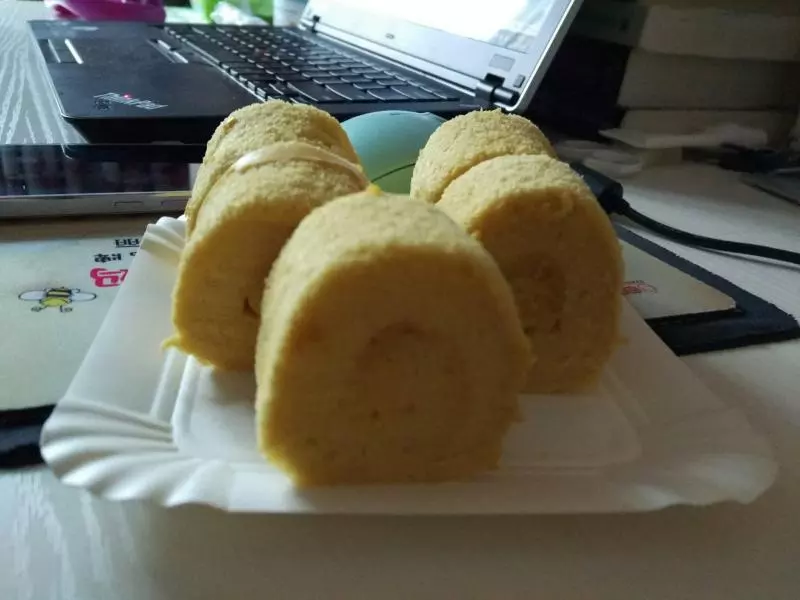
14蛋糕卷末端修个斜角,抹上豆乳馅
15放上适量的水果
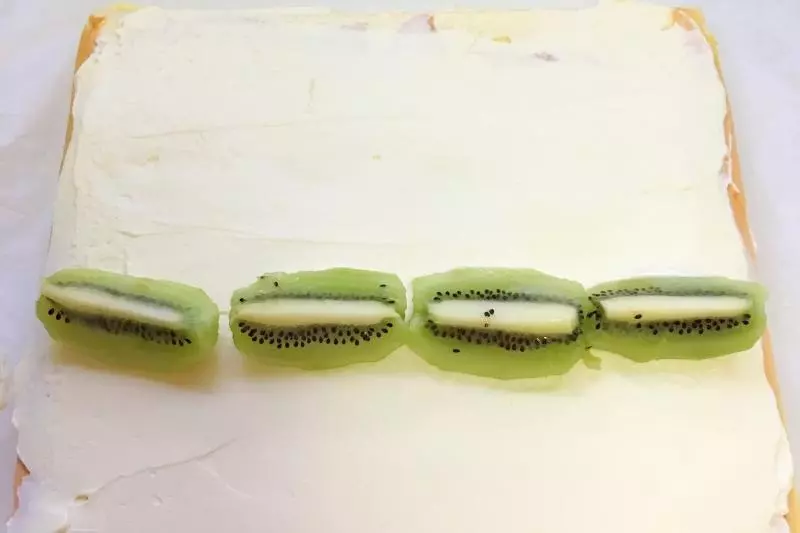
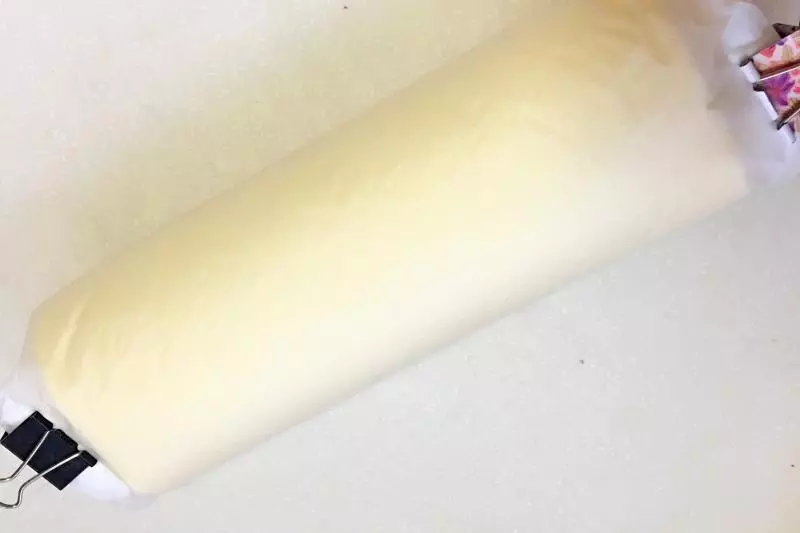
16从下往上卷起(正卷、反卷都可以),两边的油纸折叠起来用夹子夹好后放冰箱冷藏定型
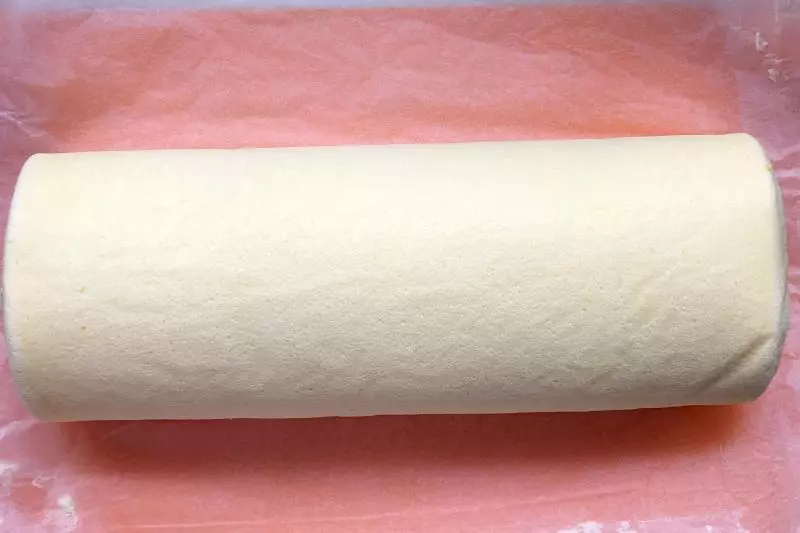
17定型好的蛋糕卷去掉油纸用锯齿刀(用小火烤一下)切成厚片食用
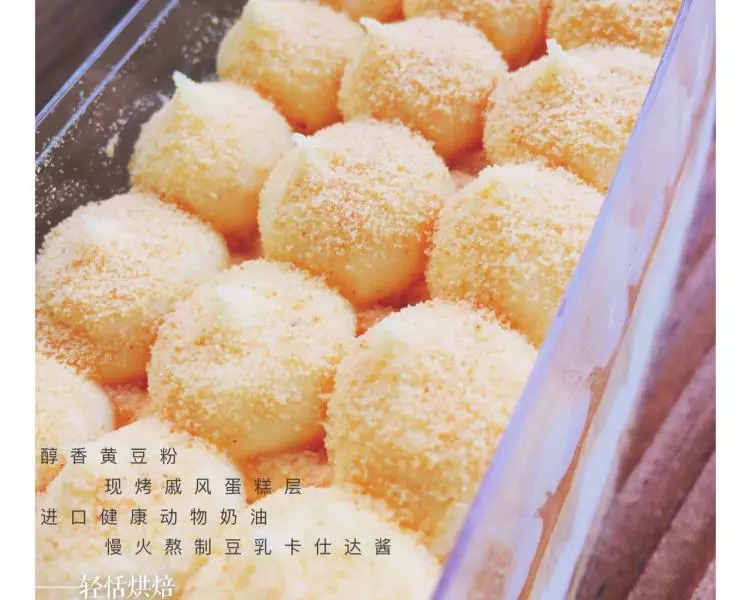
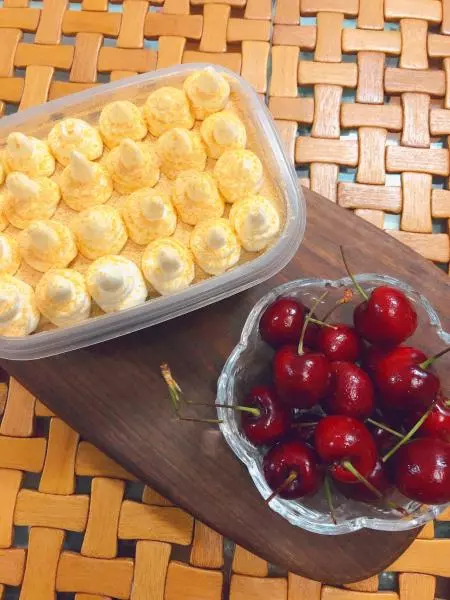
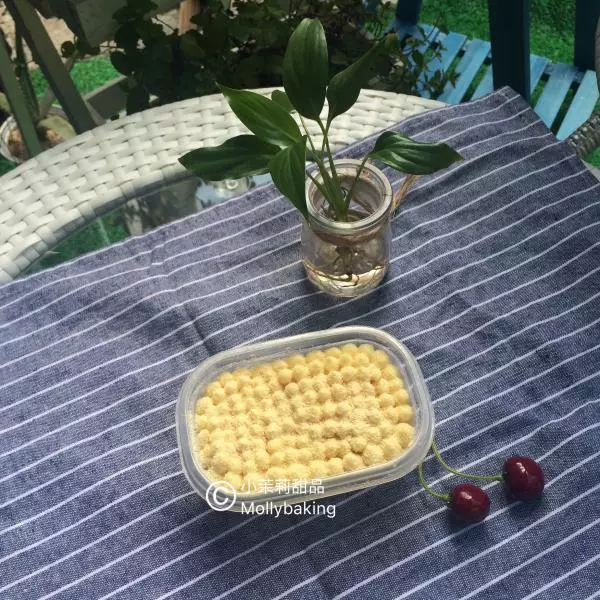
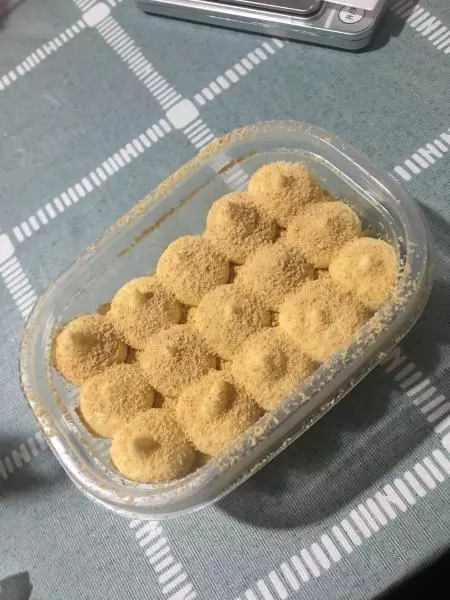
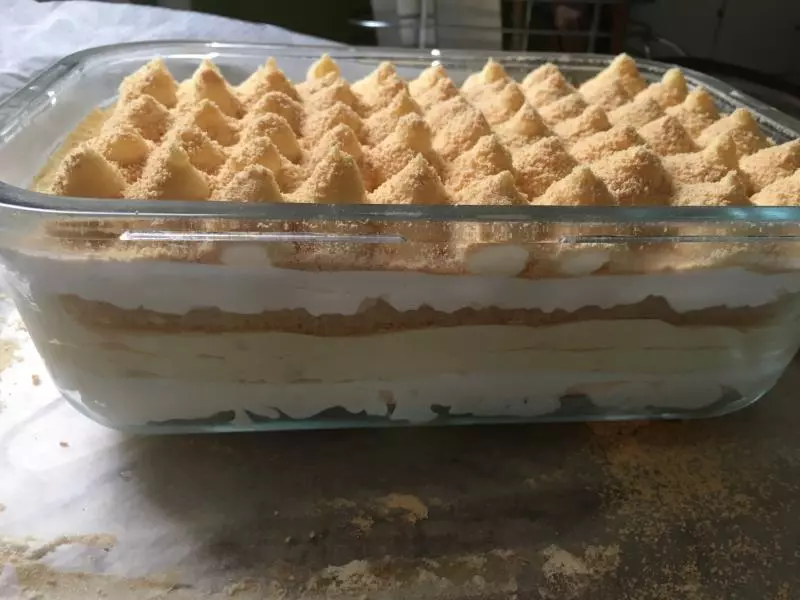
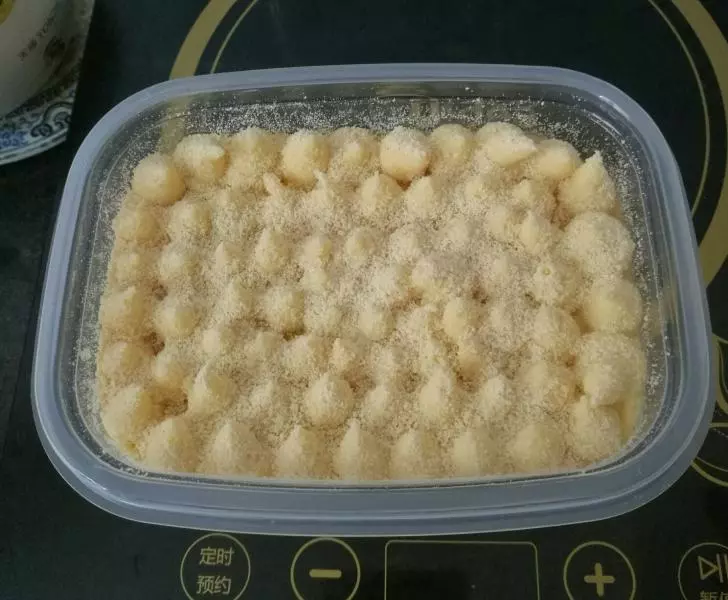
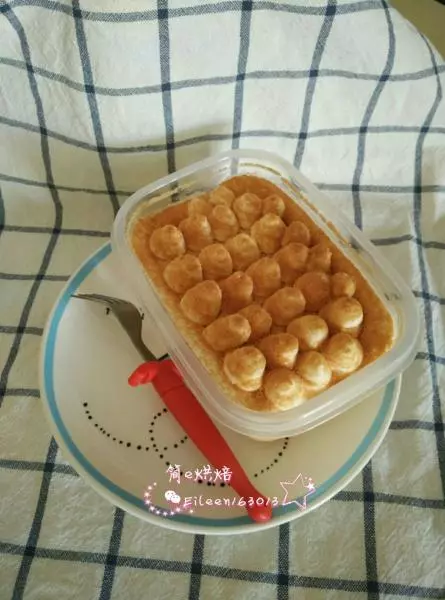
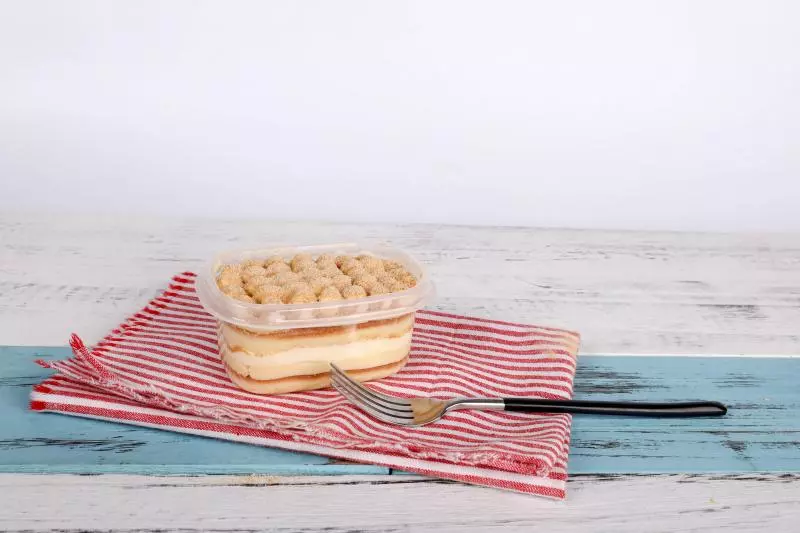
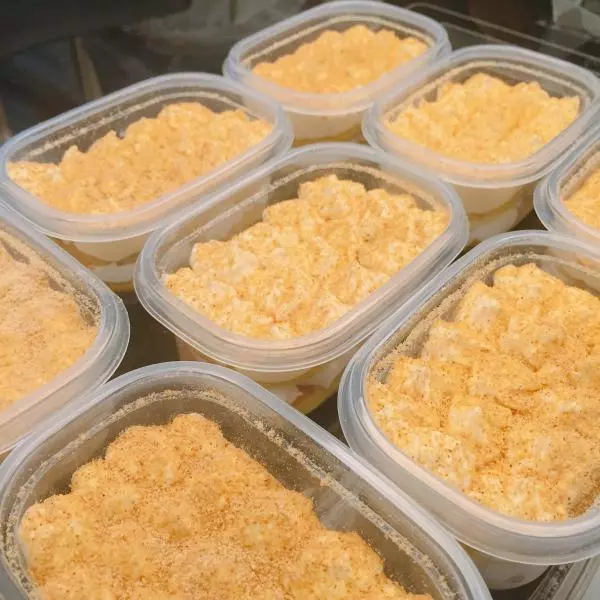
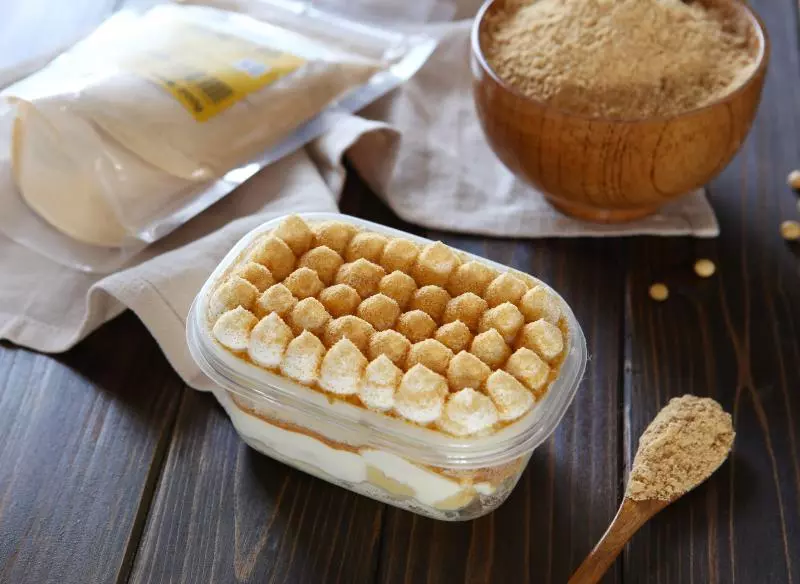
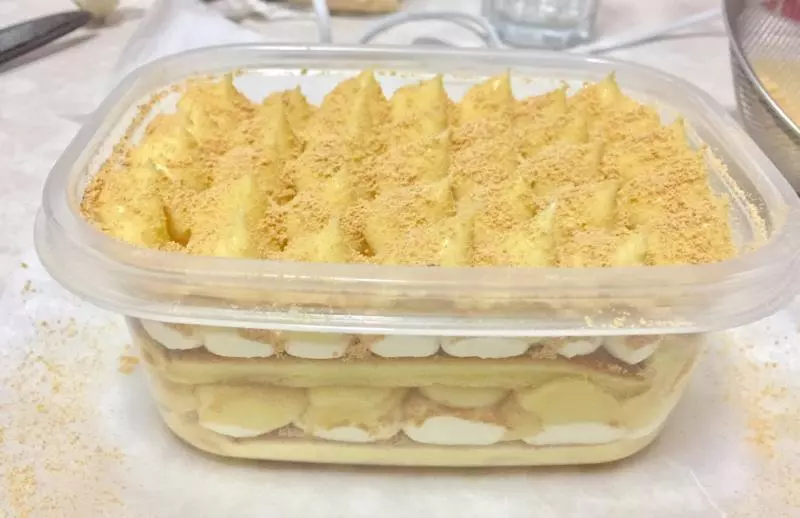
18要送人的蛋糕卷只要切掉两边不规则的(尽量切薄一点),然后在蛋糕卷上用圣安娜花嘴挤出花纹进行装饰,最后撒上熟的黄豆粉即可

小技巧
蛋糕卷可以正卷,也可以反卷,一般不掉皮的我就正卷