原料
冰皮粉: 240g, 白油: 25g, 餡料: 360g, 草莓味粉(紅色): 5g, 藍莓味粉(藍色): 5g, 鳳梨味粉(黃色): 5g, 香芋味粉(紫色): 5g, 佳士比月餅模具: , 熟糯米粉(手粉): 10g
步驟
1稱取240g冰皮月餅粉,加入100ml涼開水,慢慢揉至光滑無顆粒狀態(大概5分鐘)

2加入25g芝焙白油,繼續揉至粉團柔滑狀態,白油被完全吸收(大概三分鐘)

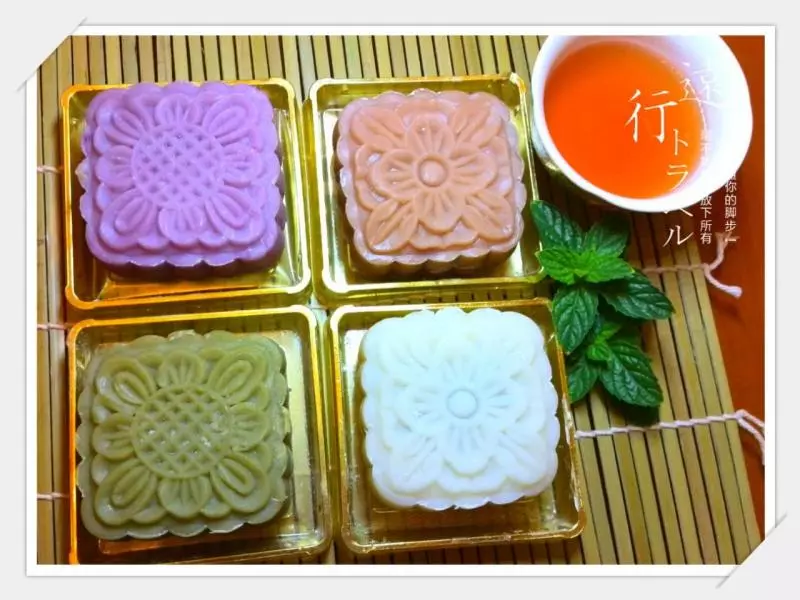
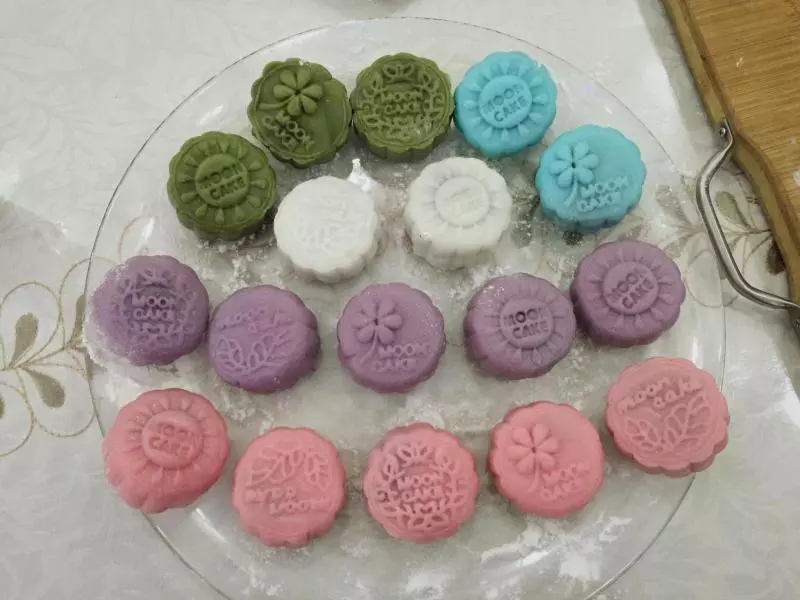
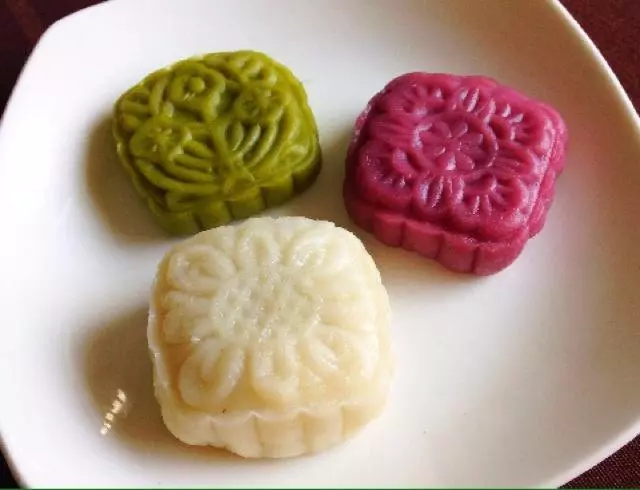
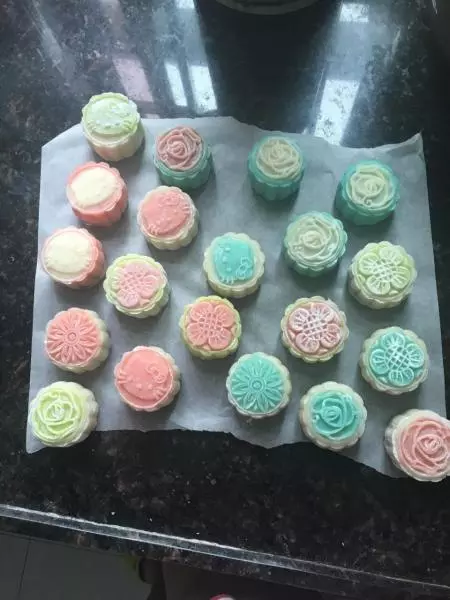
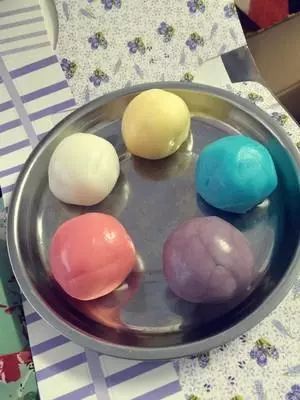
3將揉好的冰皮團平均分成5份,取4份分別加入5g果味粉上色
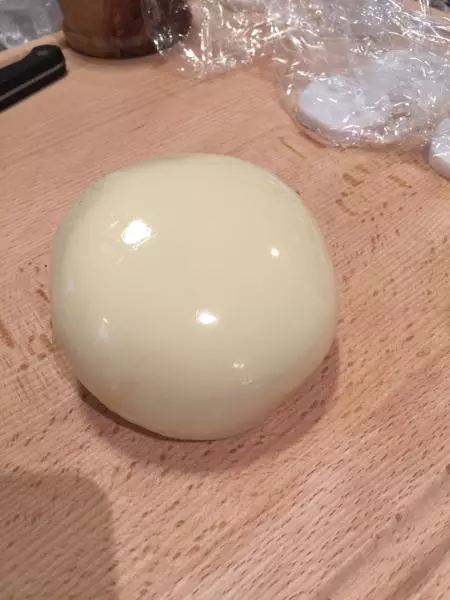
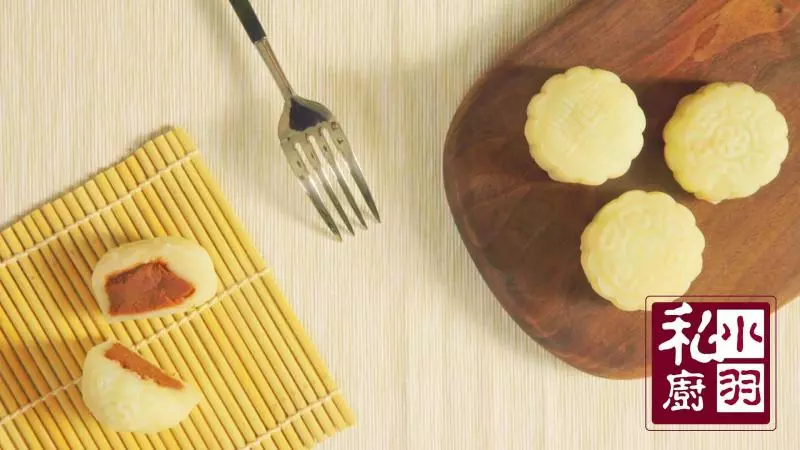
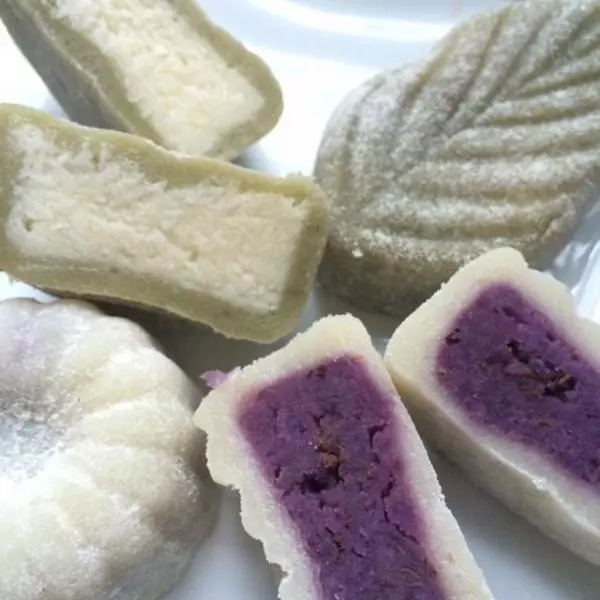
4將25g餡料包入25g冰皮

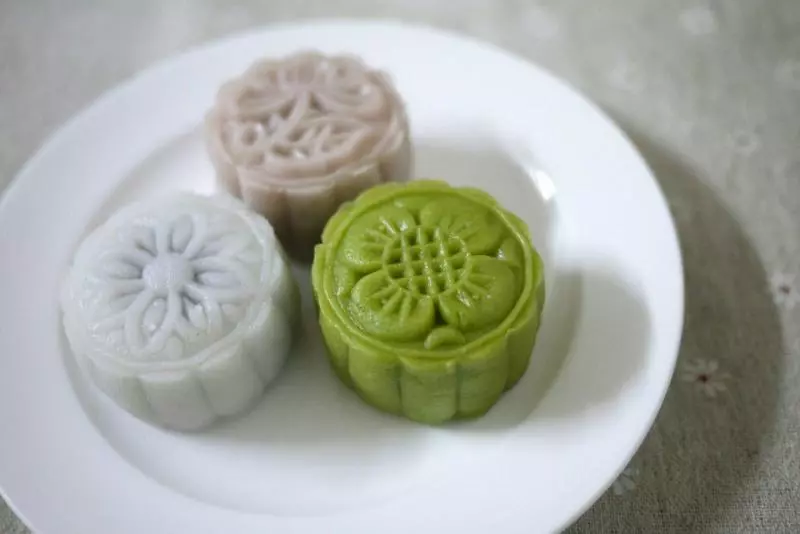
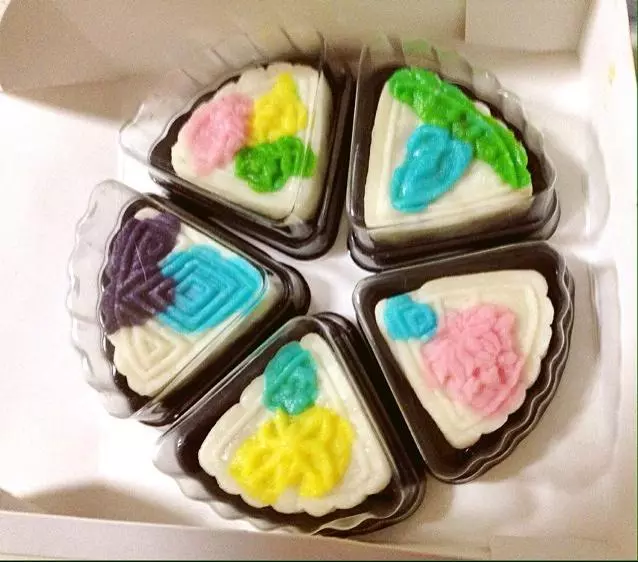
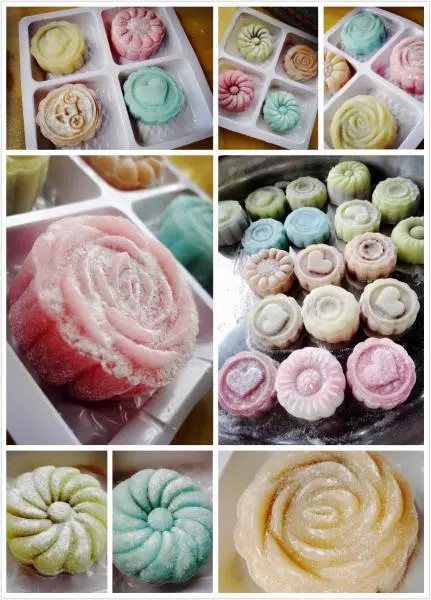
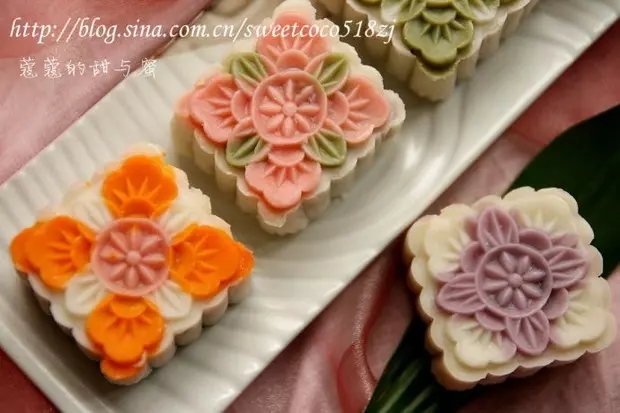
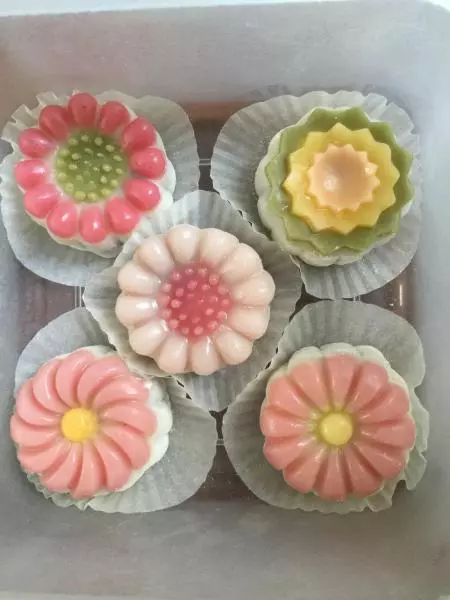
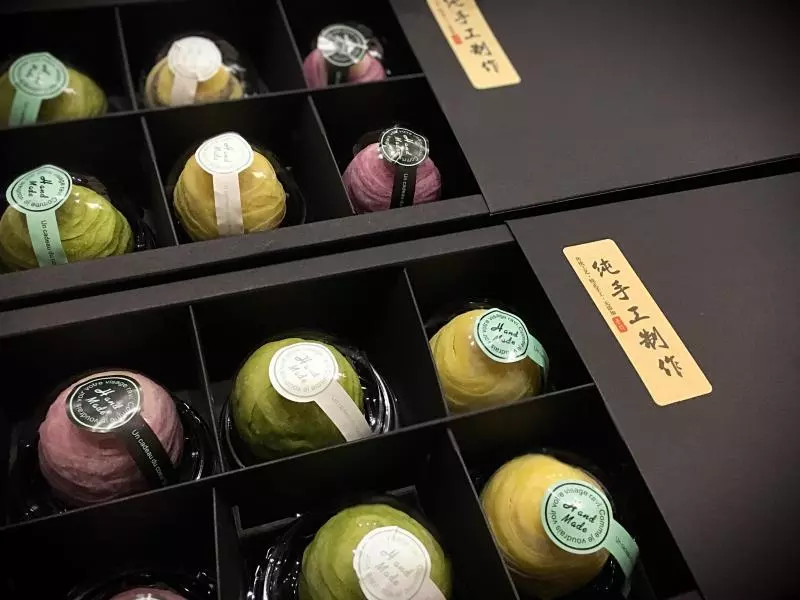
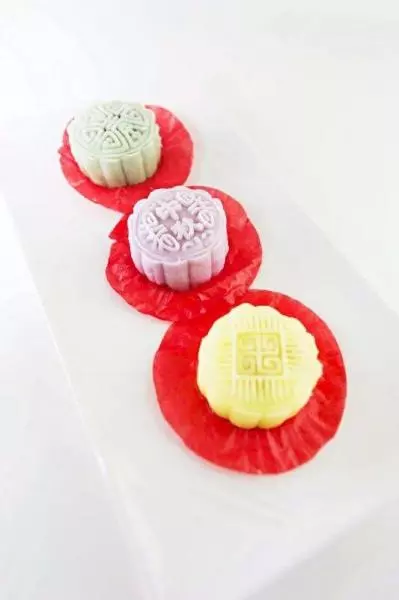
5取喜歡的模具,根據自己的喜好在模具上壓上一層上色的冰皮(因為是立體月餅模具,這樣就可以做出彩色的立體造型)

6將月餅滾圓後,表面均勻塗上少許手粉,放入月餅模具中

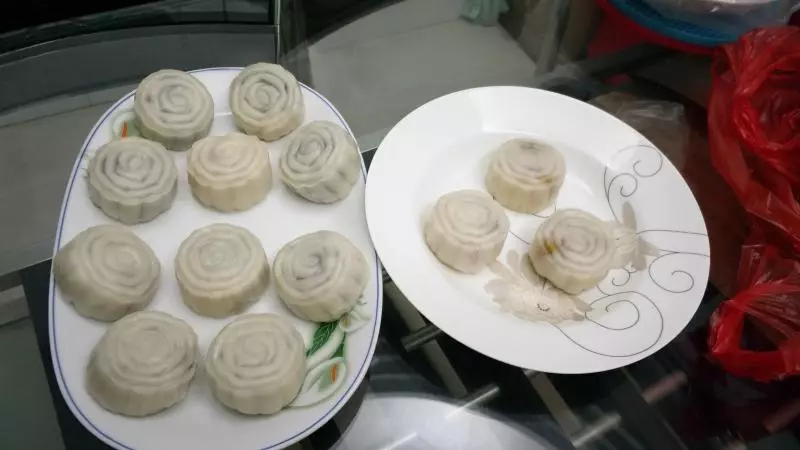
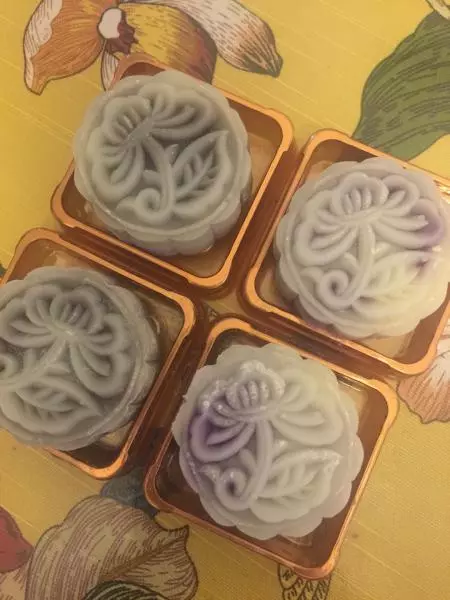
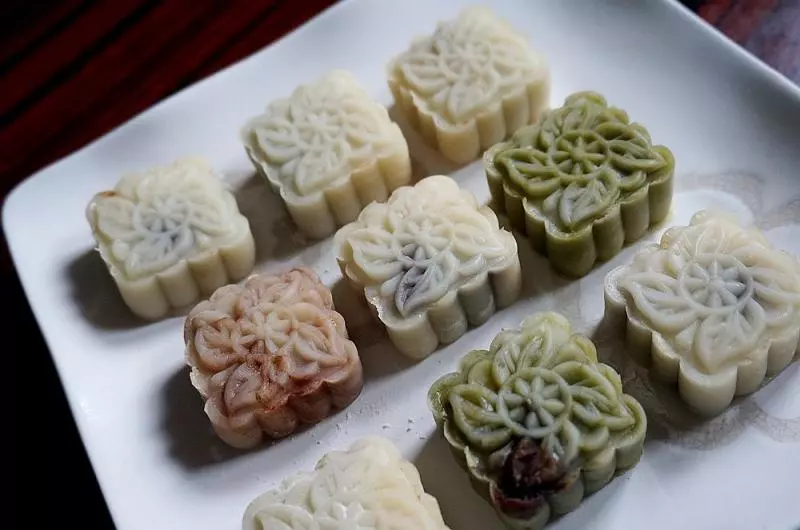
7最後,用力按壓脫模,就做好漂亮的冰皮月餅了

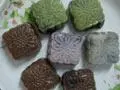
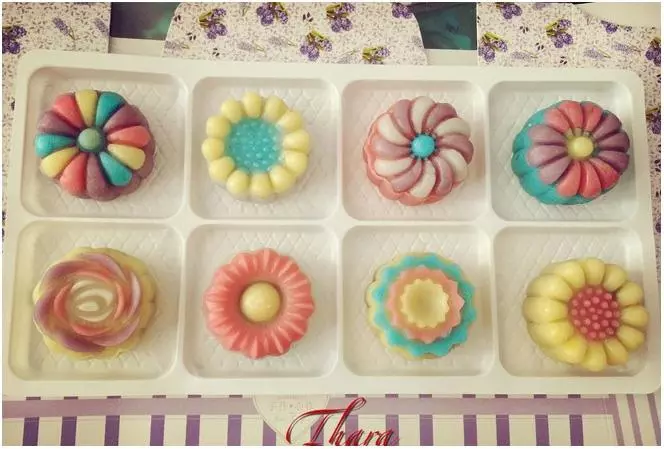
8芝焙立體月餅模具6個花片成品圖

小技巧
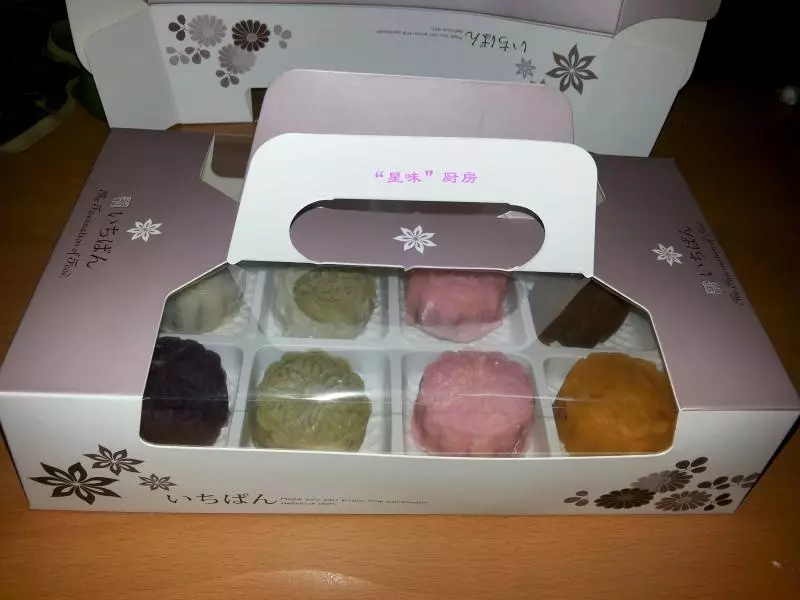
1、冰皮粉一袋250g,方子是240g是因為擔心第一次和稀可以再加 2、如果水放少了麵糰過硬、請在第二步驟多加一點白油即可 月餅模具: 包裝: