原料
低粉 100克, 奶油 打發好的, 水 160克, 糖 一小勺, 鹽 少許, 黃油 80克, 雞蛋 三個(我少拿一個)
步驟
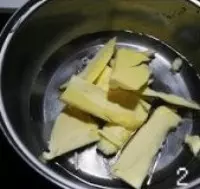
1將水、糖、鹽、黃油混入一起
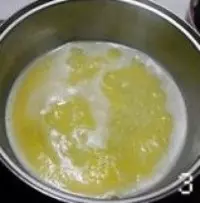
2加熱至沸騰
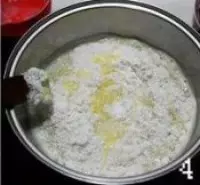
3轉小火,倒入低粉快速攪拌
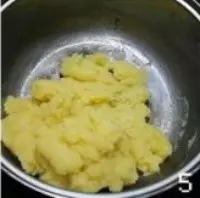
4攪拌至麵粉與水完全融合後沒有乾麵粉關火,涼至60度左右
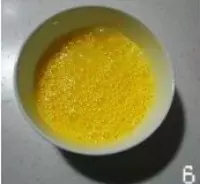
5將雞蛋打散攪拌均勻
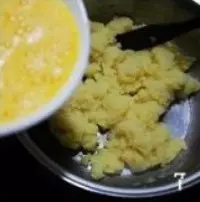
6分三次倒入攪拌好的麵糊中,一次吸收後再倒入一次
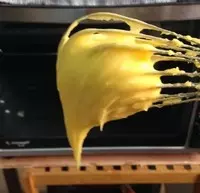
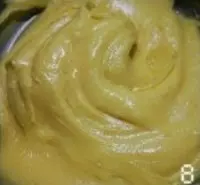
7攪拌至蛋黃麵糊細膩潤滑
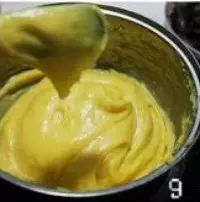
8用筷子挑起時麵糊呈倒三角狀並且不滴落
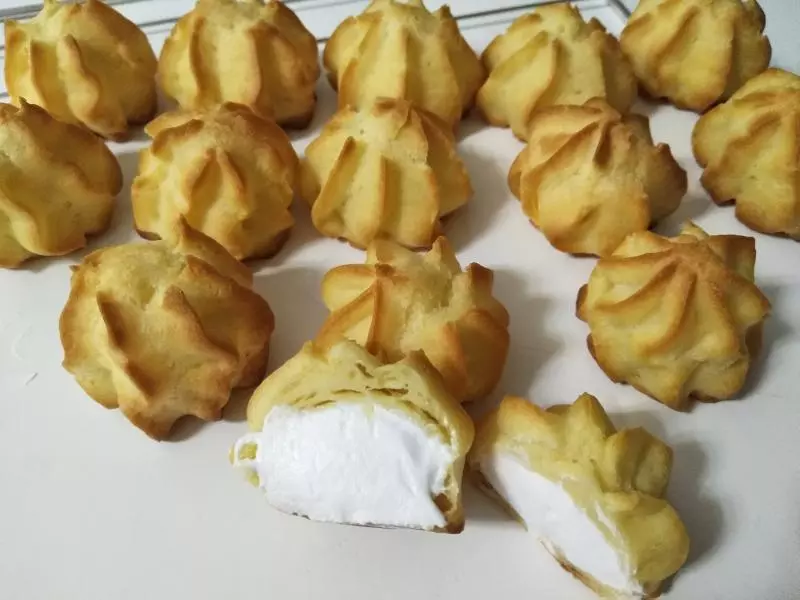
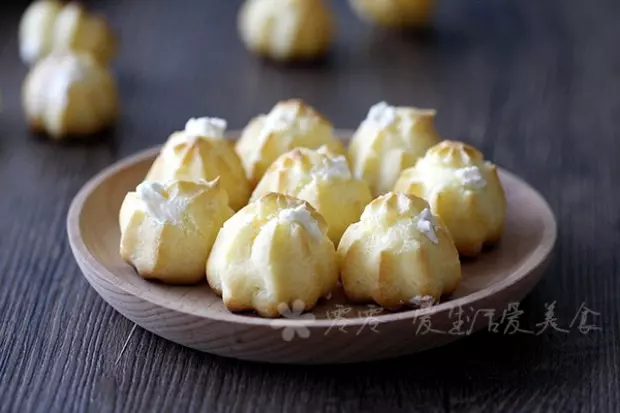
9烤盤鋪上錫紙,將蛋黃糊放入裱花袋中擠到烤盤上
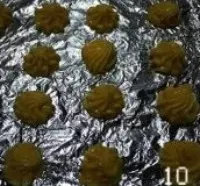
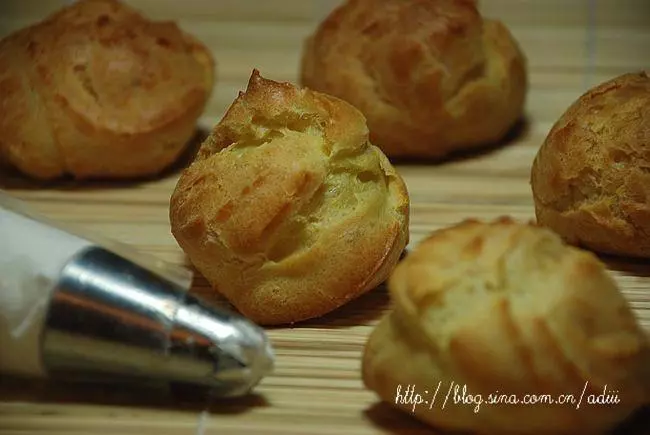
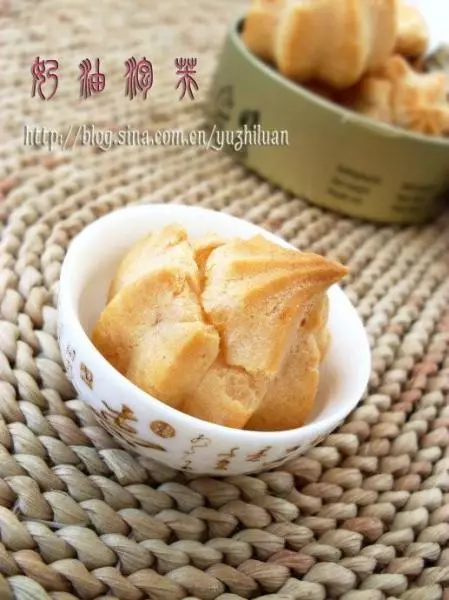
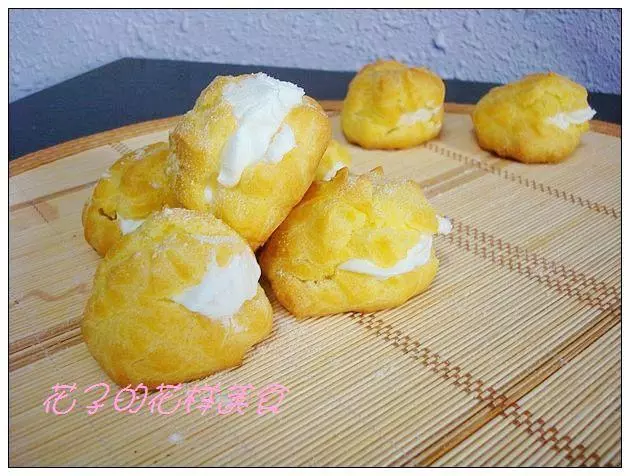
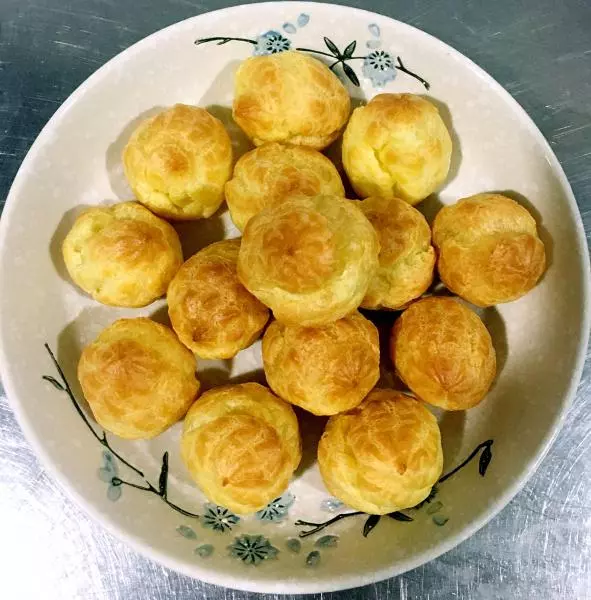
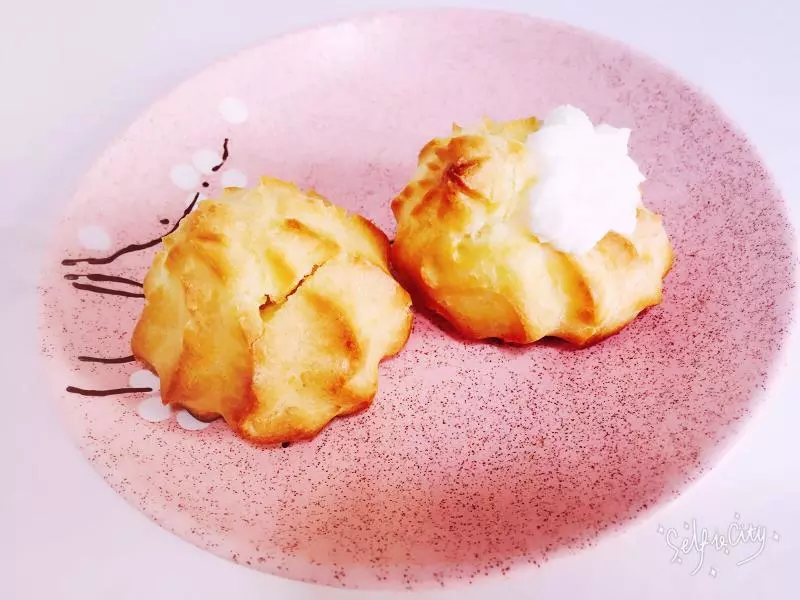
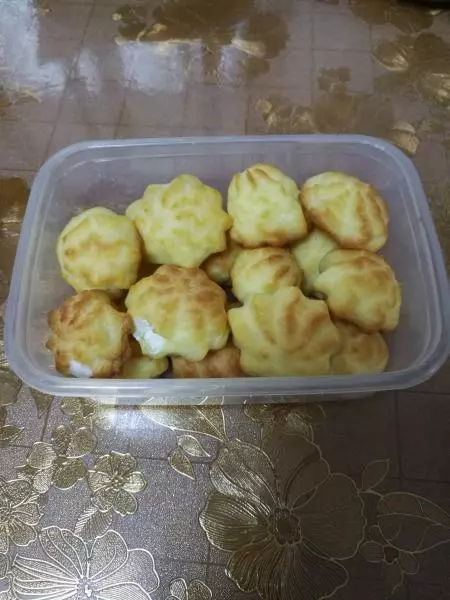
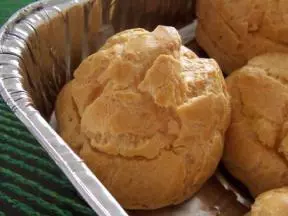
10烤箱預熱210度,烤10分鐘泡芙鼓起定型後將溫度降至180度,再烤25分鐘左右表面呈褐色取出即可
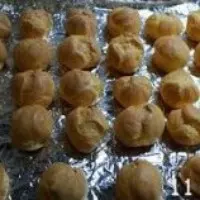
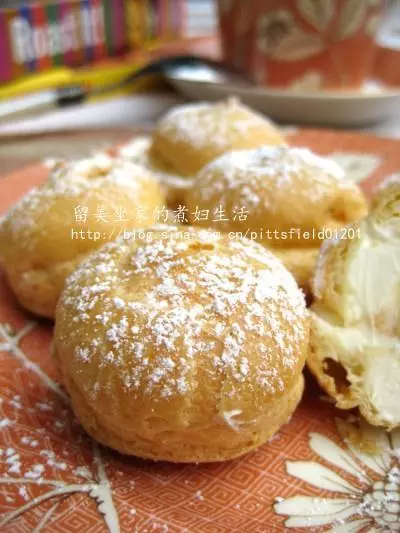
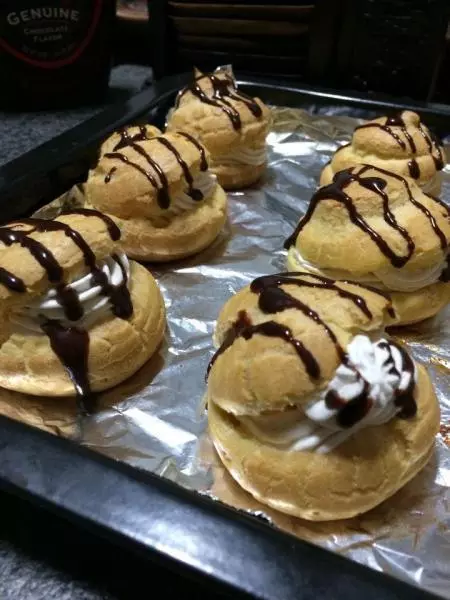
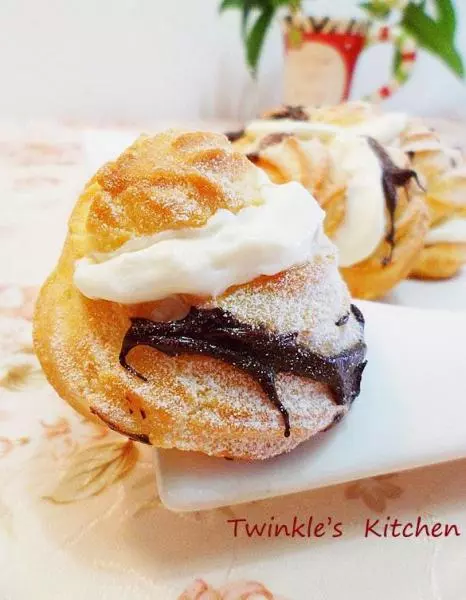
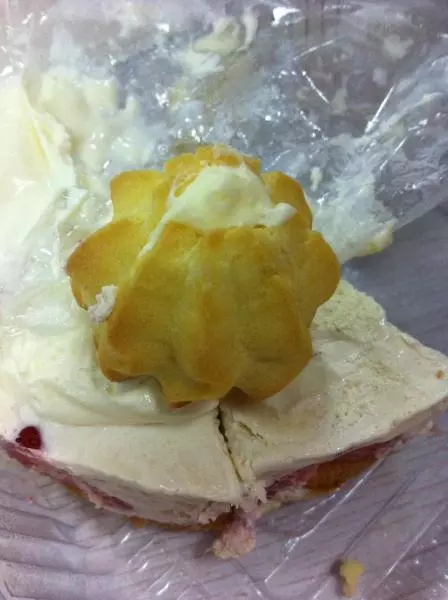
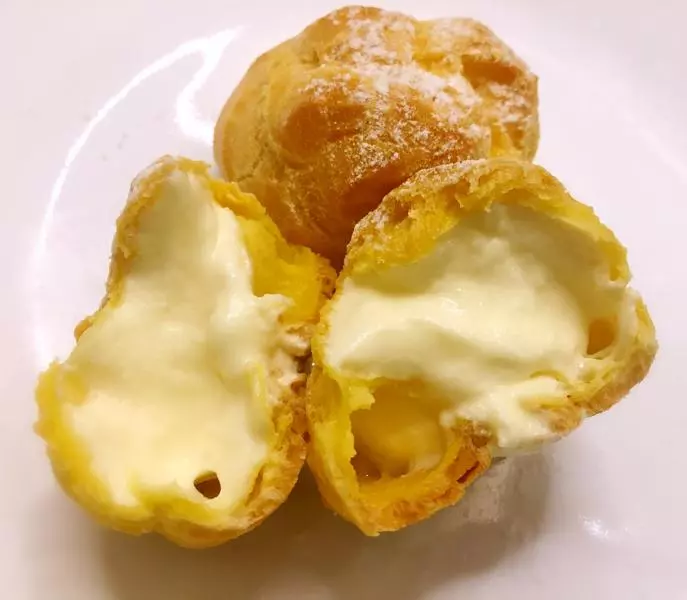
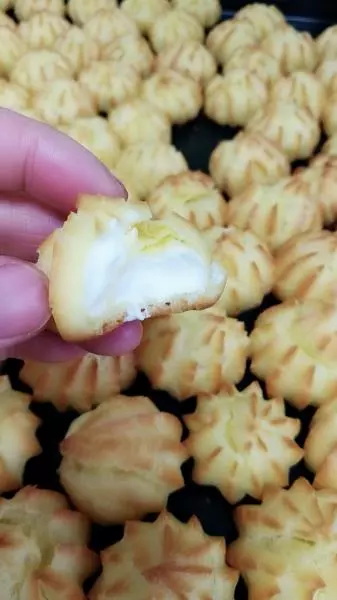
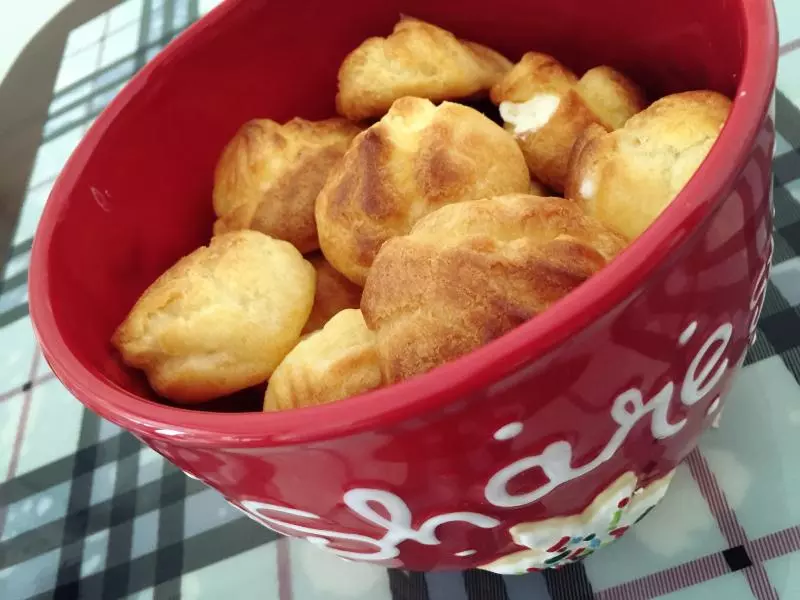
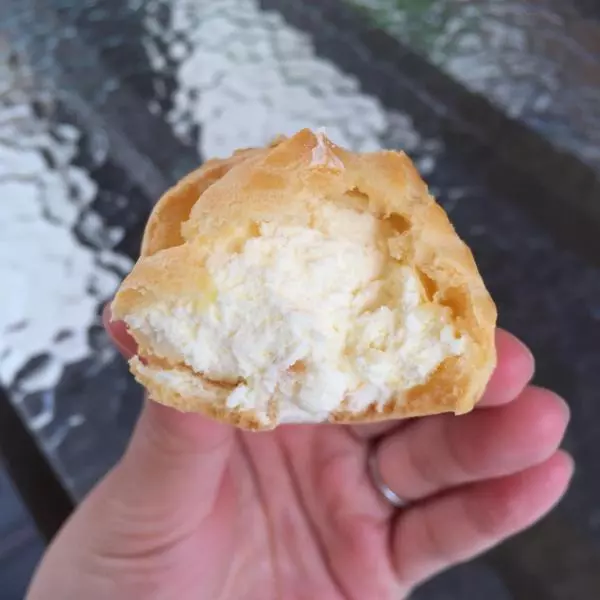
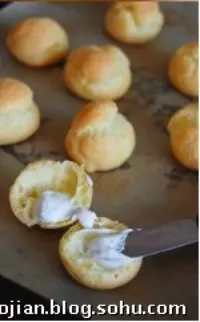
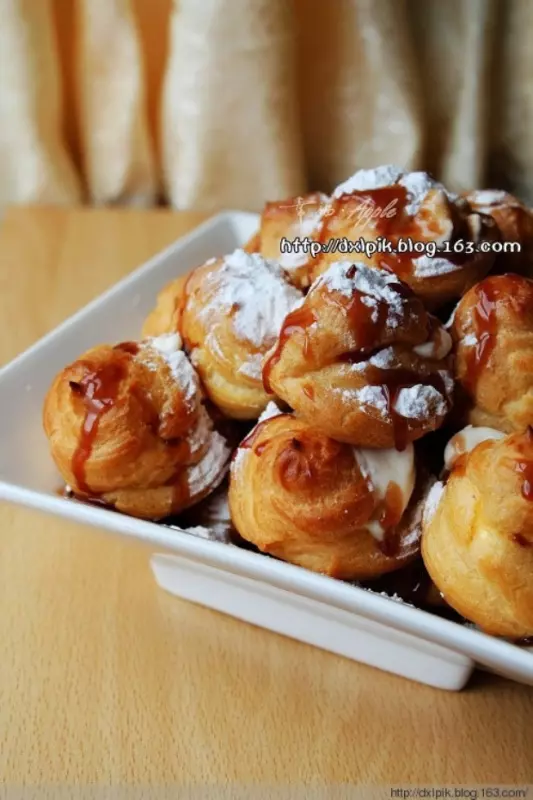
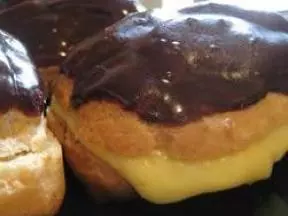
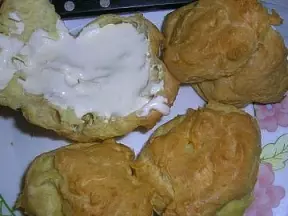
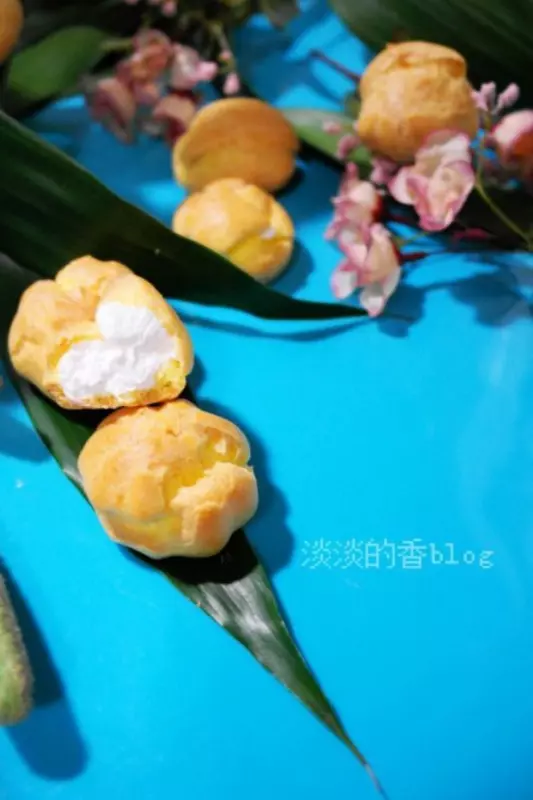
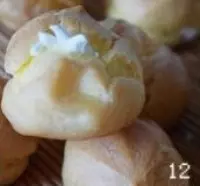
11烤好的泡芙冷卻後擠入打發好的奶油即可食用
小技巧
蛋液一定要分次加入麵糊中,每次攪拌完全吸收後再加下一次,有利於掌握麵糊的稀厚。 烘烤時先調到210度高溫便於泡芙定型,取出後不愛塌下去。 烤的過程中不能打開烤箱,因為膨脹中的泡芙如果溫度驟降,是會塌下去。