原料
低筋麵粉: 70g, 可可粉: 20g, 白砂糖: 200g, 牛奶: 130g, 雞蛋: 4個, 香草精: 6g, 鹽: 3g, 泡打粉: 3g, 白醋: 10g, 黃油: 90g, 紅絲絨色素: 20ml, 奶油芝士: 160g, 白巧克力: 80g, 糖粉: 30g, 淡奶油: 20g, 黃油: 100g, 長方形烤盤 40×28×4cm: , 1個:
步驟
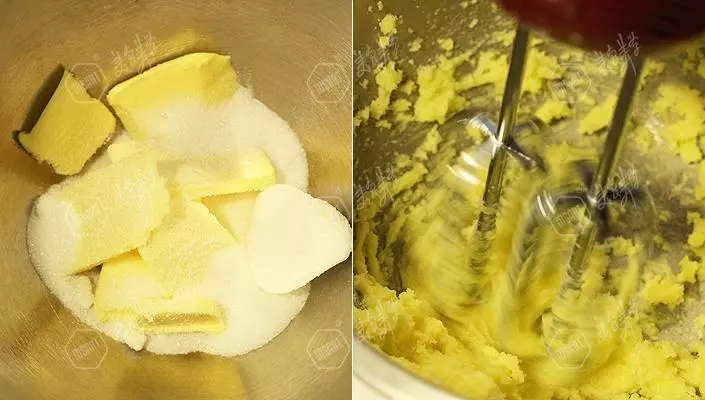
1用電動打蛋器將軟化的黃油打發1分鐘,加入70g白砂糖,再打發2分鐘;
2將蛋白、蛋黃分離,蛋白備用;將蛋黃分兩次加入1中,混合均勻;

3將麵粉、可可粉、泡打粉和鹽一起過篩,加入到2,混合均勻;
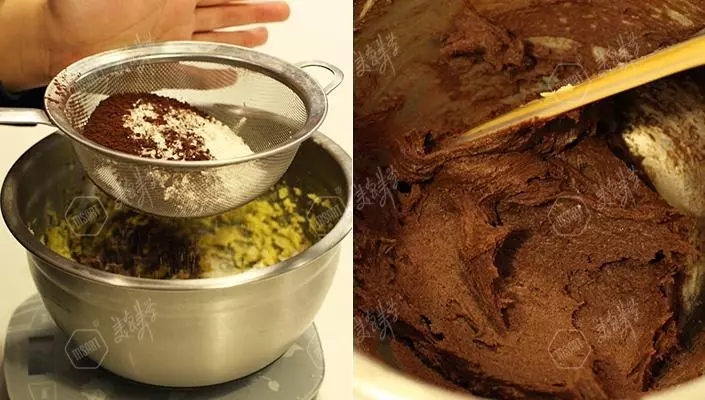
4將牛奶、香草精、白醋和色素混合完全,加入到3;

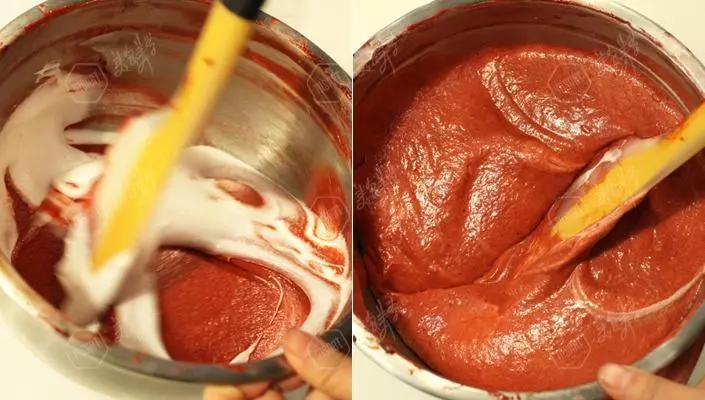
5將130g白砂糖加入到蛋白中,用電動打蛋器打發到中性發泡;

6先將1/3的蛋白加入到4,混合均勻,再將剩下的蛋白倒入麵糊,翻拌均勻;
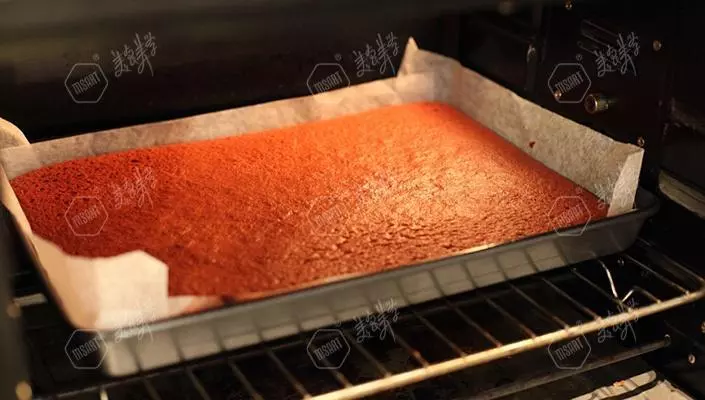
7將油紙鋪在烤盤上,「Z」字型倒入麵糊,輕震幾次烤盤,再用抹刀將麵糊整平整;

8放入烤箱,上火180℃,下火160℃,15-20分鐘;取出烤盤,將蛋糕連同油紙一起取出,置於晾架,冷卻至室溫;
9用另取大張油紙,撒上少許糖粉,將蛋糕倒扣在油紙上,撕去烘烤過的油紙,捲起蛋糕,定型,備用;

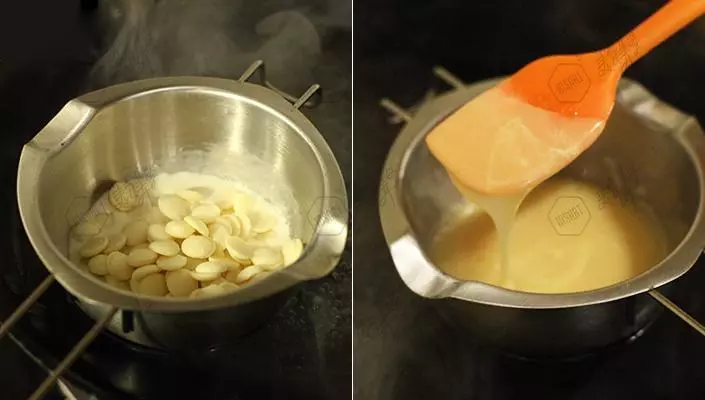
10將淡奶油隔水加熱至45℃,加入白巧克力,溶化,攪拌均勻;
11在已經軟化好的奶油芝士中加入糖粉,混合攪拌至順滑;
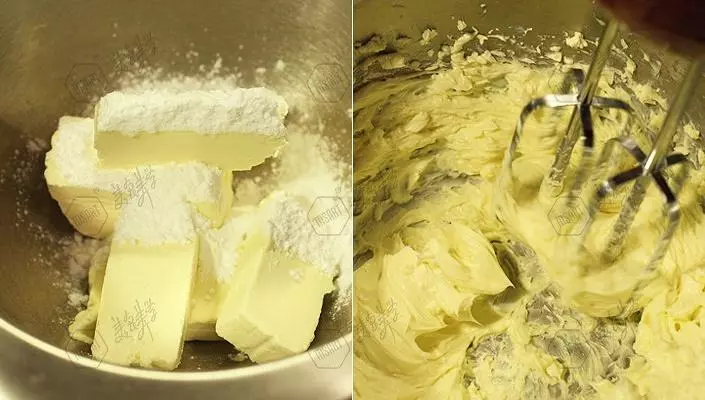
12將軟化好的黃油加入到11中,打發至蓬鬆;

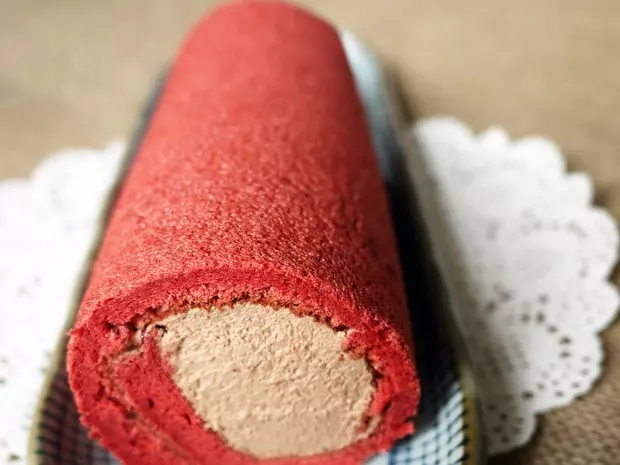
13將10和12混合均勻,做成奶油霜,均勻塗抹在攤開的蛋糕體上;

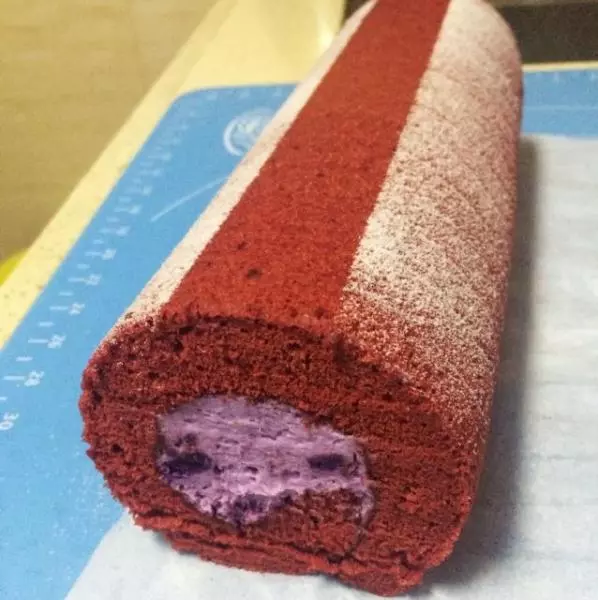
14將蛋糕捲起,包上油紙,再裹一層保鮮膜,冷藏1小時;

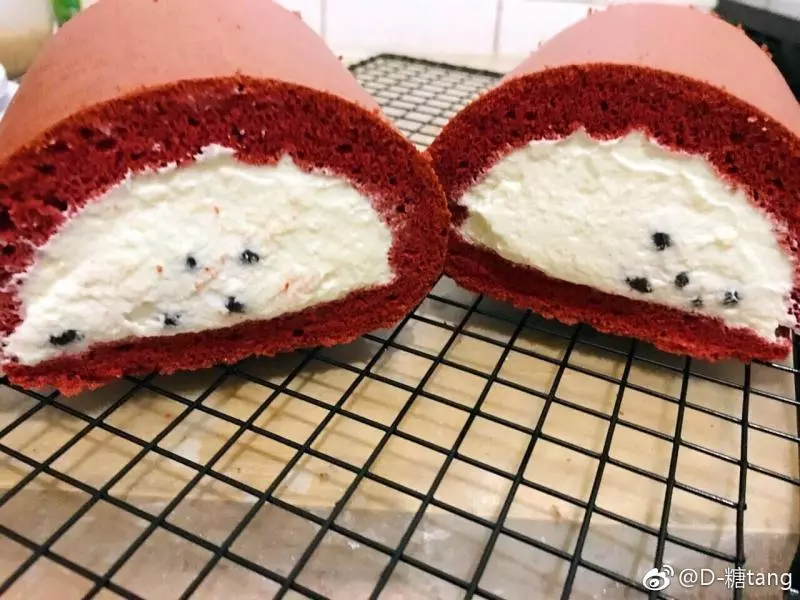
15取出,切塊,撒上糖粉裝飾,即可食用。

小技巧
1、糖粉可以更好的幫助蛋糕卷定型。